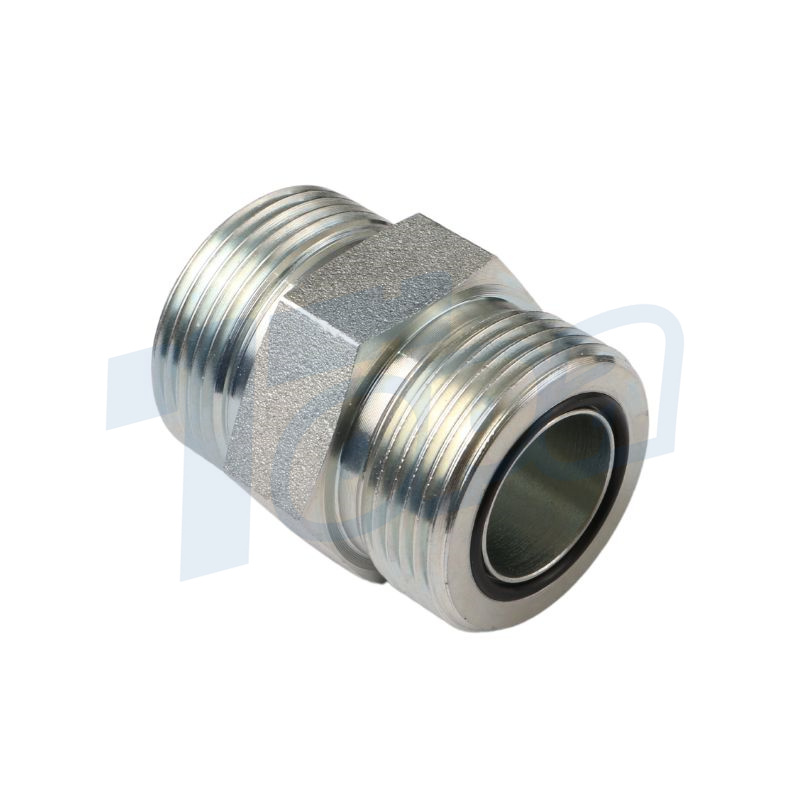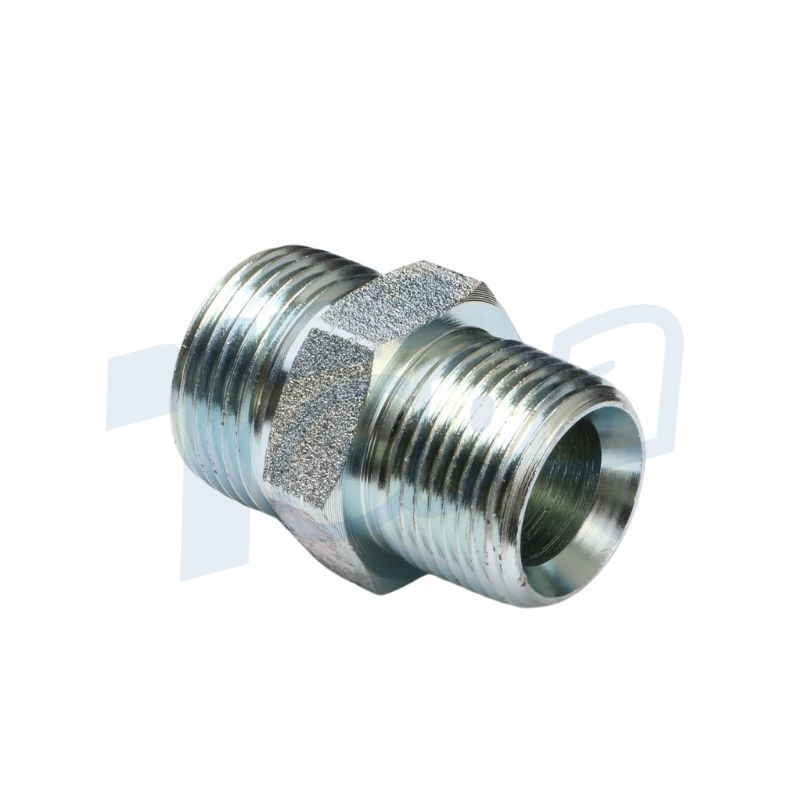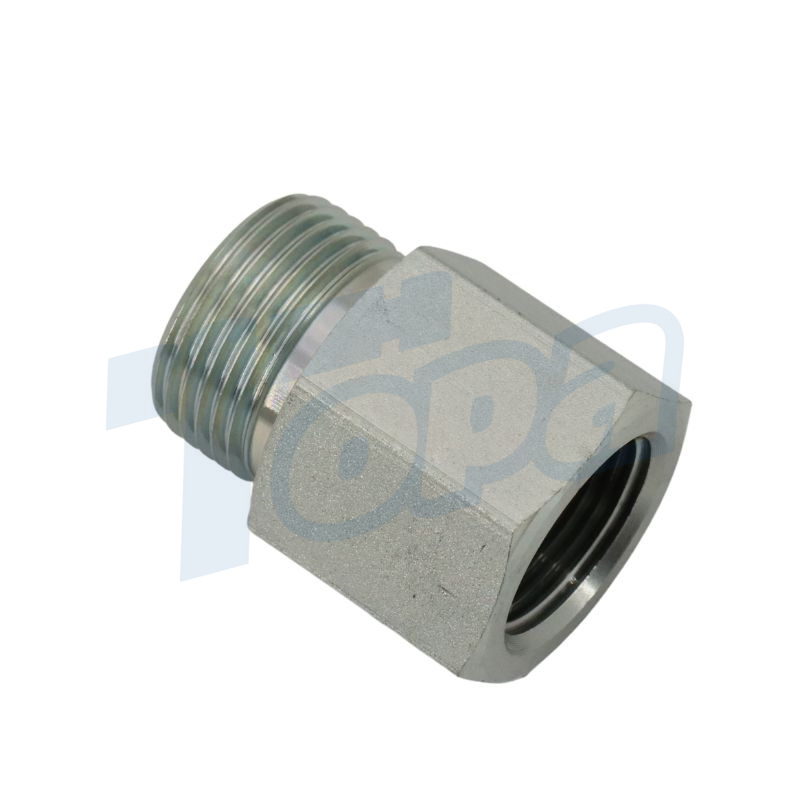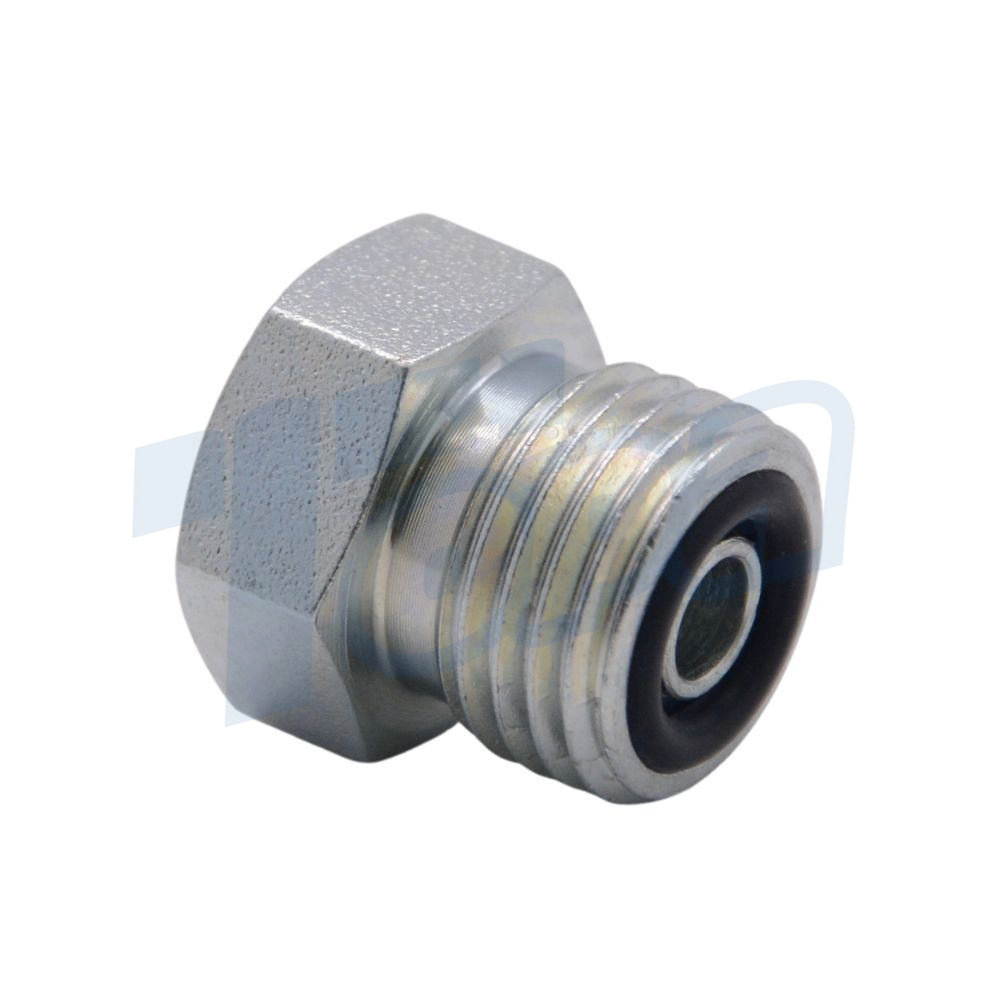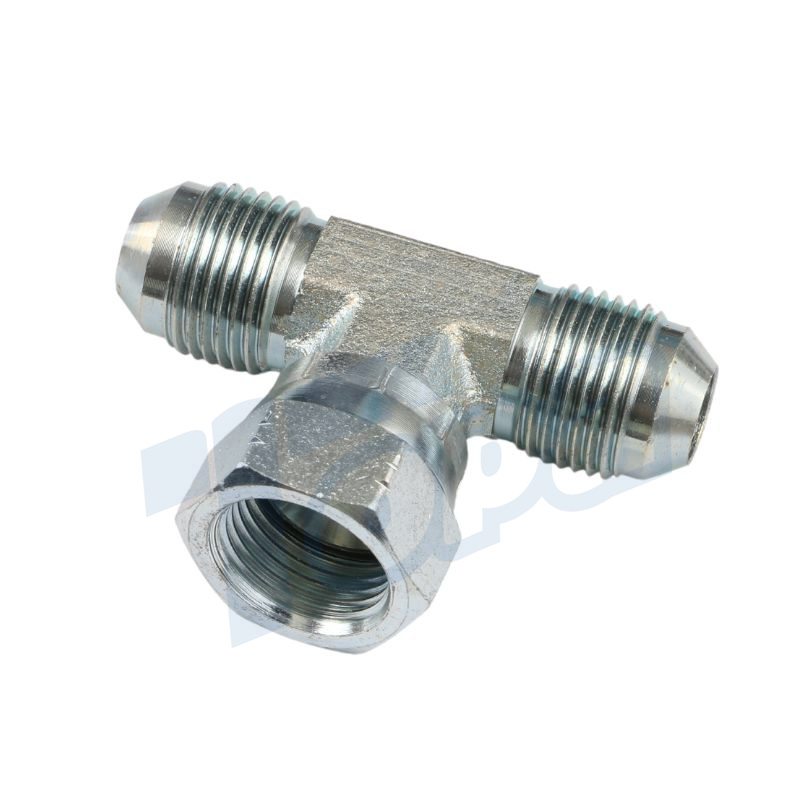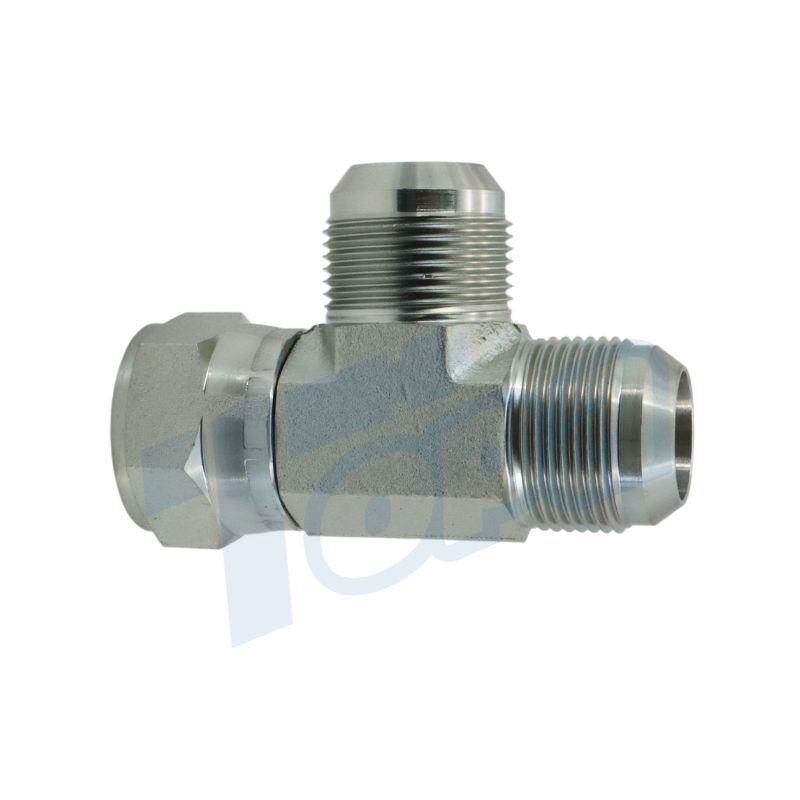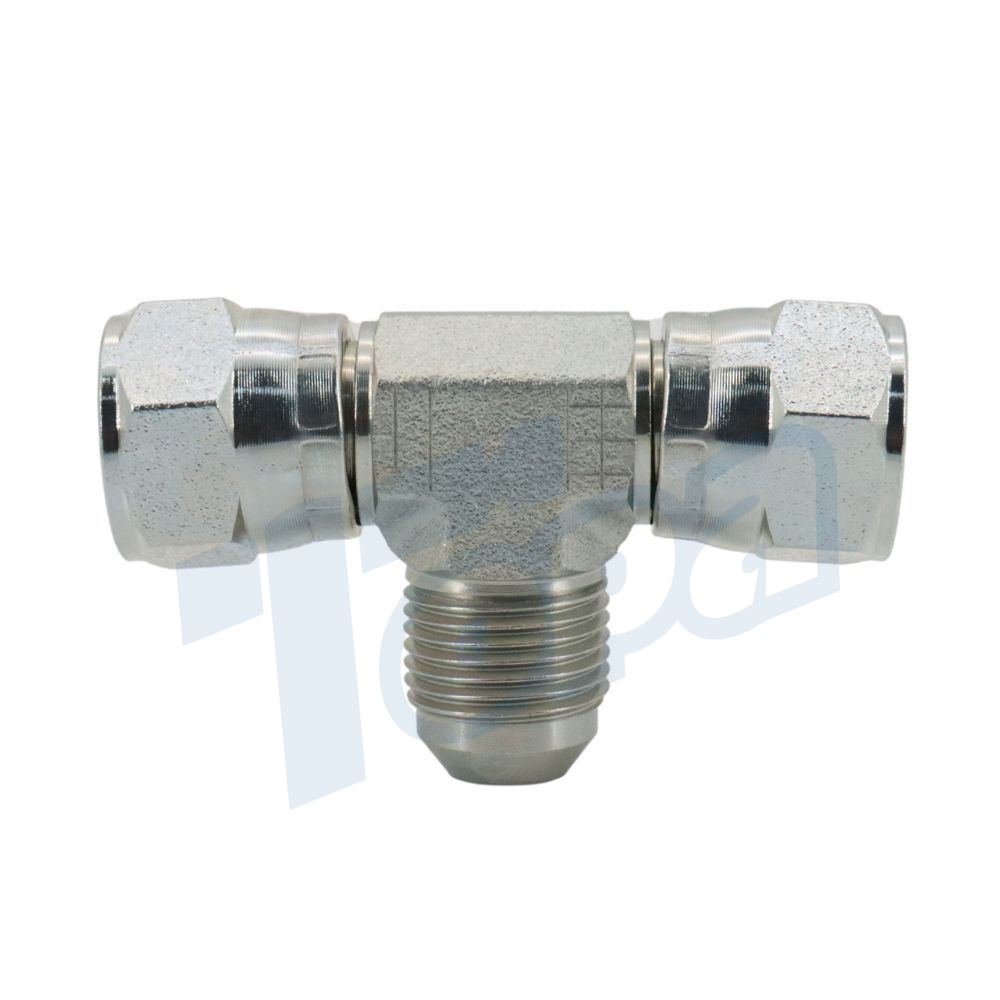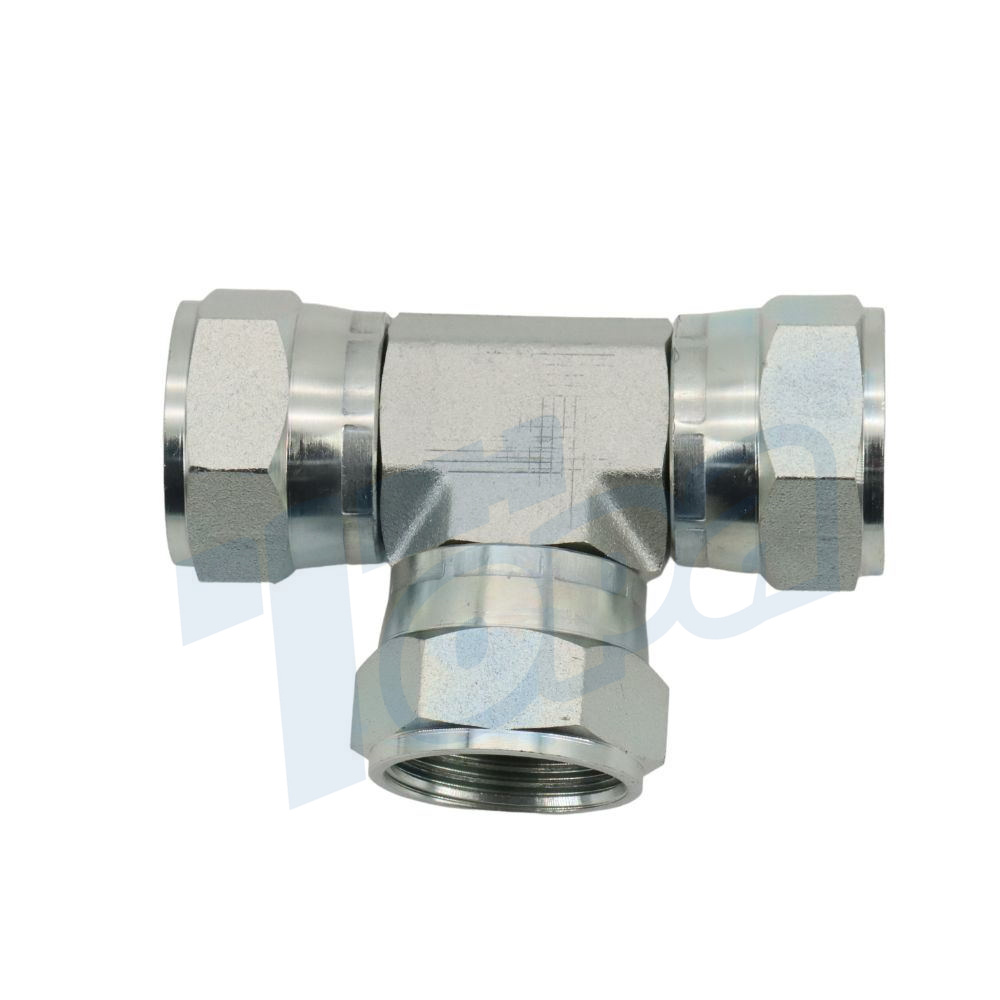
UNC vs UNF Fittings: What is the Difference?
Understanding the intricacies of Unified Fine Threads (UNF) and Unified Coarse Threads (UNC) is critical to the hydraulic fittings industry. UNF threads offer high tensile strength and excellent sealing capabilities, making them ideal for high-pressure and vibration-sensitive applications. On the other hand, UNC threads are easier to assemble and often more cost-effective, making them suitable for general-purpose and maintenance-intensive systems. If you would like more detailed information, please continue reading the article.
Understanding Thread Terminology
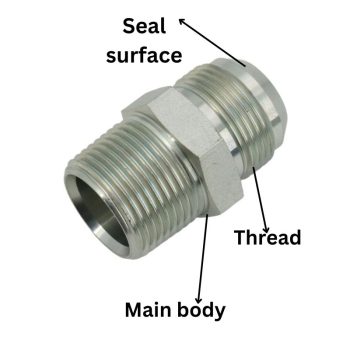
Before delving into the nuances of Unified Fine Threads (UNF) and Unified Coarse Threads (UNC), it is important to understand the basic thread terminology used to support hydraulic fittings. With this basic knowledge, you will be able to make more informed decisions and better understand the specific properties of UNF and UNC threads.

Pitch
The term “pitch” refers to the distance between corresponding points on adjacent threads, usually measured in millimeters or threads per inch (TPI). In hydraulic fittings, pitch plays a critical role in the gripping power of the threads and the likelihood of fluid leakage. The finer the pitch, the better the sealing performance, but the ease of assembly may be sacrificed.
Diameter
“Diameter” is another key metric and is generally categorized as large, small, and pitch diameters. The major diameter is the maximum diameter of the thread, and the minor diameter is the minimum diameter. The pitch diameter is in between and is the diameter where the opposing thread sides intersect. In hydraulic applications, understanding diameter is critical to ensure compatibility between threaded components and to minimize mechanical stress.
Thread Form
“Thread Form” describes the cross-sectional profile of a thread, including angle, depth, and width. For example, UNF and UNC threads follow a specific thread form, the Unified Thread Standard (UTS). The form of a thread affects its load-carrying capacity, durability, and suitability for specific hydraulic tasks. The selection of an inappropriate thread form can lead to inefficiencies and safety risks, so careful selection is required.
Lead
“lead” refers to the axial travel distance of a threaded part in a 360-degree rotation. In multi-start threads, this value is a multiple of the number of starts. In hydraulics, the lead determines the speed of assembly and disassembly, as well as the thread’s resistance to loosening under vibration stress.
What is a UNF Thread?
UNF threads are characterized by a fine pitch and a smaller helix angle. Essentially, a fine pitch means more threads per unit length than a thread with a coarser pitch. The fine pitch gives UNF threads excellent vibration resistance and high tensile strength. In terms of thread form, UNF conforms to the Unified Thread Standard (UTS) and is characterized by a side angle of 60 degrees.
Unified inch screw Fine Threads | |||||
Major Diameter | Threads per inch | Major Diameter | Tap Drill size | Pitch | |
(In) | (mm) | ||||
#0- 80 | 80 | 0.060 | 1.524 | 1.25 | 0.317 |
#1-72 | 72 | 0.073 | 1.854 | 1.55 | 0.353 |
#2-64 | 64 | 0.086 | 2.184 | 1.90 | 0.397 |
#3- 56 | 56 | 0.099 | 2.515 | 2.15 | 0.453 |
#4- 48 | 48 | 0.112 | 2.845 | 2.40 | 0.529 |
#5- 44 | 44 | 0.125 | 3.175 | 2.70 | 0.577 |
#6- 40 | 40 | 0.138 | 3.505 | 2.95 | 0.635 |
#8- 36 | 36 | 0.164 | 4.166 | 3.50 | 0.705 |
#10- 32 | 32 | 0.190 | 4.826 | 4.10 | 0.794 |
#12-28 | 28 | 0.216 | 5.486 | 4.70 | 0.907 |
1/4” – 28 | 28 | 0.250 | 6.350 | 5.50 | 0.907 |
5/16”- 24 | 24 | 0.313 | 7.938 | 6.90 | 1.058 |
3/8″- 24 | 24 | 0.375 | 9.525 | 8.50 | 1.058 |
7/16″- 20 | 20 | 0.438 | 11.112 | 9.9o | 1.270 |
1/2″- 20 | 20 | 0.500 | 12.700 | 11.50 | 1.270 |
9/16″-18 | 18 | 0.563 | 14.288 | 12.90 | 1.411 |
5/8”-18 | 18 | 0.625 | 15.875 | 14.50 | 1.411 |
3/4”-16 | 16 | 0.750 | 19.050 | 17.50 | 1.587 |
7/8″-14 | 14 | 0.875 | 22.225 | 20.40 | 1.814 |
1″-12 | 12 | 1.000 | 25.400 | 23.25 | 2.117 |
1 1/8″-12 | 12 | 1.125 | 28.575 | 26.50 | 2.117 |
1 1/4″ -12 | 12 | 1.250 | 31.750 | 29.50 | 2.117 |
1 3/8″ -12 | 12 | 1.375 | 34.925 | 32.75 | 2.117 |
1 1/2″-12 | 12 | 1.500 | 38.100 | 36.00 | 2.117 |
UNF hydraulic fittings chart
Applications
UNF threads are typically used in applications requiring high precision and high load capacity. Due to their vibration resistance, UNF threads are often used in dynamic hydraulic systems such as mobile equipment and aviation hydraulics. In addition, their high tensile strength makes them suitable for high-pressure systems. Another common application is in miniature components where space is limited but performance cannot be compromised.
Advantages of UNF threads
High tensile strength: The fine pitch and robust thread form contribute to high tensile strength, making UNF threads popular for applications requiring ruggedness.
Vibration resistance: UNF threads offer better resistance to vibration loosening than coarser threads, which is very desirable in dynamic hydraulic systems.
Precision: Fine pitch allows for more precise adjustments, which is critical in applications where precise tolerances are required.
Excellent sealing capability: The design features of UNF threads contribute to excellent sealing, minimizing the chance of leakage in hydraulic systems.
Limitations of UNF threads
Complicated assembly: Due to their fine pitch, they must be assembled carefully to avoid the risk of cross-threading or over-tightening.
Cost: Higher manufacturing accuracy results in higher costs, an important consideration for applications with lower budgets.
Limited availability: Not all hydraulic components are available with UNF threads, sometimes they need to be used in conjunction with adapters or other components.
What is a UNC Thread?
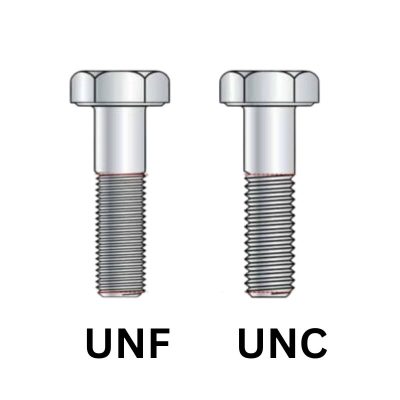
UNC threads are characterized by a coarse pitch and are the most common threads for general-purpose fasteners.UNC threads are characterized by a low number of threads per unit length, which facilitates assembly and disassembly.UNC threads conform to the Unified Thread Standard (UTS), and have a 60-degree flank angle like their UNF counterparts.UNC threads have been developed to meet the requirements of the Unified Thread Standard (UTS) and have a 60-degree flank angle.
Unified Inch Coarse Screw Threads | |||||
Major Diameter | Threads per inch | Major Diameter | Tap Drill size | Pitch | |
(inch) | (mm) | ||||
#1-64 | 64 | 0.073 | 1.854 | 1.50 | 0.397 |
#2- 56 | 56 | 0.086 | 2.184 | 1.80 | 0.453 |
#3- 48 | 48 | 0.099 | 2.515 | 2.10 | 0.529 |
#4- 40 | 40 | 0.112 | 2.845 | 2.35 | 0.635 |
#5-40 | 40 | 0.125 | 3.175 | 2.65 | 0.635 |
#6- 32 | 32 | 0.138 | 3.505 | 2.85 | 0.794 |
#8- 32 | 32 | 0.164 | 4.166 | 3.50 | 0.794 |
#10-24 | 24 | 0.190 | 4.826 | 4.00 | 1.058 |
#12-24 | 24 | 0.216 | 5.486 | 4.65 | 1.058 |
1/4″- 20 | 20 | 0.250 | 6.350 | 5.35 | 1.270 |
5/16”-18 | 18 | 0.313 | 7.938 | 6.80 | 1.411 |
3/8″- 16 | 16 | 0.375 | 9.525 | 8.25 | 1.587 |
7/16″-14 | 14 | 0.438 | 11.112 | 9.65 | 1.814 |
1/2”-13 | 13 | 0.500 | 12.700 | 11.15 | 1.954 |
9/16″-12 | 12 | 0.563 | 14.288 | 12.60 | 2.117 |
5/8”-11 | 11 | 0.625 | 15.875 | 14.05 | 2.309 |
3/4″ -10 | 10 | 0.750 | 19.050 | 17.00 | 2.540 |
7/8″-8 | g | 0.875 | 22.225 | 20.00 | 2.822 |
1″-8 | 8 | 1.000 | 25.400 | 22.85 | 3.175 |
1 1/8”-7 | 7 | 1.125 | 28.575 | 25.65 | 3.628 |
1 1/4″-7 | 7 | 1.250 | 31.750 | 28.85 | 3.628 |
1 3/8″-6 | 6 | 1.375 | 34.925 | 31.55 | 4.233 |
1 1/2″-6 | 6 | 1.500 | 38.100 | 34.70 | 4.233 |
1 3/4″-5 | 5 | 1.750 | 44.450 | 40.40 | 5.080 |
2″-4″1/2 | 4 1/2 | 2.000 | 50.800 | 46.30 | 5.644 |
2 1/4″-4 1/2 | 4 1/2 | 2.250 | 57.150 | 52.65 | 5.644 |
2 1/2″- 4 | 4 | 2.500 | 63.500 | 58.50 | 6.350 |
2 3/4″- 4 | 4 | 2.750 | 69.850 | 64.75 | 6.350 |
3″-4 | 4 | 3.000 | 76.200 | 71.10 | 6.350 |
3 1/4″- 4 | 4 | 3.250 | 82.550 | 77.45 | 6.350 |
3 1/2″- 4 | 4 | 3.500 | 88.900 | 83.80 | 6.350 |
3 3/4″-4 | 4 | 3.750 | 95.250 | 90.15 | 6.350 |
4″-4 | 4 | 4.000 | 101.600 | 96.50 | 6.350 |
UNC hydraulic fittings chart
Applications
UNC threads are used in a wide range of applications where quick assembly and disassembly is required. This includes maintenance-intensive hydraulic systems and general-purpose applications in industrial machinery. Due to their design, UNC threads are often used in larger-sized hydraulic components. In addition, UNC threads are often used in systems where vibration is not a concern, but where assembly is simple.
Advantages of UNC Threads
Ease of assembly and disassembly: The thicker pitch simplifies assembly, making it faster and less likely to cross-thread.
Cost-effective: UNC threads are generally less expensive to manufacture than fine threads.
Availability: Because UNC threads are so widely used, they are readily available, which reduces lead time for parts procurement.
Versatility: UNC threads are versatile in both general and specialized hydraulic applications.
Limitations of UNC threads
Lower vibration resistance: A thicker pitch reduces vibration resistance, making UNC threads less suitable for dynamic hydraulic systems.
Poor sealing ability: Coarse threads may not seal as well as fine threads, increasing the potential for leaks in high-pressure systems.
Lower load capacity: While thicker threads are easier to assemble, they do not have the same load capacity as fine threads, which may limit their use in high-pressure environments.
UNF vs. UNC: the Main Differences
Pitch differences
The core difference between UNF and UNC threads is the pitch; UNF threads have a finer pitch and more threads per length. On the contrary, UNF threads have a coarser pitch and fewer threads per length. The implications are manifold: UNF threads typically have better sealing ability and higher tensile strength, while UNC threads make assembly and disassembly easier and faster.
Strength Considerations
Strength remains the primary consideration in hydraulic applications. UNF threads are ideal for high loads and high pressures because of their higher tensile strength due to the fine pitch, while UNC threads, while easier to assemble, typically have lower load-carrying capacity. Therefore, UNF threads are a more suitable choice for applications that require ruggedness and the ability to withstand extreme pressures.
Application-specific suitability
Dynamic systems: UNF threads are suitable for dynamic hydraulic systems, such as mobile equipment or aerospace systems, where vibration resistance is critical.
Heavy maintenance environments: UNC threads excel in systems that require frequent maintenance because they are easy to assemble and disassemble.
High-pressure systems: If the application involves high-pressure hydraulic systems, UNF threads are often preferred because of their excellent sealing capabilities and higher tensile strength.
General Industrial Use: UNC threads are more versatile and are often used in general industrial machinery where fine pitch threads offer no significant advantage.
Cost Sensitivity: For budget-conscious projects, UNC threads offer a more economical option due to their lower manufacturing cost, without significantly affecting performance.
Choosing the Right Thread
Understand the application: Before determining the thread type, it is important to fully understand the application of the hydraulic system. This includes the level of pressure the system will be subjected to, the type of fluid used, and the frequency of maintenance.
Review material compatibility: Threads can be made from a variety of materials. Make sure the material is compatible with hydraulic fluids to avoid corrosion or wear.
Refer to standards and regulations: Always check your selection against industry standards and local regulations to ensure you are in compliance.
Evaluate Life Cycle Costs: In addition to the initial purchase price, consider the long-term costs associated with maintenance, replacement, and potential system downtime.
Pilot test: Where possible, conduct a small-scale test to evaluate the thread’s performance under real-world conditions before full-scale implementation.
When to Choose UNF Threads
High-pressure environments: UNF threads are ideal for high-pressure applications due to better sealing and higher tensile strength.
Vibration Resistance: If the hydraulic system is subjected to high levels of vibration, UNF threads have a finer pitch, providing better locking and vibration resistance.
Longer service life: The higher cost of UNF threads can be justified in applications where long service life is required and frequent replacement is not possible.
Specialty applications: In aerospace, military or other specialty hydraulic applications, UNF threads are often preferred for their superior performance characteristics.
When to Choose UNC Threads
Ease of assembly: UNC threads are easier and faster to assemble and disassemble, making them ideal for systems that require frequent maintenance.
Lower initial cost: If budget constraints are an important consideration and the application does not involve high pressure or vibration, UNC threads are a more economical choice.
Versatility: For mechanical and hydraulic systems where a fine pitch does not provide substantial benefits, UNC threads offer versatility without sacrificing performance.
How to Identify UNF and UNC Threads
Visual Inspection
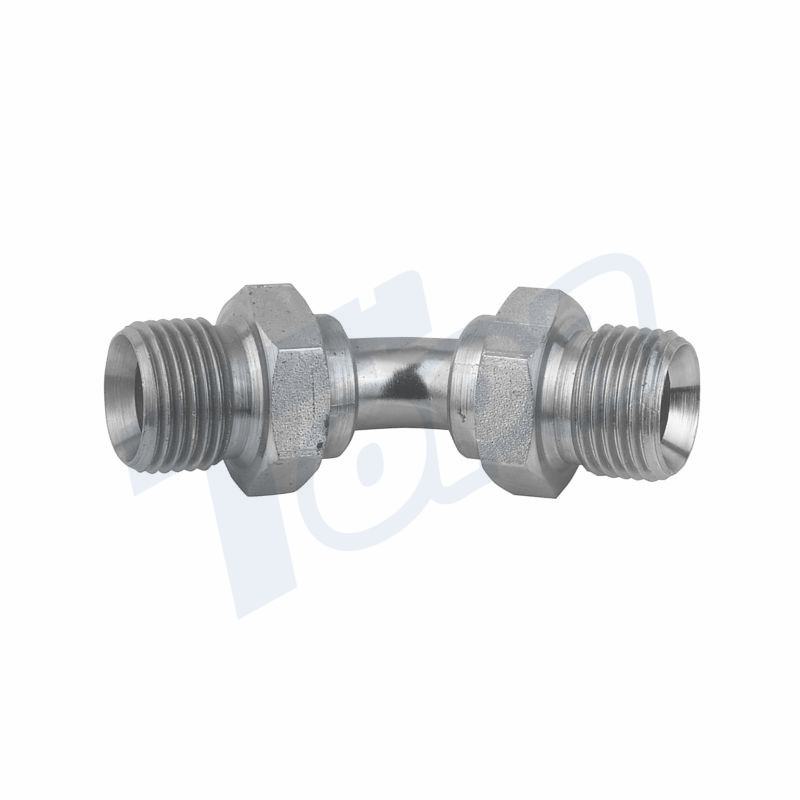
Thread count: Generally, UNF threads have more threads per inch than UNC threads. An initial visual inspection is sometimes sufficient to distinguish between the two.
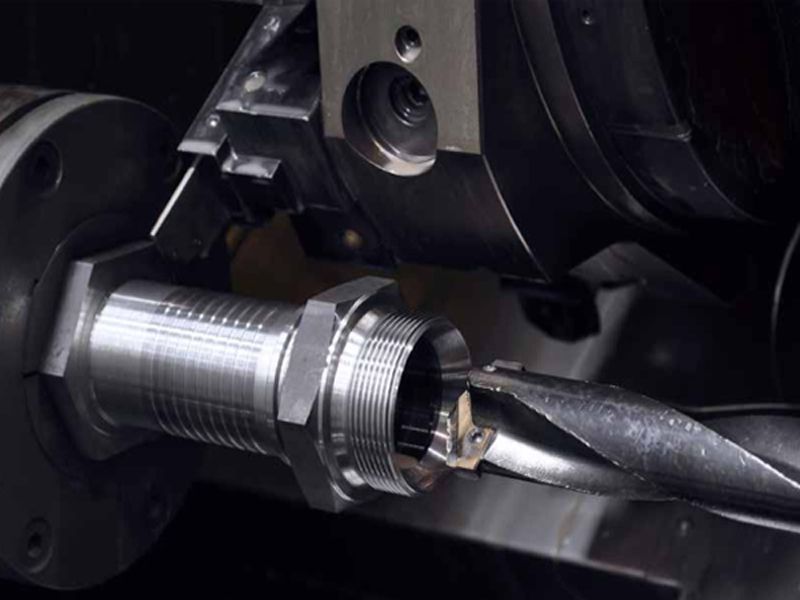
Thread Profile: A closer look at the thread profile can also provide some clues; UNF threads have a narrower thread profile due to the finer pitch, while UNC threads appear thicker and wider.
Physical Measurements
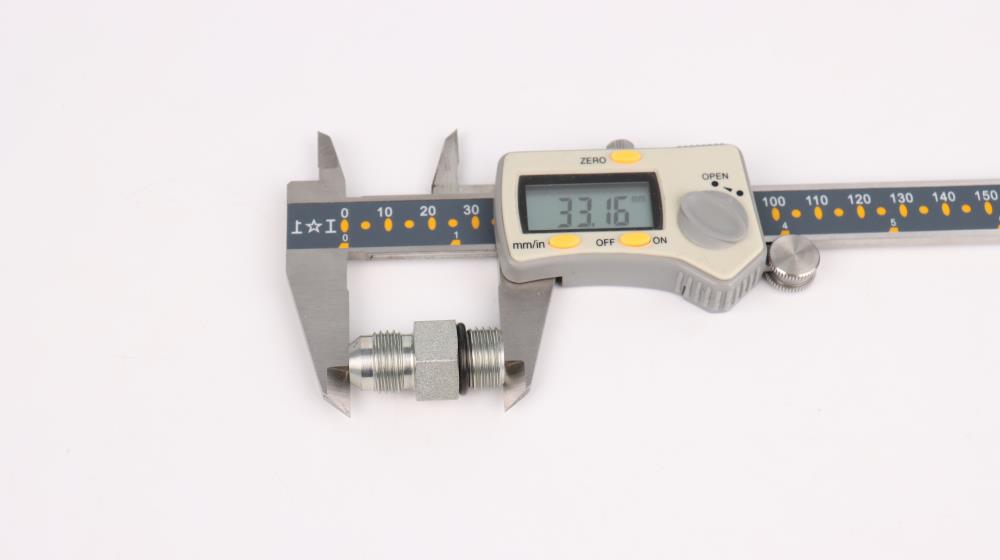
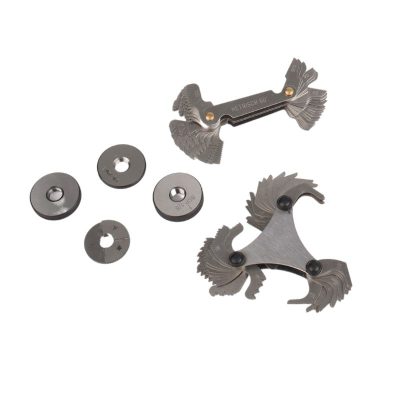
Thread Pitch Gauge: One of the clearest methods is to use a thread pitch gauge. By placing the gauge on the thread, the correct pitch will fit perfectly.
Thread Counting: As an alternative, you can count the number of threads on a bolt or screw in one inch of length. A higher number of threads is usually referred to as UNF, while a lower number of threads is referred to as UNC.
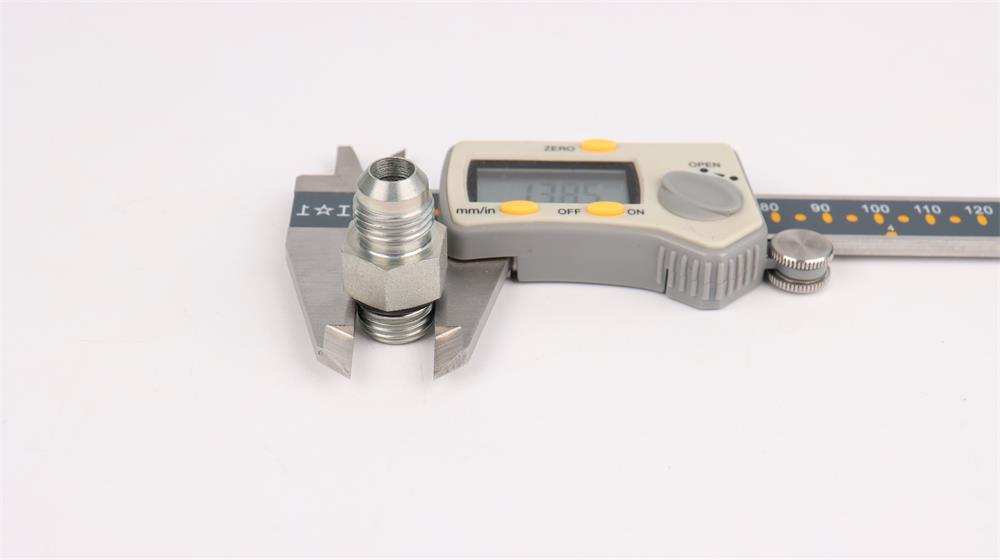
Diameter Measurement: It is also possible to measure the diameter of a thread, but this alone may not be conclusive. In general, you can cross-reference the diameter with the number of threads for a more accurate identification.
Consult the documentation
Manufacturing specifications: Always refer to the product manual or technical data sheet that came with the hardware, which should specify the thread type.
Industry Standards: Thread standards (SAE, ASTM, etc.) often reveal the thread type. For example, SAE bolts with fine threads are typically UNF threads.
Manufacturer Markings
Some manufacturers stamp markings on the surface of bolts and screws, which can be decoded to determine the thread type. Although this method is not universal, it can quickly identify UNF and UNC threads.
Understanding the nuances of thread terminology, such as pitch, diameter and thread form, is critical to making an informed choice. These parameters affect everything from sealing ability and mechanical stress to assembly and disassembly speed. By carefully considering the unique requirements of your system, referencing industry standards, and even conducting pilot tests where possible, you can optimize the selection process to ensure the most efficient and cost-effective operation. Proper thread selection is the foundation of any hydraulic system’s long-term reliability and effectiveness.
Why Choose Topa?
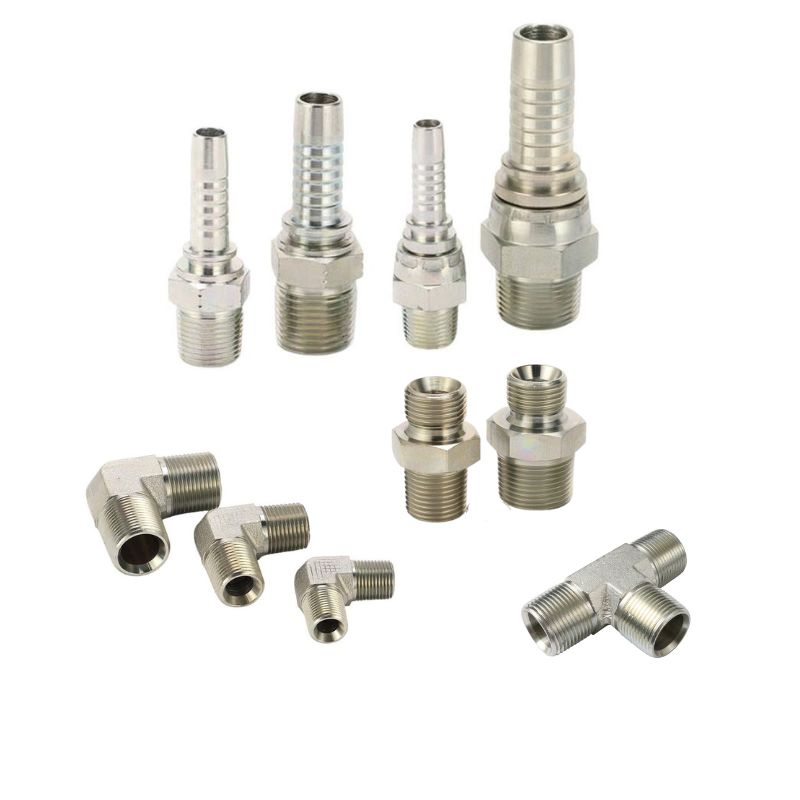
At Topa, we understand that the right type of thread can make all the difference in the effectiveness and efficiency of a hydraulic system. That’s why we’re proud to introduce the UNF (Uniform Fine Thread) and UNC (Uniform Coarse Thread) line of threaded fittings to meet the rigorous demands of a wide variety of hydraulic applications. Our products offer the perfect balance between economy and quality, with optimal performance, service life and safety.
Choose Topa for all your hydraulic fittings needs and experience unrivaled quality and affordability. For advice or to discuss specific requirements for hydraulic applications, please feel free to contact us.


