Elimination Process When Identifying Hydraulic Hose Fittings
Introduction
Hydraulic fittings are critical components of mechanical equipment, and hydraulic hose fitting identification plays a vital role in ensuring operational efficiency and safety. Incorrect fitting identification can lead to leaks, system failures and even dangerous situations. The troubleshooting process involves narrowing down the possibilities through careful observation and measurement, eliminating options that do not meet the relevant system specifications. Using this method ensures that the correct parts are selected to maintain the integrity and performance of the hydraulic system. We will explore various aspects of this process, revealing its importance and associated best practices.
The Anatomy of Hydraulic Hose Fittings
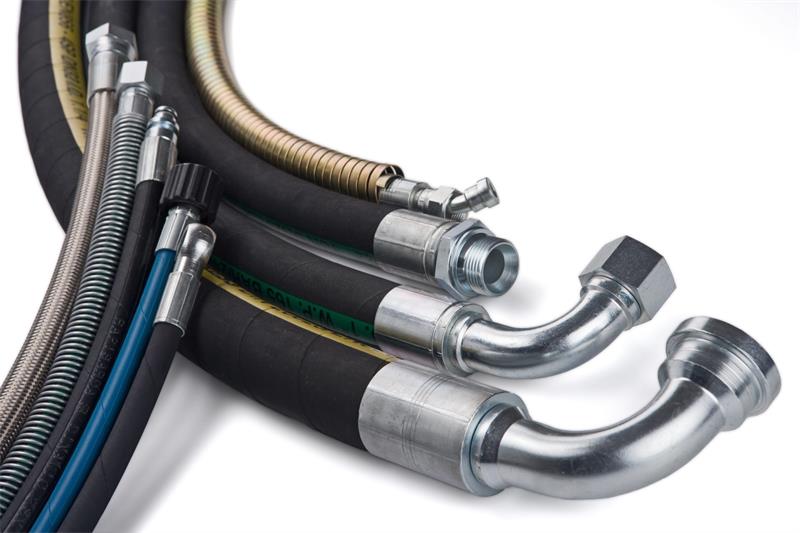
Construction and design of fittings

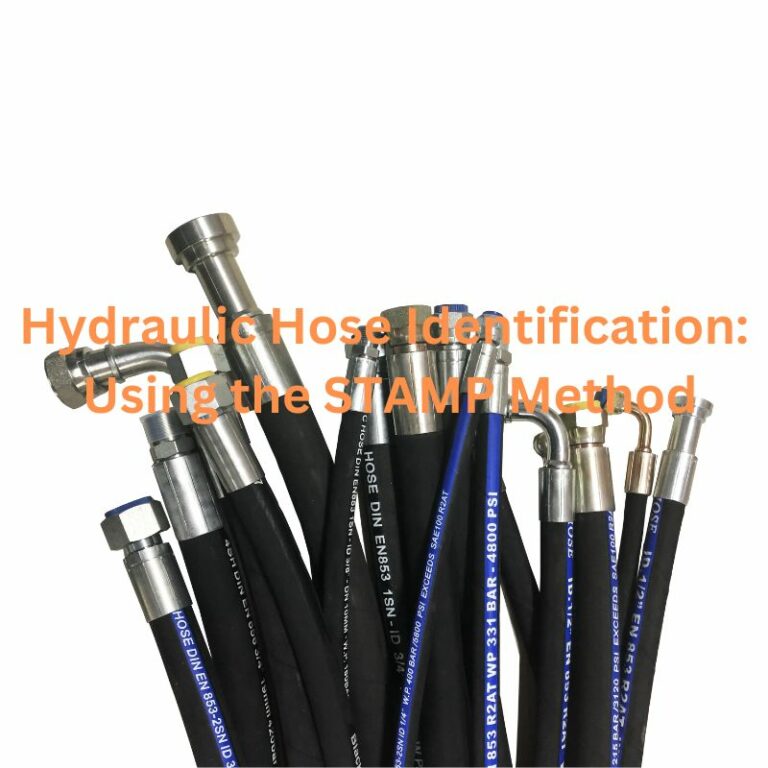
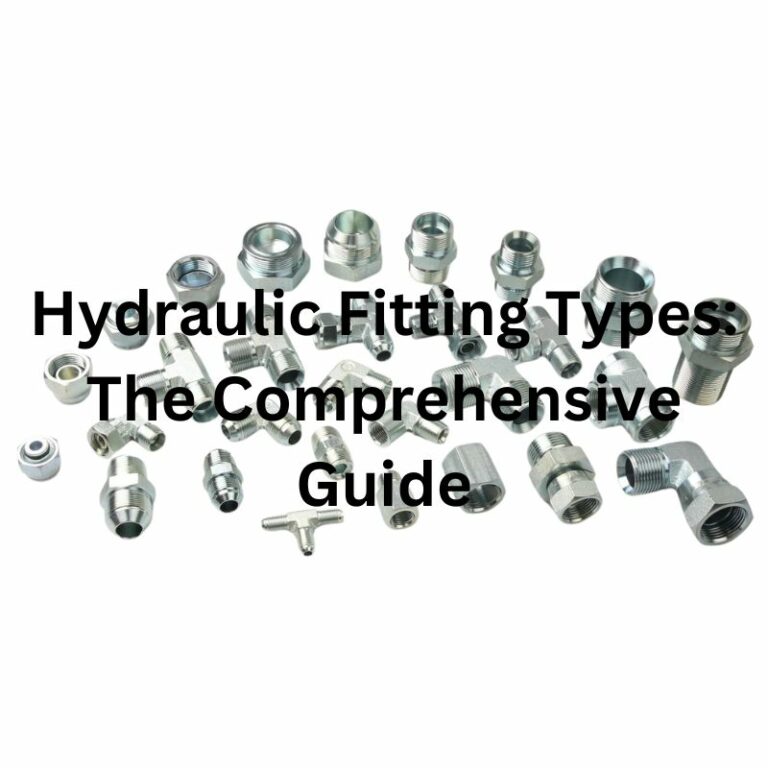
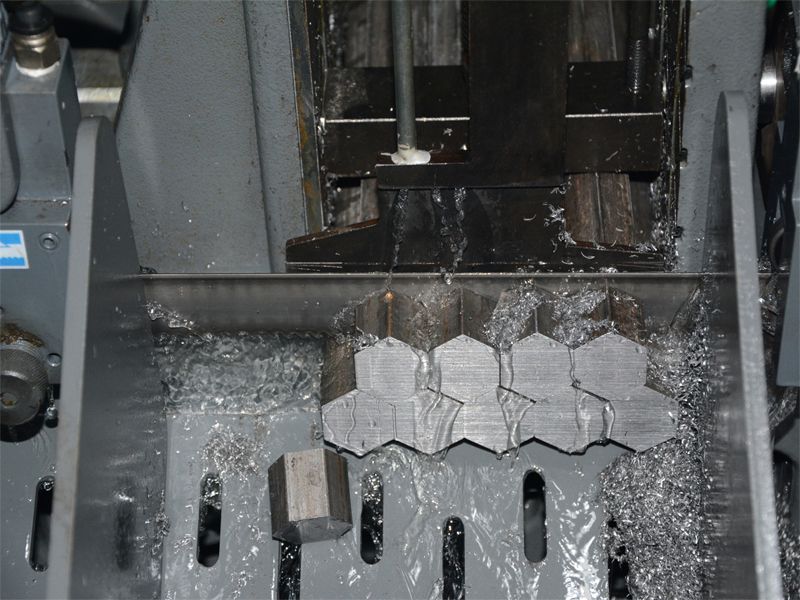
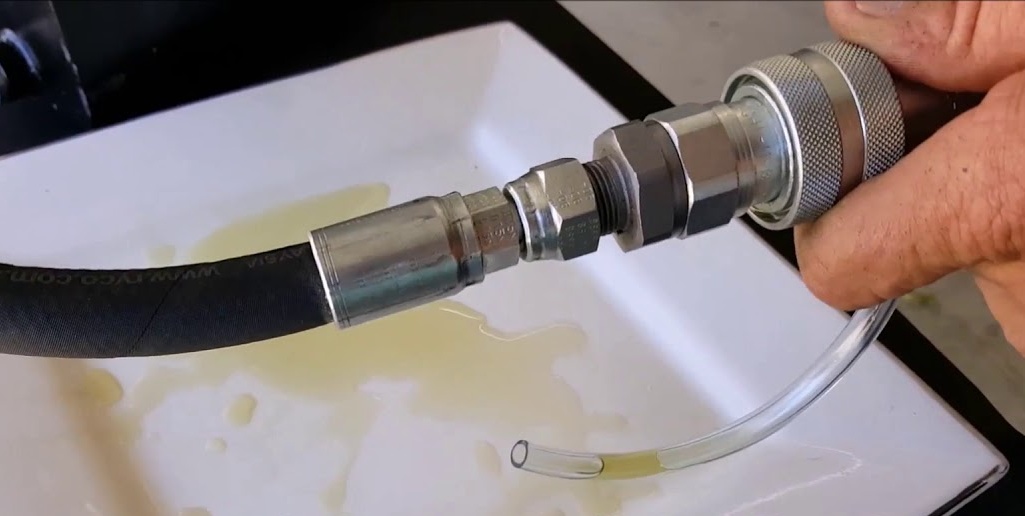
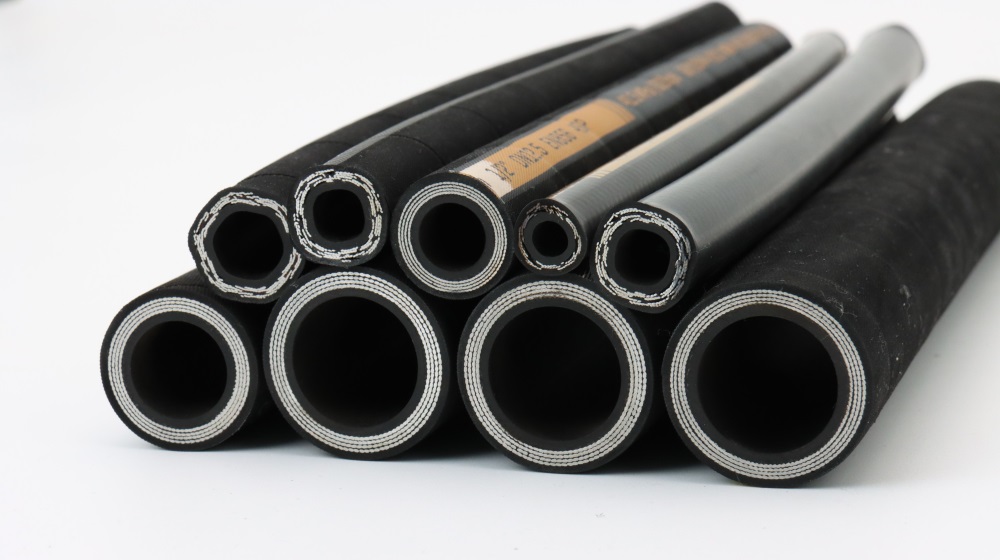
The complex design of hydraulic hose fittings is carefully engineered to meet the demanding conditions of hydraulic systems. Each fitting consists of key components, such as a robust body capable of withstanding high pressures, as well as nuts and ferrules that work together to form a secure, leak-proof seal. The design focuses not only on functionality, but also on ease of assembly and disassembly, a key factor in efficient maintenance.
Material and performance impact
The choice of material for hydraulic hose fittings is critical, as it plays a decisive role in their overall performance and durability. Common materials such as stainless steel, brass and aluminum all offer unique properties. Stainless steel is highly regarded for its superior strength and corrosion resistance, making it the preferred choice for harsh environments.
Brass has excellent ductility and is preferred in applications that require secure tightening without cracking or breaking. Aluminum is known for its lightweight yet strong properties and is often preferred in applications where weight reduction is a priority. The compatibility of these materials with a variety of operating factors, such as temperature range, chemical environment, and pressure levels, is critical in determining the suitability of a fitting for a particular hydraulic application.
The Need for Accurate Identification
Consequences of Incorrect Identification
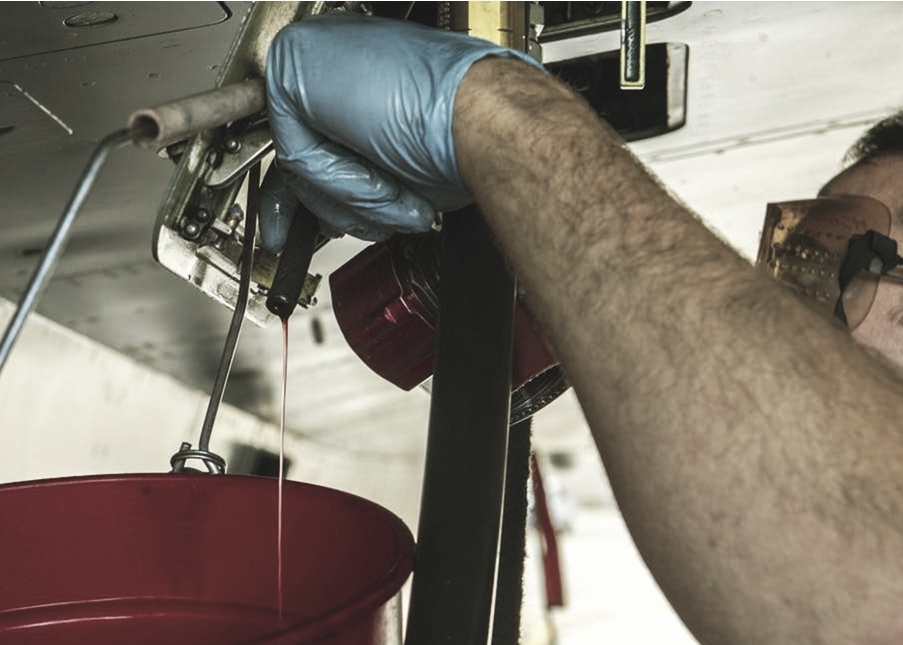
Inaccurate identification of hydraulic hose fittings can have far-reaching consequences, ranging from minor operational glitches to severe system breakdowns. These mistakes can lead to leaks, causing a decline in system efficiency, and in worst-case scenarios, complete system failures. The repercussions of such errors are not just limited to repairs and maintenance costs but also encompass potential safety hazards. For instance, incorrectly identified fittings may not withstand the system’s pressure demands, leading to blowouts or other dangerous situations. These risks underscore the importance of precision in the identification process.
The role of precision in efficiency and safety
Accurate identification of hydraulic hose fittings is critical to the seamless operation and safety of hydraulic systems. Correctly identified fittings maintain system integrity by ensuring that they are able to withstand specified pressures and temperatures. This accuracy goes beyond current operational requirements and greatly benefits the system’s maintenance regime.
By accurately identifying fittings, maintenance personnel can address wear and tear issues beforehand, scheduling replacements and upgrades before failures occur. This proactive approach not only improves the reliability of the system, but also extends the life of the system and ensures that the hydraulic system operates at peak efficiency while complying with safety standards. The effect of precision is therefore twofold: it improves operational efficiency while making the system resistant to potential safety risks.
Step-by-Step Process of Elimination
Identifying the Type of Fitting
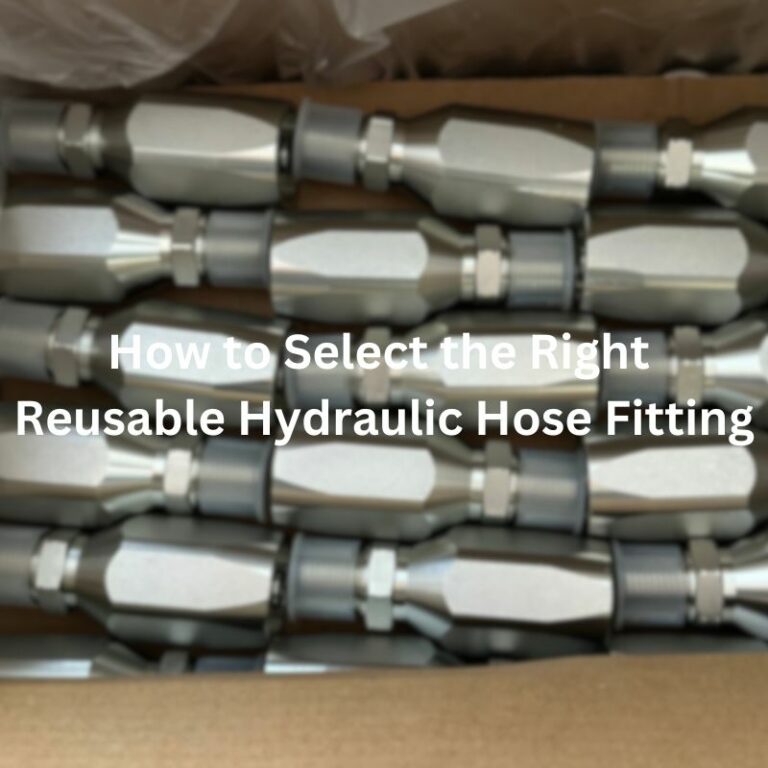
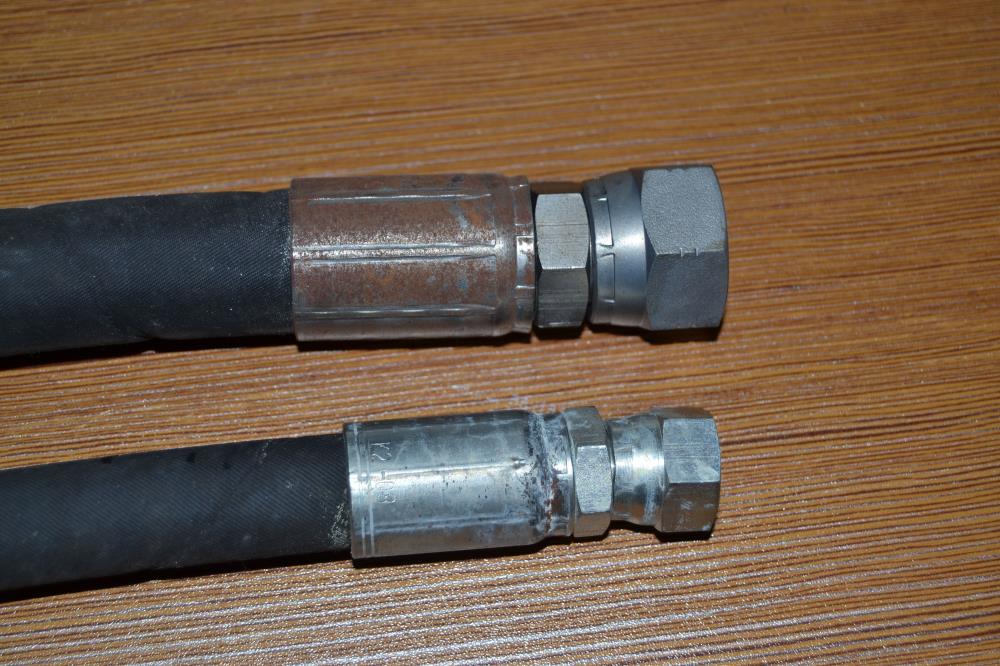
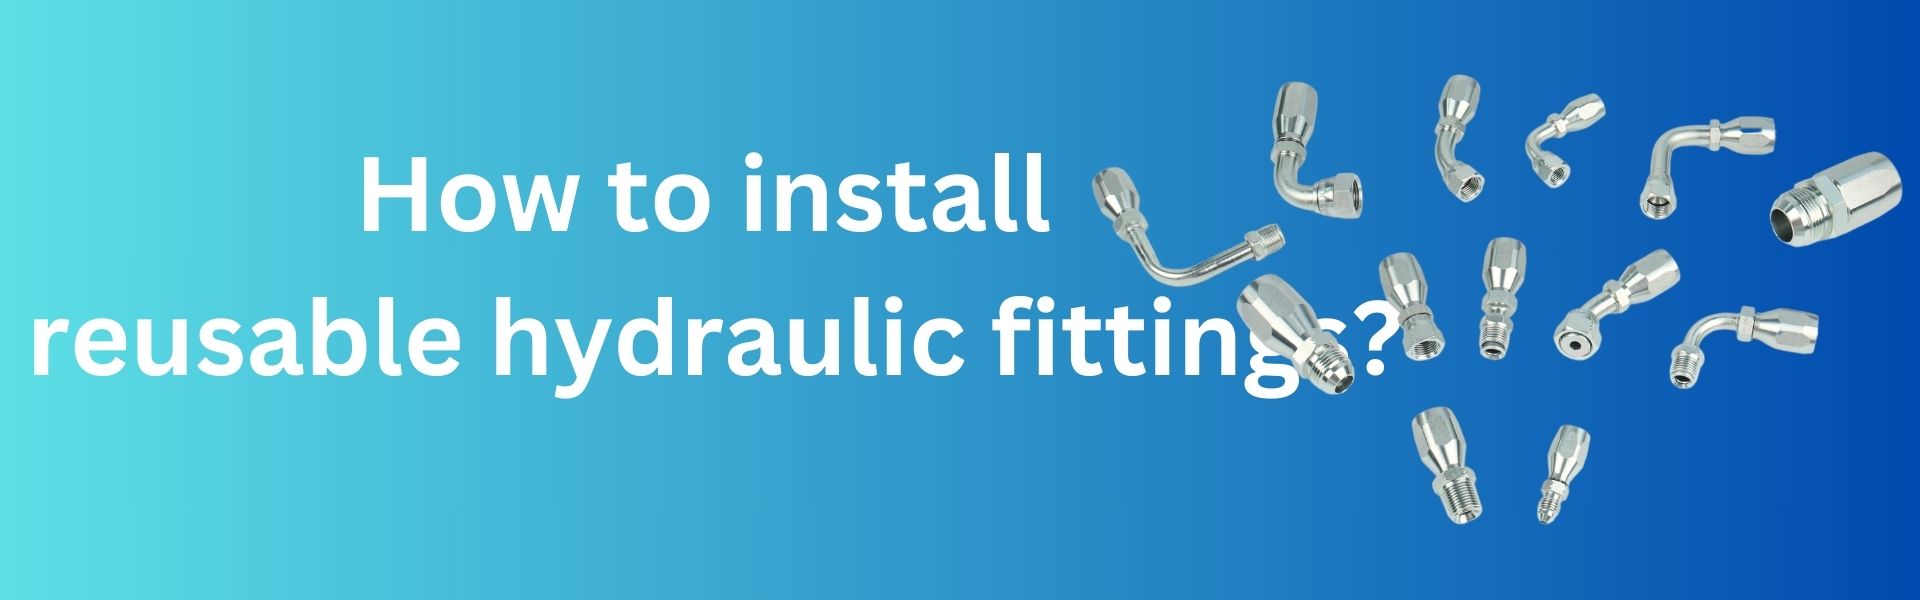
The first step in this systematic process involves distinguishing between permanent and reusable hydraulic hose fittings. Permanent fittings are typically crimped onto the hose, providing a strong, leak-proof connection ideal for high-pressure applications. Reusable fittings, on the other hand, can be disconnected and reused, offering flexibility and cost savings. Understanding the application’s requirements is crucial in choosing the right type of fitting.
Recognizing Fitting Ends and Port Connections
This step is about identifying the specific end types and port connections of the fittings, such as NPT/NPTF (National Pipe Tapered/National Pipe Tapered Fuel), BSPT (British Standard Pipe Taper), and other connections. Each type has unique characteristics and applications. NPT fittings, for example, are common in North America and create a seal through thread deformation, while BSPT fittings are widely used in Europe and Asia.
Determining the Sealing Method
Next, the focus shifts to the sealing methods employed by the fittings. O-ring, mated angle, and threaded are common sealing types. O-ring fittings include a rubber or polymer ring to prevent leaks, mated angle fittings use the angle of the fitting for sealing, and threaded fittings rely on the threads themselves to seal. Choosing the correct sealing method is essential to prevent leaks and ensure the system’s integrity.
Inspecting the Fitting Design
A thorough inspection of the fitting’s design is vital. This includes checking the O-ring location, the nose seat where the fitting makes contact, and the seat angle. These elements are critical in ensuring the fitting will properly align and seal within the hydraulic system. Any mismatch or wear in these areas can lead to potential system failures.
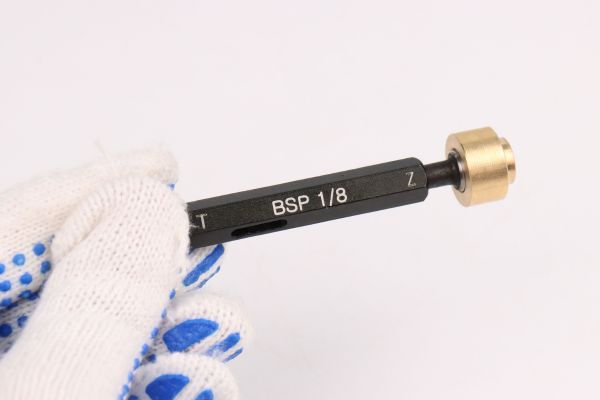
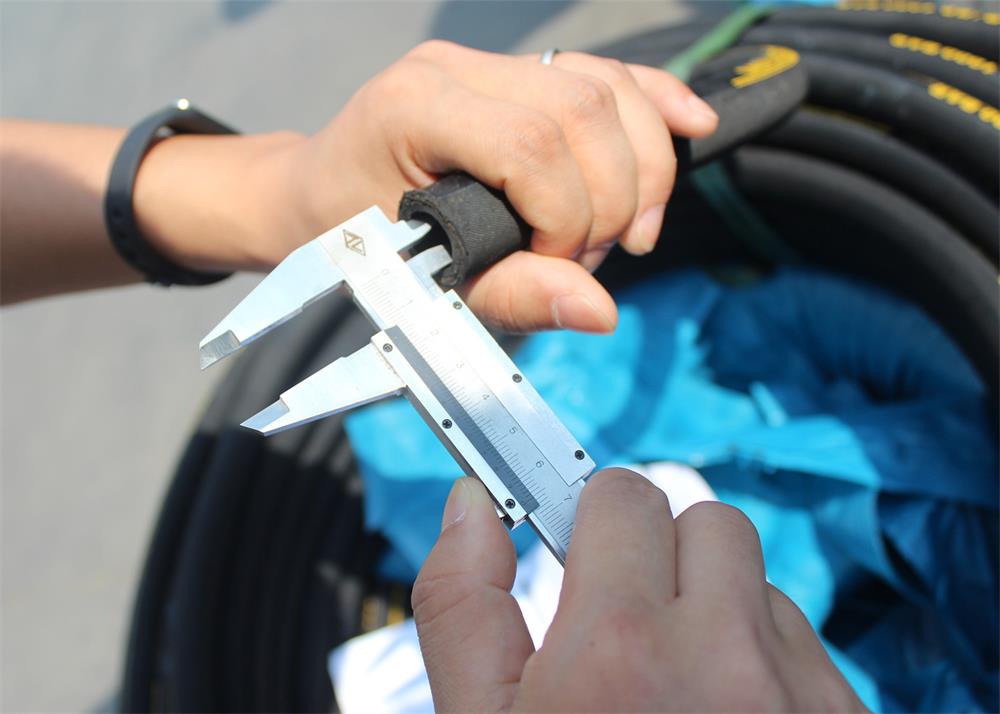
Measuring the Thread
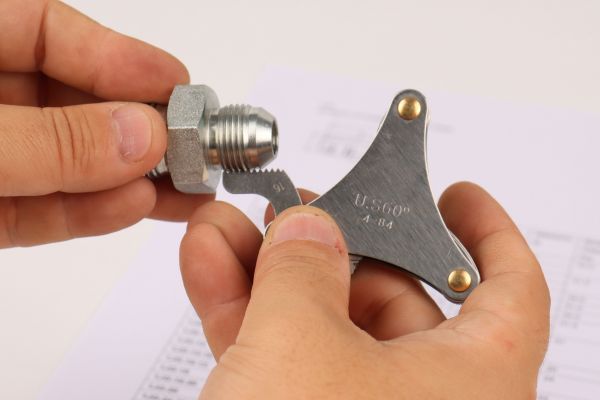
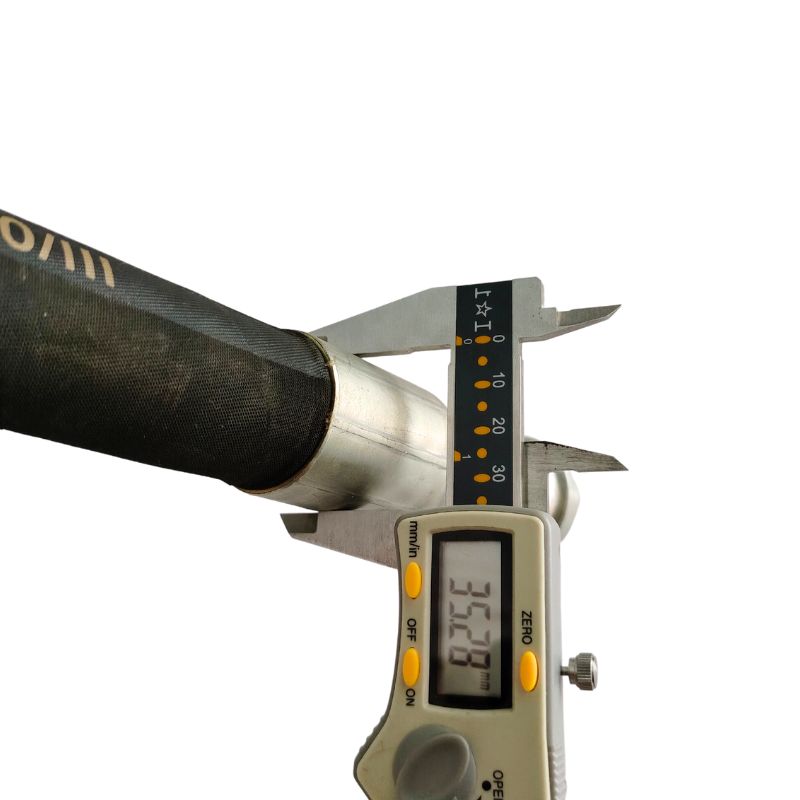
The final step involves measuring the thread diameter and pitch of the fittings. This is typically done using calipers and thread gauges. Accurate measurement ensures that the fitting will correctly match the corresponding port or hose, essential for a leak-proof system. It’s a meticulous process but crucial for the proper functioning of the hydraulic system.
In conclusion, the process of elimination in identifying hydraulic hose fittings requires a detailed understanding of different fitting types, their applications, and the specific requirements of the hydraulic system. This methodical approach ensures the correct fitting is chosen, thereby enhancing the system’s efficiency and safety.
Tools and Techniques for Identification
Essential Measurement Tools
The process of identifying hydraulic hose fittings heavily relies on precise measurement tools. Calipers, available in both digital and analog formats, are indispensable for accurately measuring the dimensions of the fittings. They help in determining the exact size of the hose fittings by measuring external and internal diameters. Alongside calipers, thread gauges are crucial for identifying the thread type and size, ensuring the fitting matches the corresponding part in the hydraulic system.
Laser Etching and Enhanced Visibility
Manufacturers have also started to employ laser etching on hydraulic hose fittings, which involves inscribing crucial information like part numbers and specifications directly onto the fittings. This method enhances the ease and accuracy of identification, especially in systems with a wide variety of fittings. The clear, permanent markings ensure that critical information is readily available, aiding in quick and correct identification.
In conclusion, the identification of hydraulic hose fittings has evolved to include a mix of traditional and modern techniques, leveraging the precision of manual tools and the efficiency of digital solutions. This combination ensures a more accurate, efficient, and user-friendly identification process, catering to the needs of complex hydraulic systems.
Types of Banjo Fittings
Recognizing Thread Types
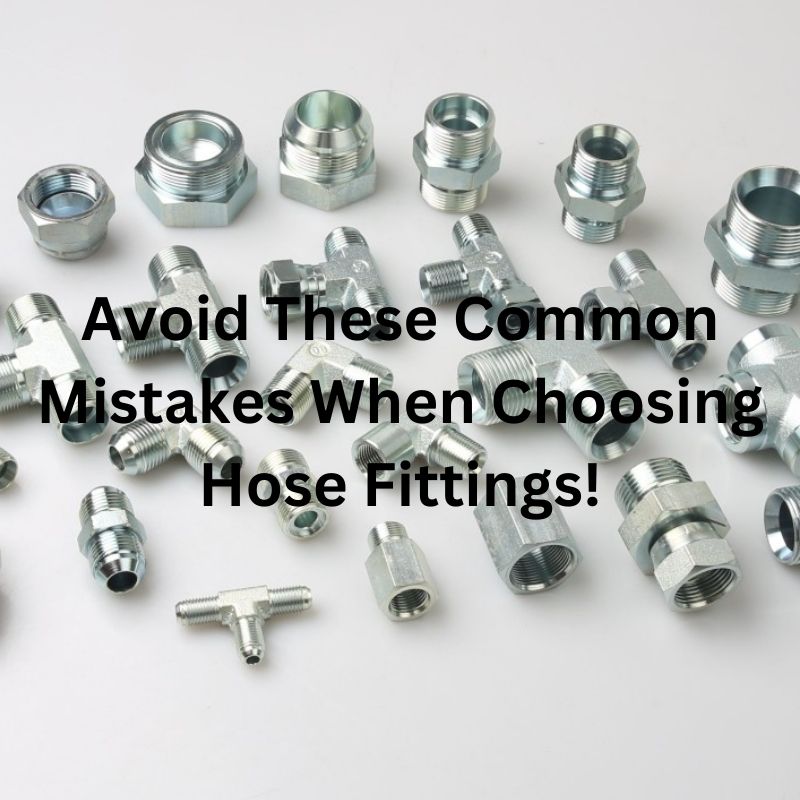
One of the most prevalent errors in the field of hydraulic hose fittings is the misidentification of thread types. Mistaking an NPT (National Pipe Tapered) thread for a BSPT (British Standard Pipe Taper) thread is a typical example. This confusion often arises from a fundamental misunderstanding of the unique characteristics of each thread type, including their distinct angles and pitches. Such errors can lead to improper fittings, resulting in leaks and compromised system performance.
The Significance of Sealing Methods
Underestimating the importance of the correct sealing method is another frequent oversight. A common mistake includes neglecting the necessity of an O-ring in specific fittings or selecting an O-ring of the wrong size. The misapprehension that the sealing method is a minor detail, rather than a critical component of a leak-proof connection, can lead to inadequate installations and potential system failures.
Material and Manufacturer Compatibility
The misconception that all hydraulic hose fittings are universally interchangeable, regardless of their material or the manufacturer, is a significant error with potentially severe repercussions. This belief can lead to the utilization of incompatible components within a system, compromising its integrity and longevity. Different materials are specifically chosen for hose fittings to accommodate various types of hydraulic fluids and environmental conditions, highlighting the critical nature of correct material selection.
The Misconception of Over-Tightening for a Better Seal
The belief that you can get a better seal by tightening a pipe fitting is a misconception that can lead to damaging results. Over-tightening can cause serious damage to threads and sealing surfaces, and instead of preventing leaks, it can cause them. Adherence to the correct torque specification is essential to achieve a safe and effective seal without causing damage to components.
Education and Awareness
Understanding and avoiding these common mistakes and misconceptions are crucial for anyone involved in identifying hydraulic hose fittings. It requires a commitment to education and a willingness to learn from past errors. By familiarizing oneself with the nuances of hydraulic hose fittings, professionals and enthusiasts can enhance the reliability and efficiency of their hydraulic systems, ensuring their optimal performance and longevity.
In conclusion, the process of identifying hydraulic hose fittings is fraught with potential for error, but through awareness and education, these mistakes can be avoided. Ensuring the correct identification of fittings is paramount to maintaining system integrity and efficiency, highlighting the importance of continuous learning and adherence to best practices in the field.
The Role of Standards and Regulations in Identification
Overview of Industry Standards and Regulations
Hydraulic hose fittings are subject to various industry standards and regulations, which are vital in ensuring safety and efficiency. These standards, often set by professional bodies and international organizations, specify dimensions, material types, pressure ratings, and other crucial aspects of fittings. They are designed to ensure that fittings are compatible with different hydraulic systems and can withstand the operational demands placed on them. Common standards include those from the International Organization for Standardization (ISO) and the Society of Automotive Engineers (SAE). These standards play a crucial role in guiding manufacturers and users in the production and selection of hose fittings.
Impact of Compliance on Identification Process
Compliance with these standards affects the process of elimination and identification of hydraulic hose fittings in several ways. Firstly, it simplifies the identification process as fittings conforming to standards have predictable and consistent characteristics. This uniformity helps in quickly narrowing down fitting options during the identification process. Secondly, compliance ensures safety and reliability. When fittings adhere to recognized standards, users can be confident in their performance and suitability for specific hydraulic applications. This compliance is especially critical in high-stress or high-risk environments where fitting failure can have severe consequences.
In summary, understanding and adhering to industry standards and regulations is an integral part of the fitting identification process. It not only ensures the safety and efficiency of hydraulic systems but also streamlines the identification and selection process, making it more straightforward and reliable.
Conclusion
In conclusion, accurately identifying hydraulic hose fittings is critical to ensuring that the correct fitting is selected. Failures, leaks and potential safety hazards can be avoided. Using the right tools and techniques, being aware of common mistakes, and participating in ongoing training and education go a long way toward mastering this skill. Professionals in this field are encouraged to consistently strive for accuracy and precision in their work and to adhere to established standards and regulations. This not only ensures the longevity and reliability of hydraulic systems, but also upholds the highest safety standards in the industry.


