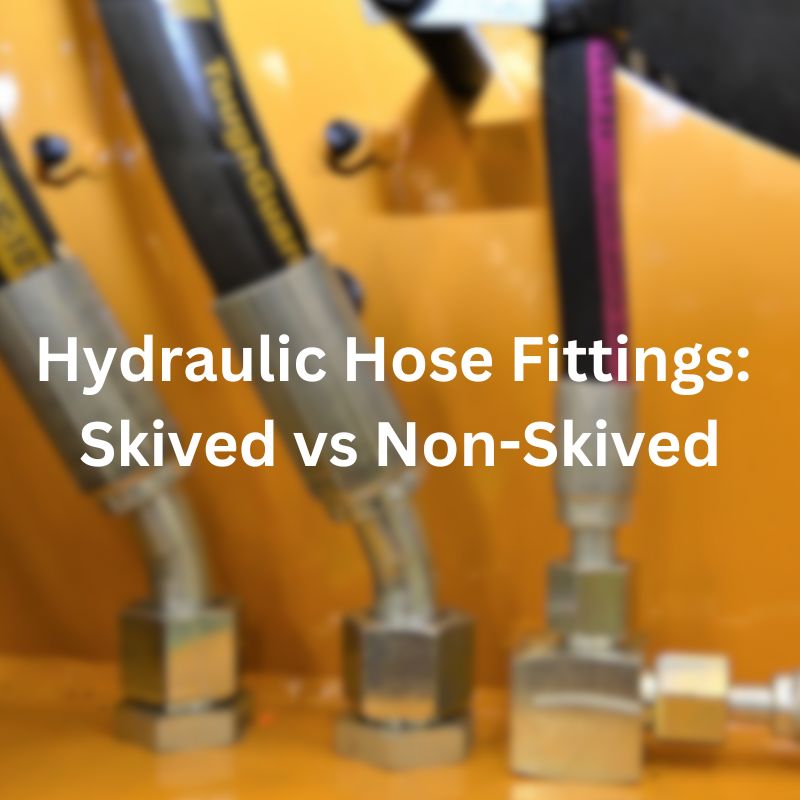
Hydraulic Hose Fittings: Skived vs Non-Skived
Table of Contents
Introduction
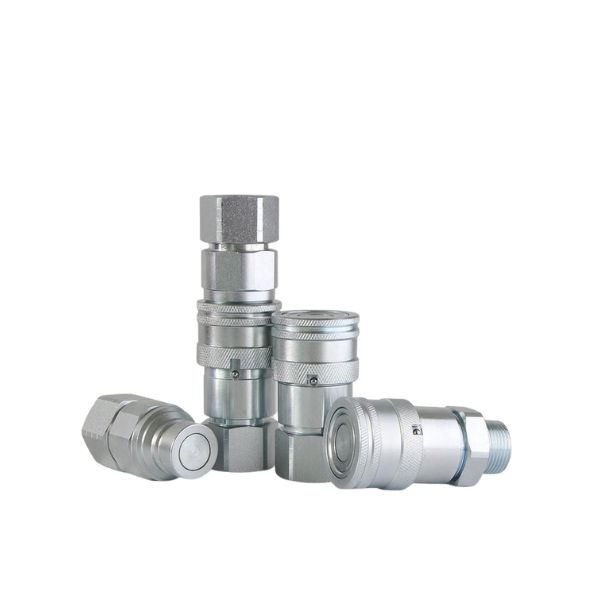
Hydraulic hose fittings are engineered to connect hoses to components such as valves, pumps, and cylinders, forming an integral part of the hydraulic system. The selection of the appropriate type of fitting is not merely a matter of convenience but a fundamental aspect that affects the operational integrity and durability of the system. Skived and non-skived fittings represent two distinct approaches to securing hydraulic hoses. The decision between skived and non-skived hose fittings hinges on several factors, including the specific requirements of the hydraulic system, the working pressure, and the desired balance between assembly convenience and connection security.
What are Skived Hydraulic Hose Fittings?
Definition
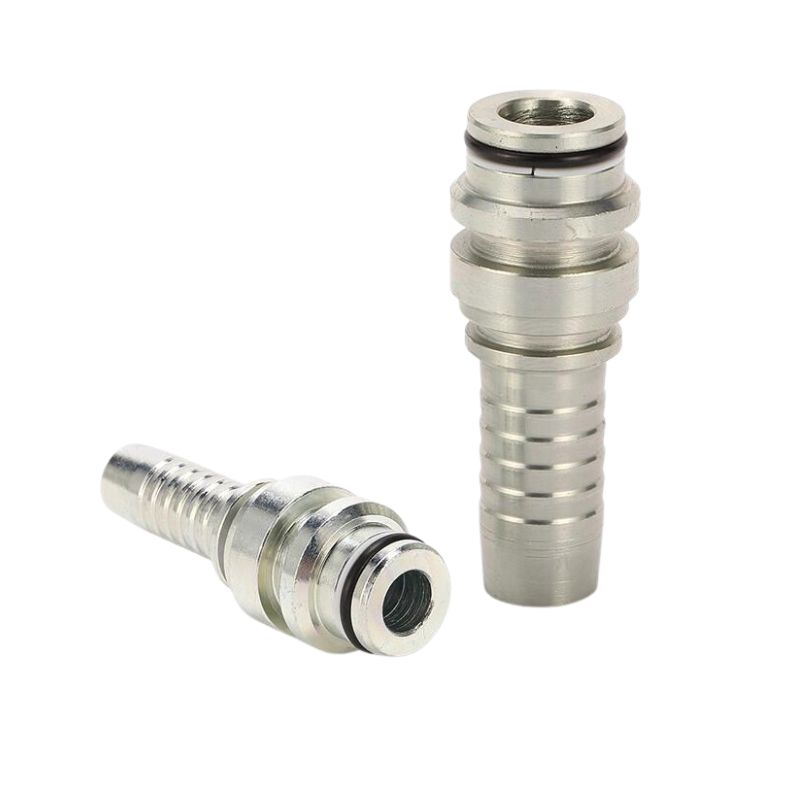
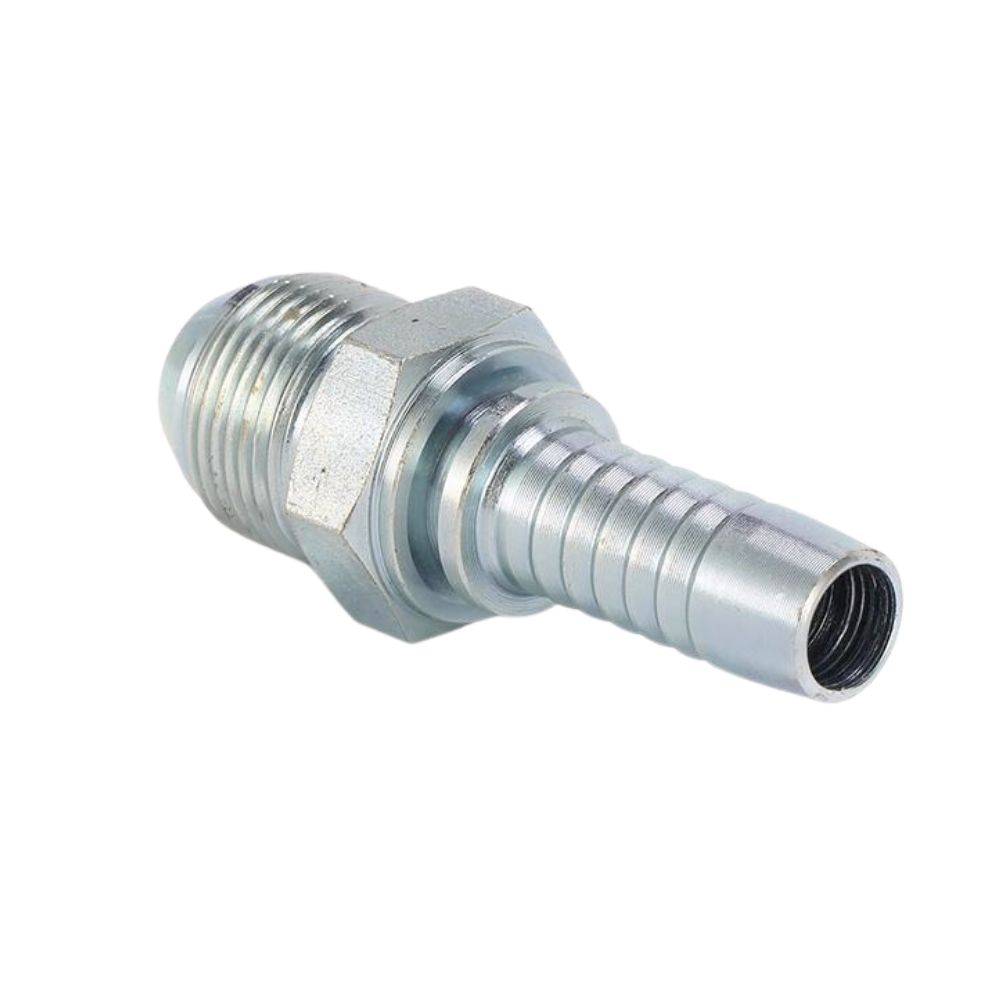
Skived hydraulic hose fittings involve a preparation process where the outer cover of the hydraulic hose is partially removed (skived) to allow a snug fit with the fitting and ferrule. This process exposes the reinforcement layers of the hose, ensuring that the fitting can securely grip the hose’s structure. Skiving can be applied both internally, to the inside diameter, and externally, to the outside diameter, depending on the hose and fitting design.
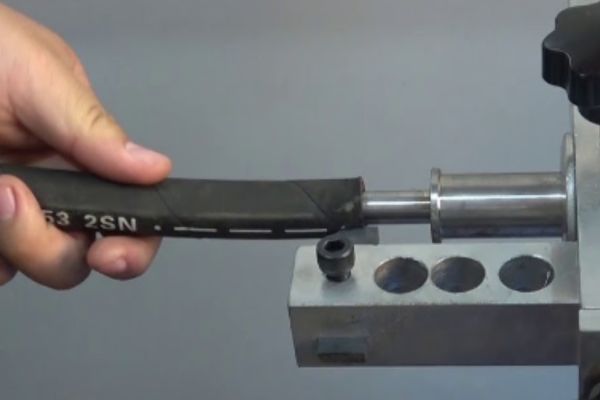
The Skiving Process
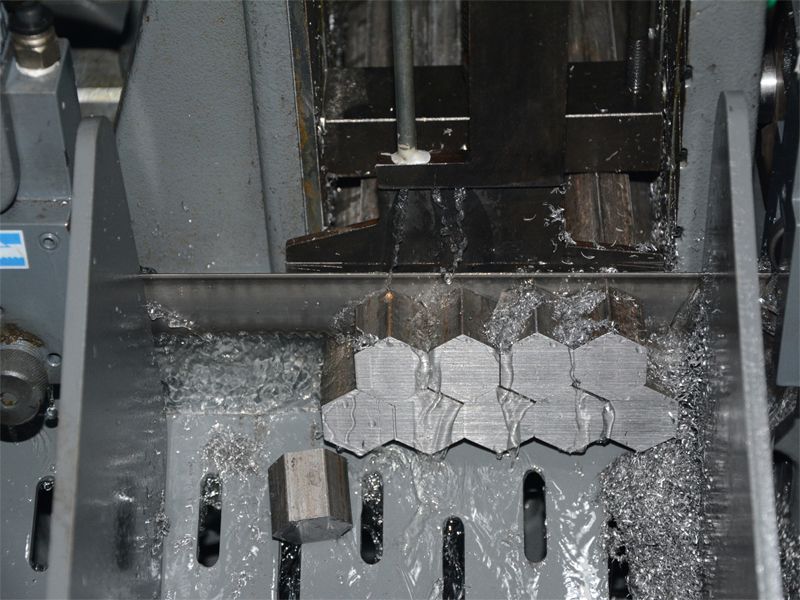
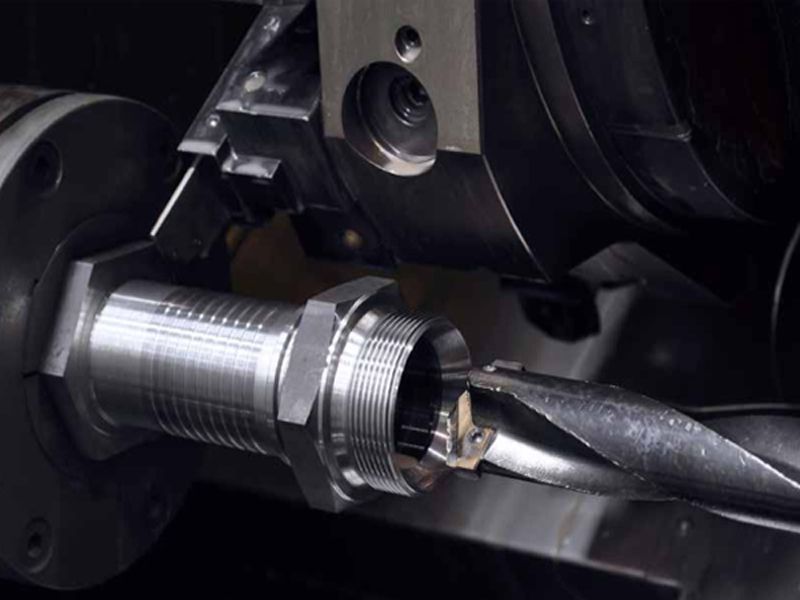
The skiving process requires specific equipment designed to precisely remove the hose cover without damaging the underlying reinforcement layers. Skiving tools can be manual or powered, with the latter providing more consistency and efficiency for high-volume applications. The process involves placing the hose in the skiving machine, where a blade or set of blades trims away the cover to the required depth and length. Proper skiving ensures that the hose and fitting assembly will have a secure, leak-proof connection, especially crucial in high-pressure applications.
Advantages of Skived Fittings
Enhanced Sealing and Strength: By allowing the ferrule to directly contact the hose reinforcement, skived fittings provide a stronger, more reliable seal. This is particularly important in high-pressure environments where any weakness in the connection could lead to leaks or hose failure.
Durability: Skived fittings offer superior durability under fluctuating pressure conditions, reducing the risk of the hose pulling away from the fitting over time.
High-Pressure Capability: The secure connection made possible by skiving is essential for applications involving high-pressure hydraulic fluid. Skived fittings can withstand more extreme conditions without compromising the integrity of the hose assembly.
Disadvantages of Skived Fittings
Additional Processing Time: Skiving adds an extra step to the hose assembly process, requiring more time to prepare each hose before fitting installation. This can impact production efficiency, especially for operations that deal with large volumes of hose assemblies.
Need for Specialized Equipment: The requirement for skiving equipment represents an additional investment for businesses. While necessary for certain applications, the cost and maintenance of skiving tools can be a disadvantage for smaller operations or those with infrequent need for skived fittings.
Skill Requirement: Proper skiving requires training and skill to ensure that the hose is prepared correctly without damaging the reinforcement. Inconsistent skiving can weaken the hose, leading to potential failure points.
Exploring Non-Skived Fittings
Definition and Characteristics of Non-Skived Fittings
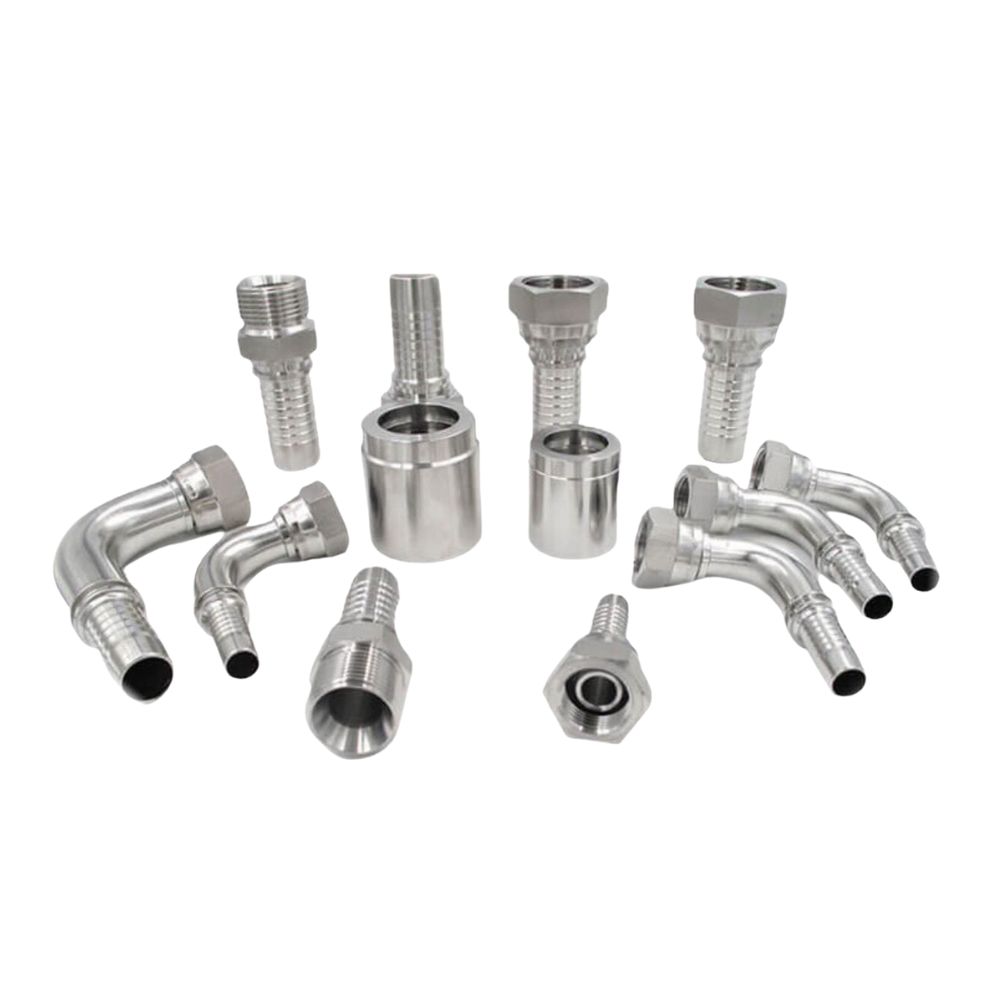
Non-skived hydraulic hose fittings are designed to be used without the need for removing (skiving) any part of the hose’s outer cover or inner layers before assembly. These fittings are engineered to securely attach to the hose, relying on the integrity of the hose’s complete structure for a firm connection. The primary characteristic of non-skived fittings is their ease of use, as they eliminate the preparation step required for skived fittings, allowing for quicker and simpler hose assembly processes.
Advantages of Non-Skived Fittings
Simplified Assembly Process: The most significant advantage of non-skived fittings is the elimination of the skiving process, which reduces assembly time and complexity. This simplicity is particularly beneficial in fast-paced environments where time efficiency is crucial.
Lower Equipment Costs: Since the non-skiving technique does not require special skiving equipment, it reduces the initial investment and maintenance costs for assembly tools, making it an economical choice for many operations.
Versatility and Accessibility: Non-skived fittings are accessible and versatile, suitable for various applications, especially those not subjected to extreme pressures. Their ease of use makes them ideal for on-site repairs and installations where skiving equipment is not available.
Consistency and Safety: Without the need to skive, the risk of improperly prepared hoses is minimized, leading to more consistent and reliable hose assemblies. This consistency contributes to the overall safety and reliability of the hydraulic system.
Disadvantages of Non-Skived Fittings
Limited Pressure Applications: Non-skived fittings may not be suitable for all high-pressure applications. Since the fitting does not engage directly with the hose’s reinforcement layer, it might not provide the same level of security and leak prevention as skived fittings in high-pressure scenarios.
Potential for Increased Wear: The hose cover, left intact with non-skived fittings, can sometimes cause increased wear at the fitting connection point, especially in dynamic applications where the hose is frequently moved or flexed.
Compatibility Issues: While non-skived fittings offer broad applicability, there may be specific hoses or applications where they are not the recommended choice due to compatibility or performance concerns.
Skived vs Non-Skived: Making the Right Choice
Choosing between skived and non-skived hydraulic hose fittings is critical for ensuring optimal performance and reliability of hydraulic systems. This decision impacts not only the ease and speed of hose assembly but also the system’s overall durability and safety under operational pressures. Here’s how skived and non-skived fittings compare and the factors to consider when making your selection.
Comparison of Skived and Non-Skived Fittings
Skived Fittings:
- Require the removal of the hose cover and sometimes the inner layers at the connection point.
- Provide a secure connection by allowing the ferrule to directly contact and grip the hose reinforcement.
- Are typically used in high-pressure applications where a tight seal and strong connection are paramount.
Non-Skived Fittings:
- Do not require the removal of any part of the hose before assembly.
- Offer a quicker and simpler assembly process, reducing preparation time.
- Are suitable for low to medium-pressure applications where ease of assembly and cost are significant considerations..
Factors to Consider When Choosing
System Pressure Requirements:
- High-pressure systems often necessitate skived fittings for their superior strength and leak resistance.
- Non-skived fittings are generally adequate for low to medium-pressure applications, offering a balance between performance and convenience.
Assembly Time and Labor:
- Non-skived fittings reduce assembly time and labor costs, as no skiving is required.
- Skived fittings, while requiring more preparation time, ensure a more secure connection, which may reduce maintenance and downtime in the long run.
Equipment Availability:
- Skiving requires specialized equipment. Lack of access to skiving tools makes non-skived fittings a more practical choice.
- For operations already equipped with skiving tools, the choice may lean towards skived fittings for certain applications, considering the investment in equipment.
Application and Flexibility Needs:
- Consider the application’s specific needs, including flexibility and movement. Non-skived fittings might wear more quickly in dynamic applications due to the intact hose cover at the fitting site.
- Skived fittings may offer better durability in applications involving frequent hose movement or bending.
Cost Considerations:
- Non-skived fittings can be more cost-effective upfront due to the elimination of skiving equipment and labor.
- Skived fittings, though potentially more costly initially, may offer savings through reduced maintenance and longer system life, especially in critical high-pressure applications.
Compatibility with Hose Types:
- Certain hose types may require or perform better with skived or non-skived fittings. Always check the manufacturer’s recommendations to ensure compatibility and optimal performance.
Selection and Installation
Selecting and installing hydraulic hose fittings correctly is crucial for ensuring the reliability, longevity, and performance of hydraulic systems. Here are comprehensive best practices to guide you through the selection, installation, and maintenance of hydraulic hose fittings.
Tips for Selecting the Right Hydraulic Hose Fittings
Understand System Requirements: Assess the hydraulic system’s pressure, temperature, and fluid compatibility requirements to ensure the chosen fittings meet or exceed these criteria.
Check Compatibility: Ensure the hose and fittings are fully compatible, including size, type, and material, to prevent leaks and failures.
Consider Application Conditions: Take into account the environmental conditions (e.g., exposure to chemicals, temperature extremes, UV light) and mechanical conditions (e.g., vibration, bending, and abrasion) the fittings will be subjected to.
Quality Matters: Opt for high-quality fittings from reputable manufacturers to ensure reliability and safety. Quality fittings can withstand harsh conditions and reduce the likelihood of failure.
Safety Standards and Certifications: Look for fittings that comply with relevant industry standards and certifications. This compliance ensures the fittings have been tested and approved for specific pressures and conditions

Guidelines for Proper Installation
The guidelines provided for the proper installation of skived and non-skived fittings are essential for ensuring the reliability and performance of hydraulic systems. Here’s a breakdown and further elaboration on these steps:
Preparation
For Skived Fittings:
The preparation involves measuring the area of the hose that needs to be skived with precision. It’s crucial to remove the right amount of hose cover to expose the reinforcement layer without causing any damage to it.
For Non-Skived Fittings:
The emphasis here is on ensuring the hose end is clean and free from any form of damage or imperfection. Since the non-skived fittings do not require the removal of the hose cover, inspecting the hose end for any damage.
Installation Process
Lubrication:
Applying lubricant to both the fitting and hose end can significantly ease the insertion process. However, it’s essential to follow the manufacturer’s recommendations regarding the type of lubricant to use, as some materials may not be compatible with the hydraulic fluid or hose material.
Insertion:
Carefully pushing the fitting into the hose until it reaches the designated stop is crucial. This step requires attention to avoid any misalignment or partial insertion, which could compromise the assembly’s integrity.
Crimping:
Using a crimping machine, the fitting is securely attached to the hose. It’s imperative to adhere to the crimp specifications provided by the fitting’s manufacturer. Incorrect crimping, whether over or under-crimping, can lead to leaks, fitting displacement, or even hose failure under pressure.
Inspection
Post-installation inspection is a critical step in the installation process. Checking the assembly for any signs of misalignment, improper crimping, or other potential issues is essential for ensuring the system’s performance and safety. Any anomalies found during the inspection should be addressed before the hose is put into service.
Maintenance Advice
Regular Inspection: Periodically inspect hose fittings for signs of wear, corrosion, leaks, or damage. Pay special attention to fittings in high-stress areas or those exposed to harsh conditions.
Proper Cleaning: Keep fittings clean, especially in environments where contaminants are present. Follow manufacturer recommendations for cleaning procedures and frequencies.
Timely Replacement: Replace hose fittings at the first sign of degradation or according to the manufacturer’s recommended service intervals. Delaying replacement can lead to system failures.
Systematic Documentation: Keep records of installation dates, maintenance activities, and any issues encountered with specific fittings. This documentation can help identify patterns or recurring issues that may warrant a change in fitting selection or maintenance practices.
Training: Ensure that personnel responsible for selecting, installing, and maintaining hydraulic hose fittings are adequately trained. Understanding the proper techniques and best practices is essential for system reliability.
Conclusion
The choice between skived and non-skived options represents a critical juncture, one that demands careful consideration and expertise. By adhering to best practices for selection, installation, and maintenance, we can ensure the optimal performance of hydraulic systems, safeguarding their efficiency, reliability, and safety for years to come. In essence, the debate between skived vs non-skived fittings is more than a technical dilemma—it’s a reflection of the broader challenges and considerations inherent in hydraulic system design and maintenance.
If you’re looking to enhance your hydraulic systems with high-quality fittings, consider Topa Hydraulic Hose Fittings. With a comprehensive range of both skived and non-skived fittings, Topa ensures that your hydraulic systems operate at peak performance. Our extensive selection is designed to meet the diverse needs of various applications, providing you with the reliability and durability your operations demand. Contact us today to order or learn more about how our fittings can benefit your operations.


