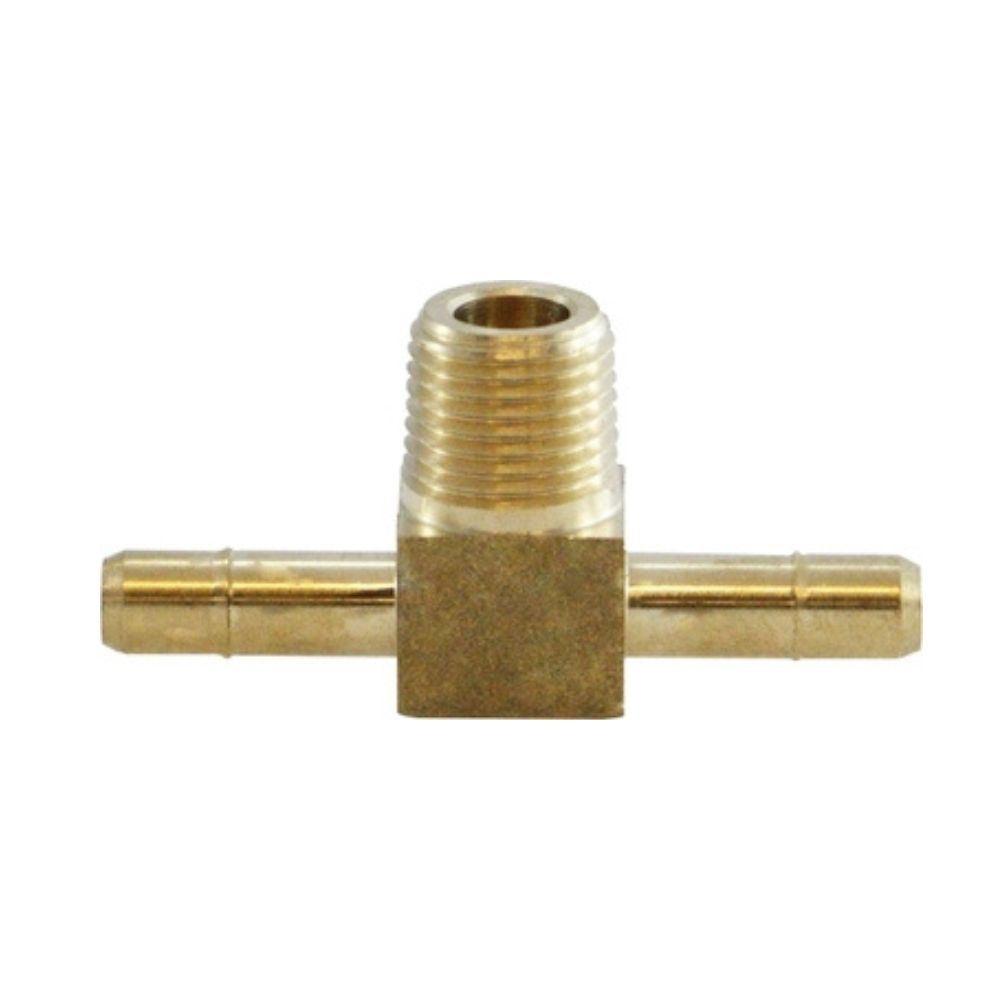
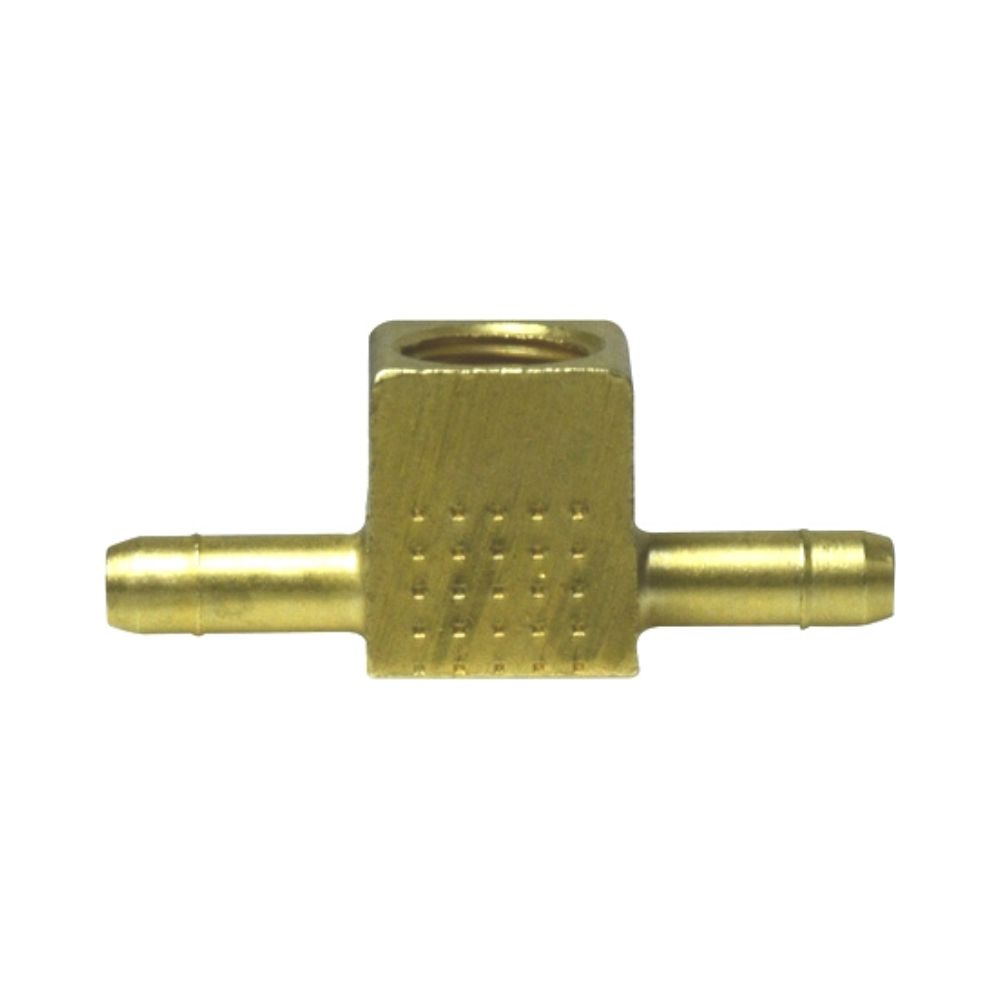
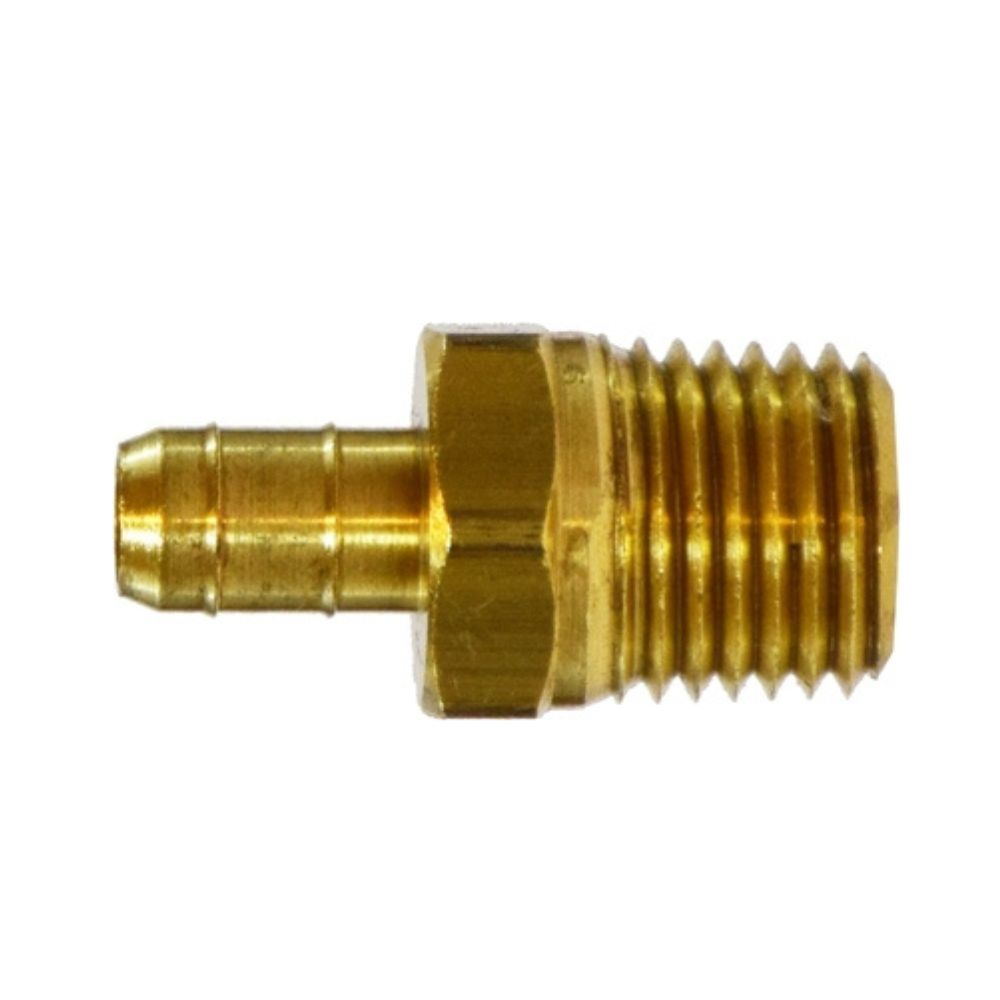
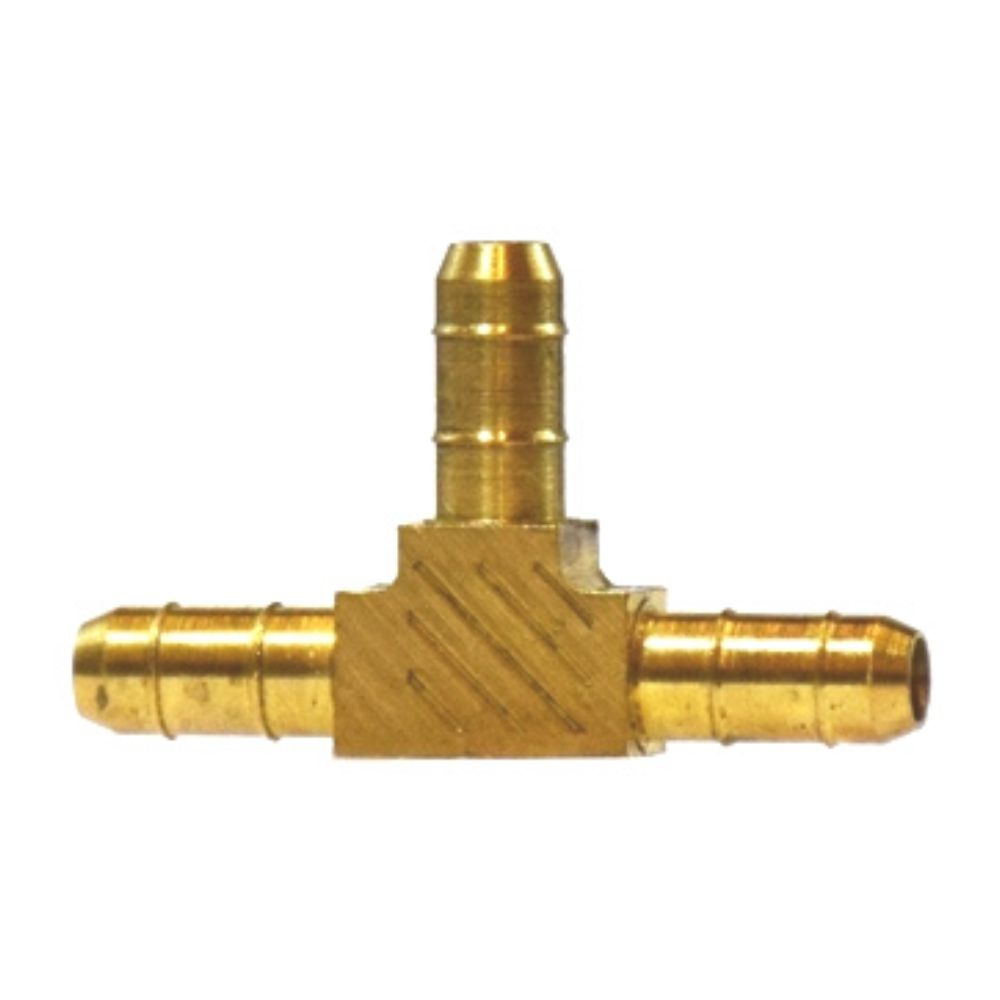
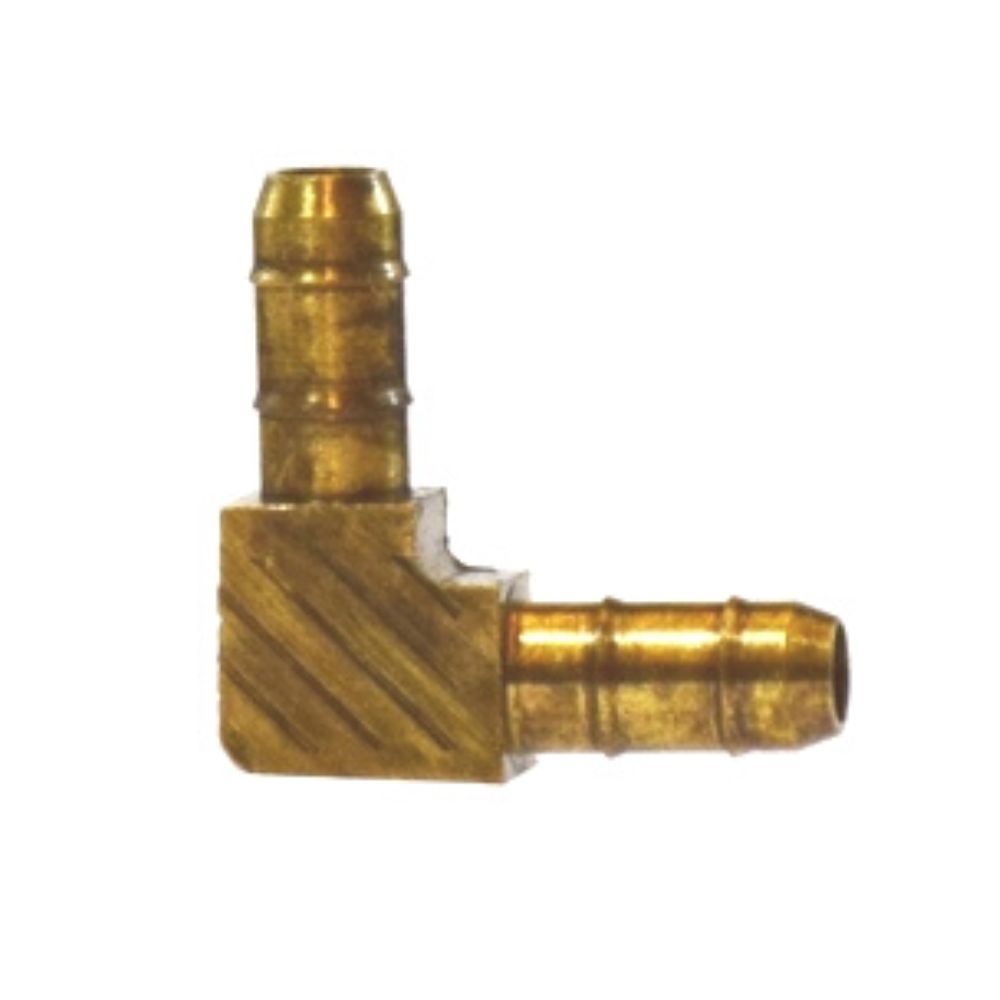
Topa can supply various types of brass barb fittings for polyethylene tubings. These brass barb fittings are suitable for a wide range of applications and are of the highest quality and at a fair price.
Therefore, if you have questions about brass barbed fittings, please contact us and we will answer your questions as soon as possible.
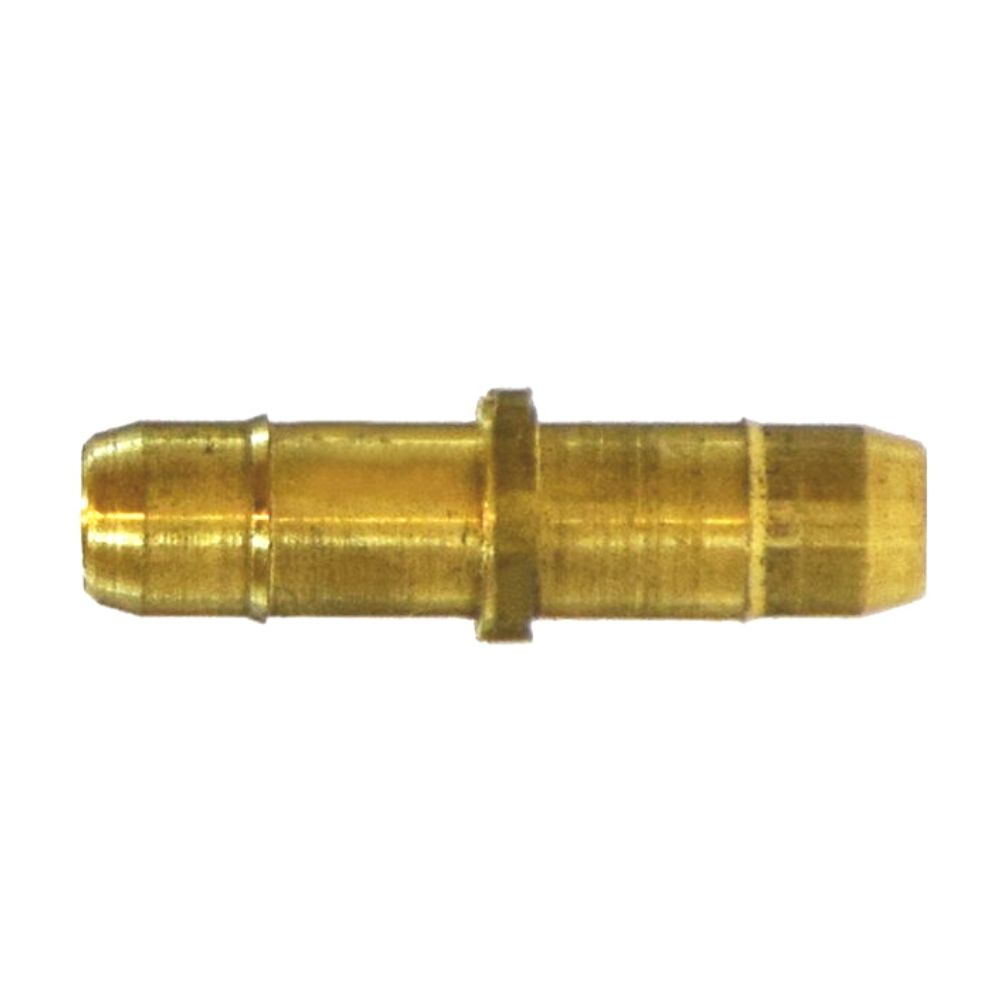
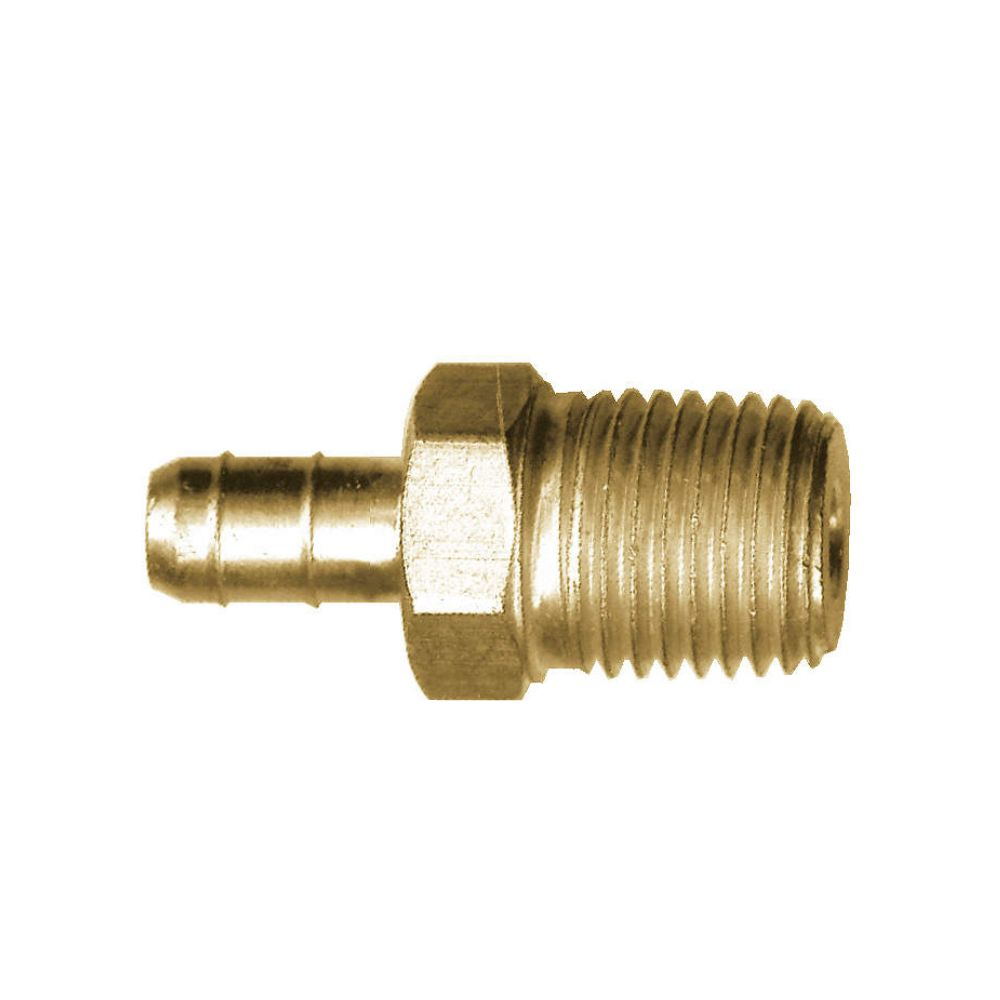
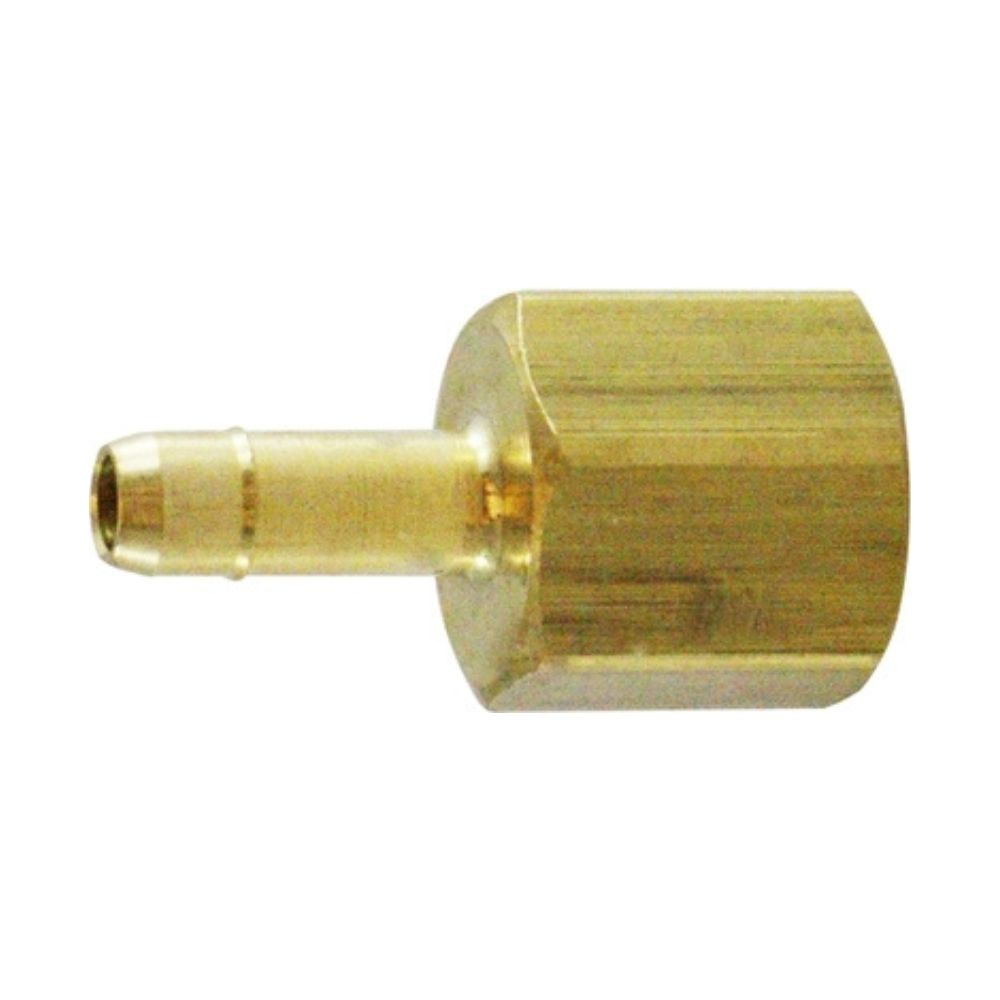
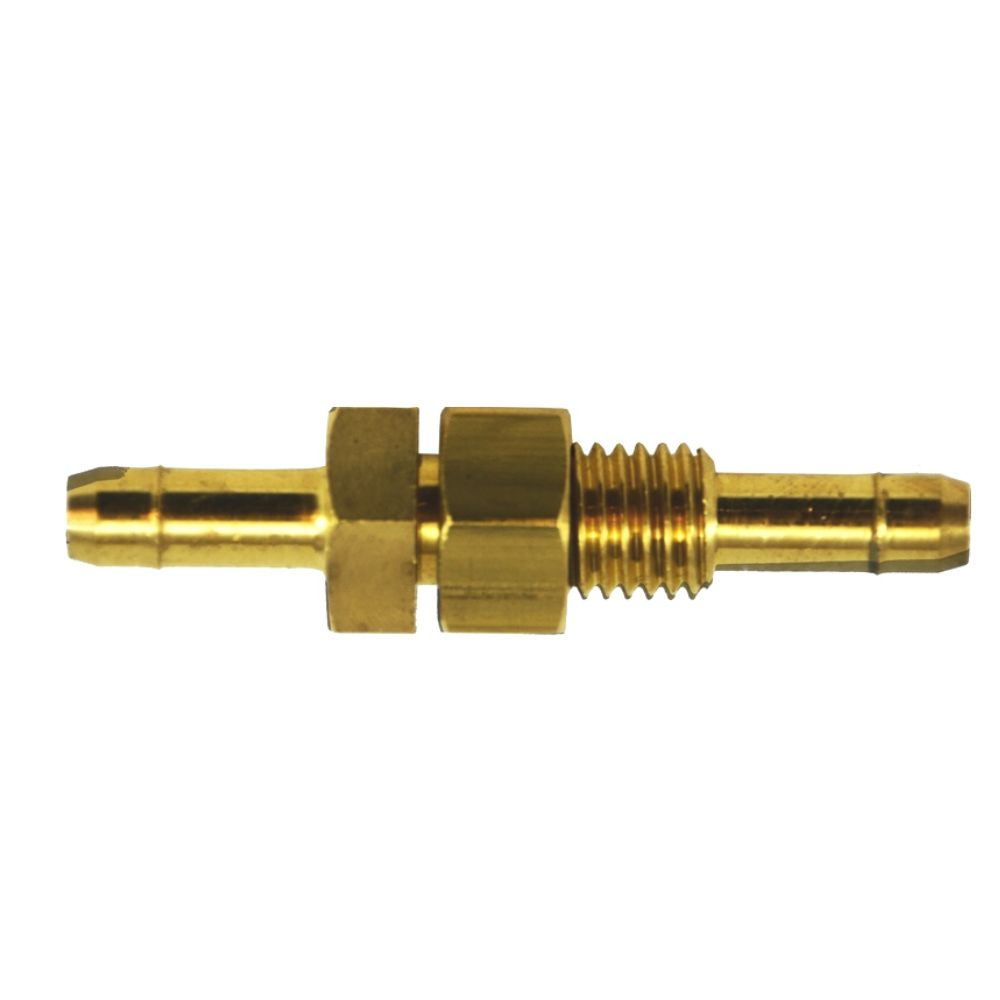
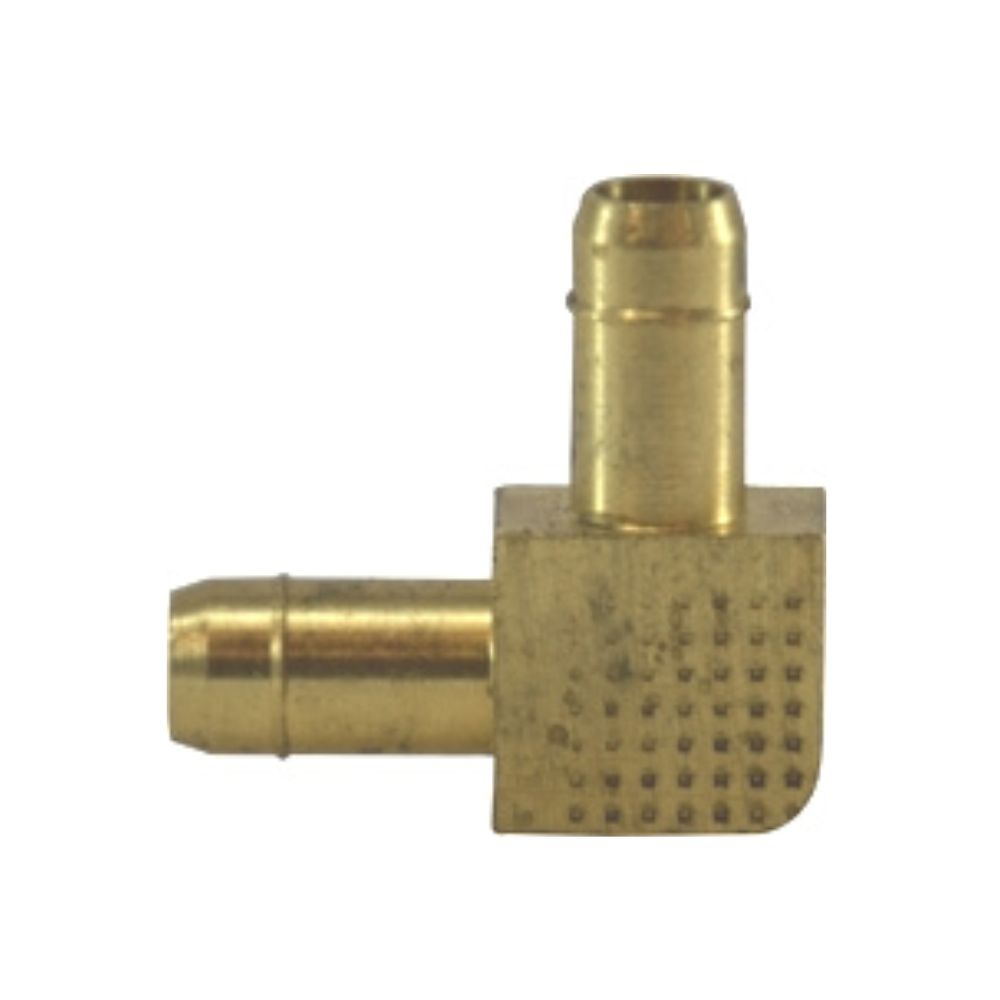
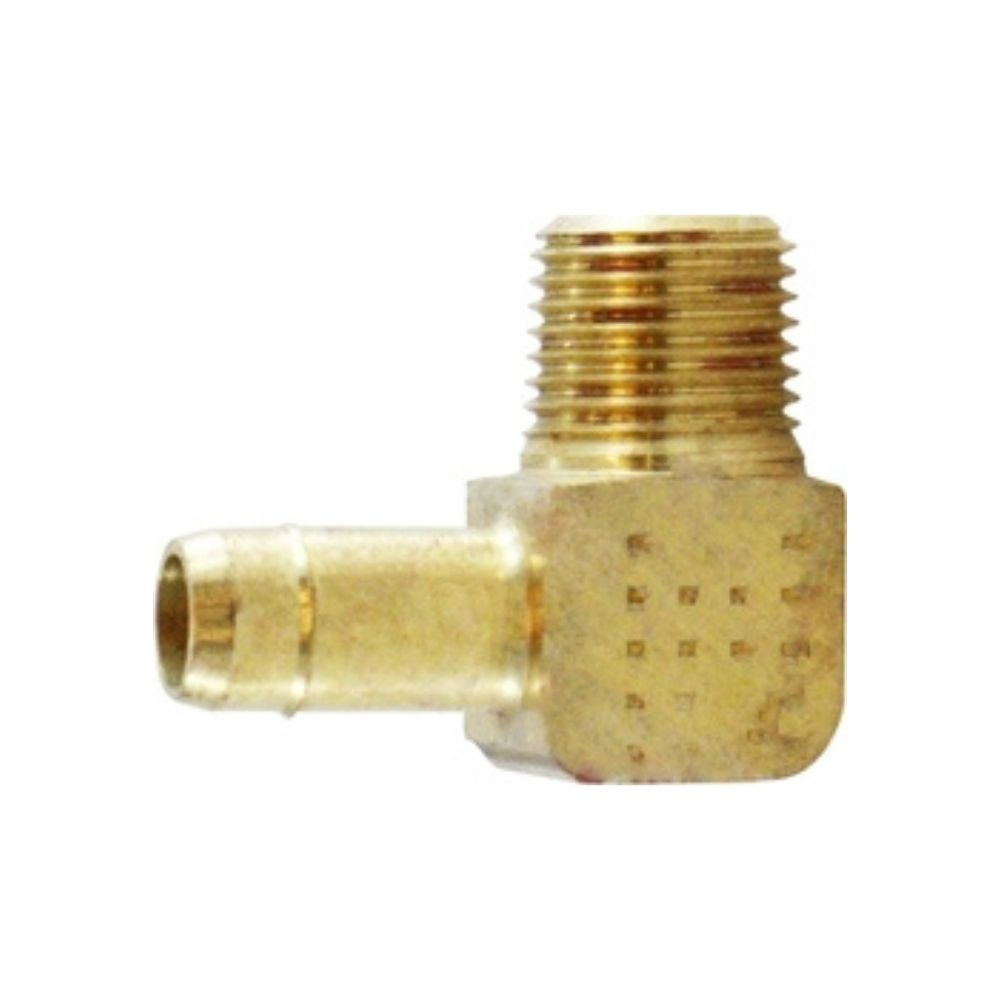
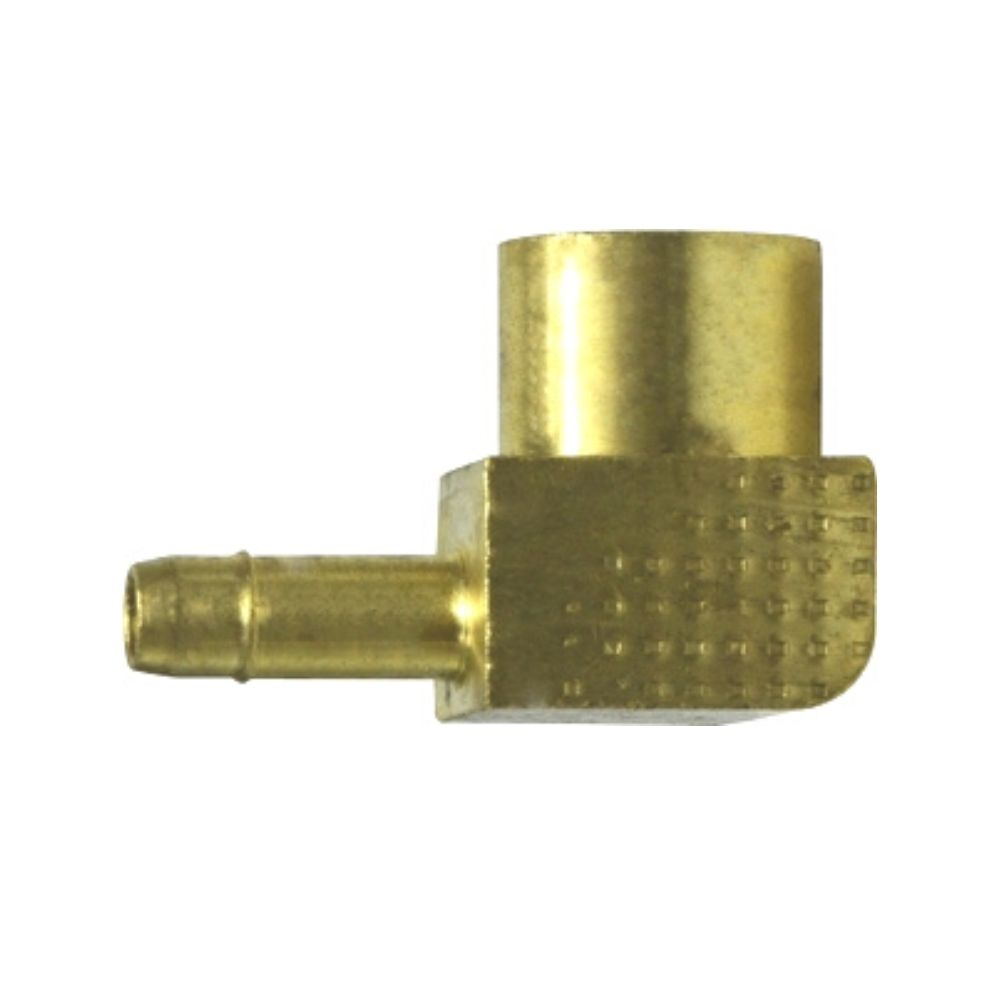
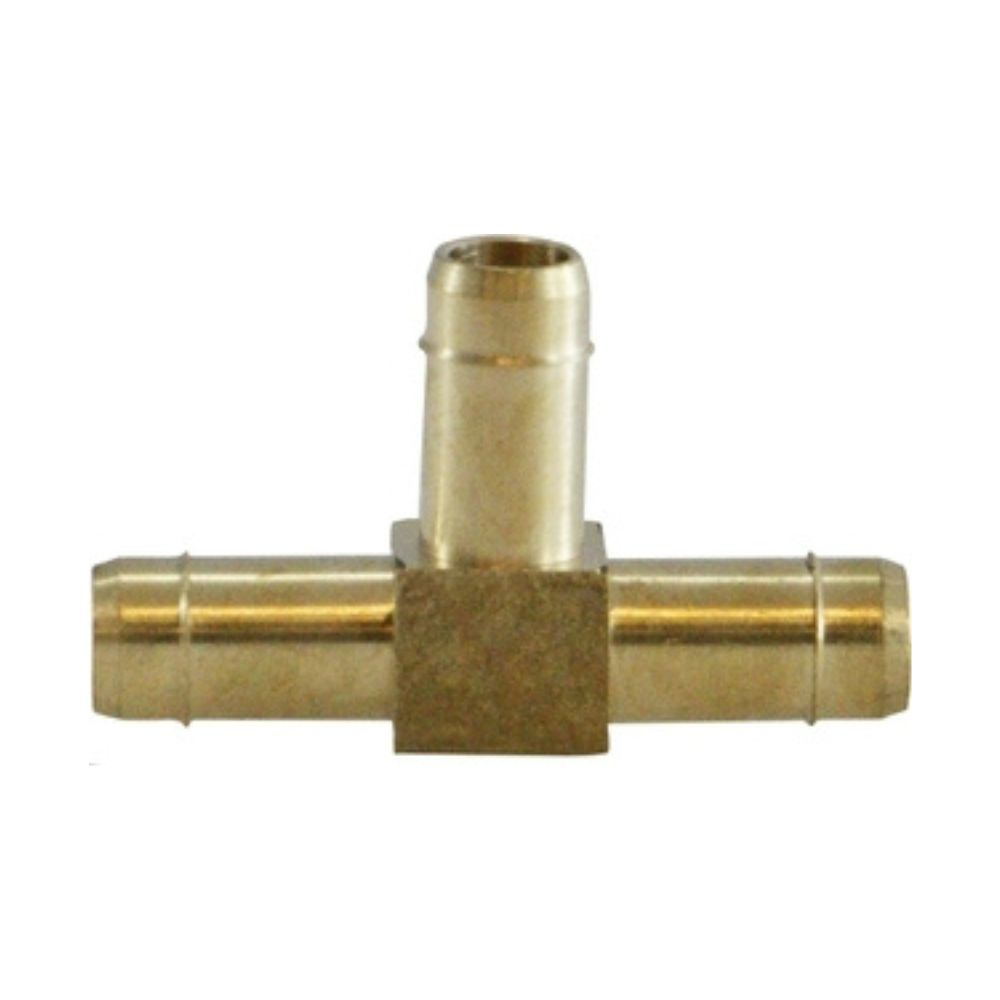
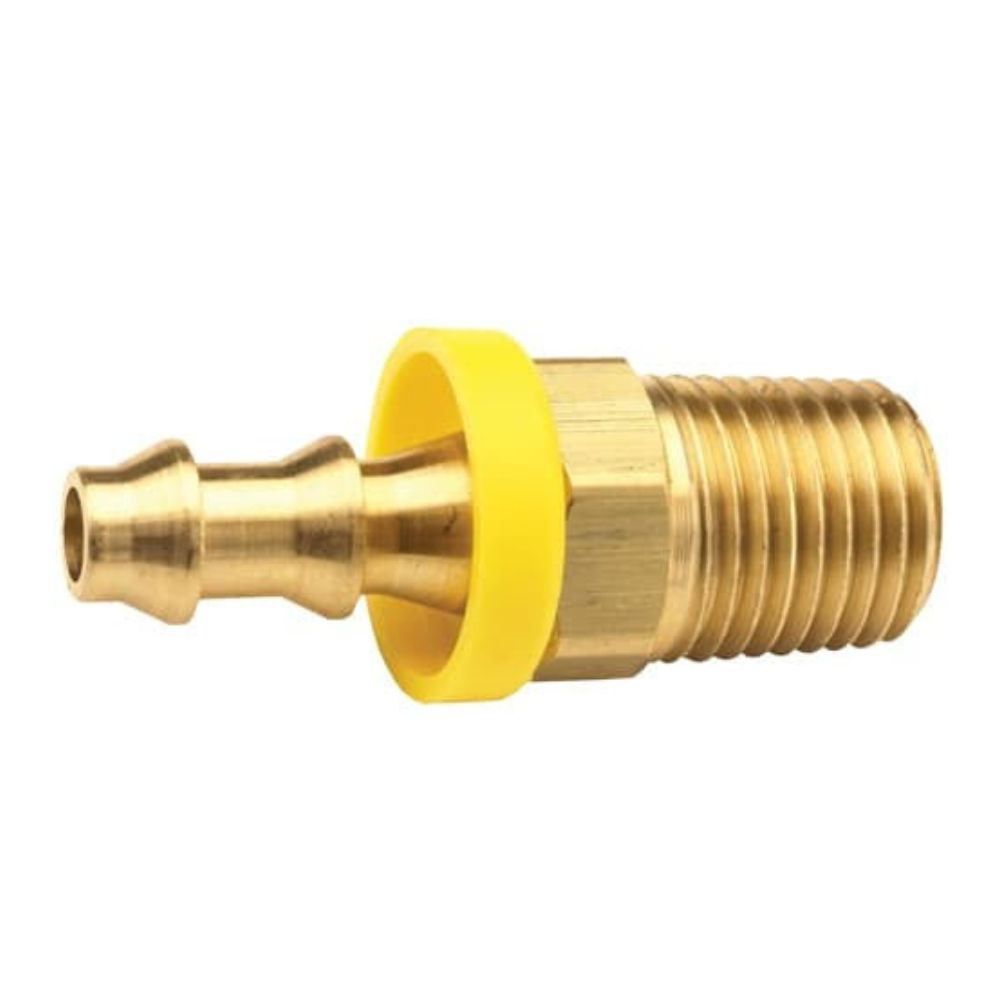
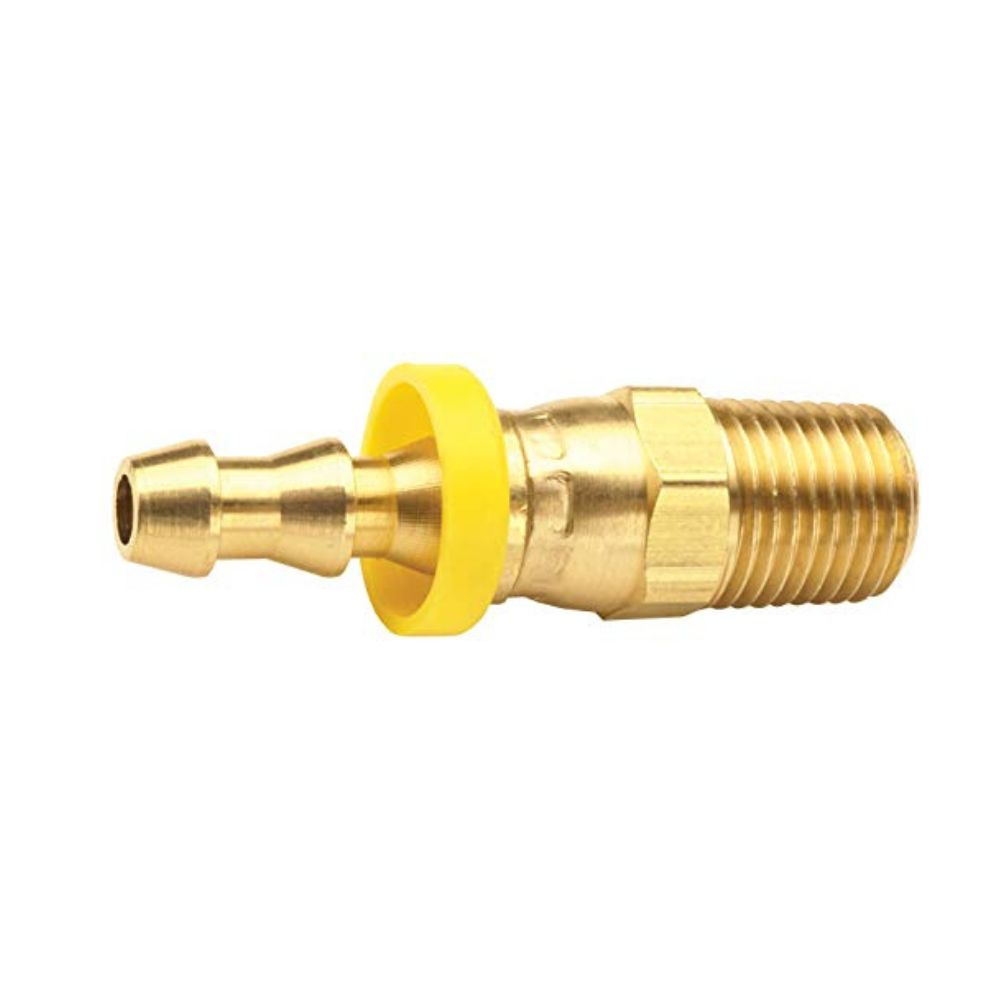
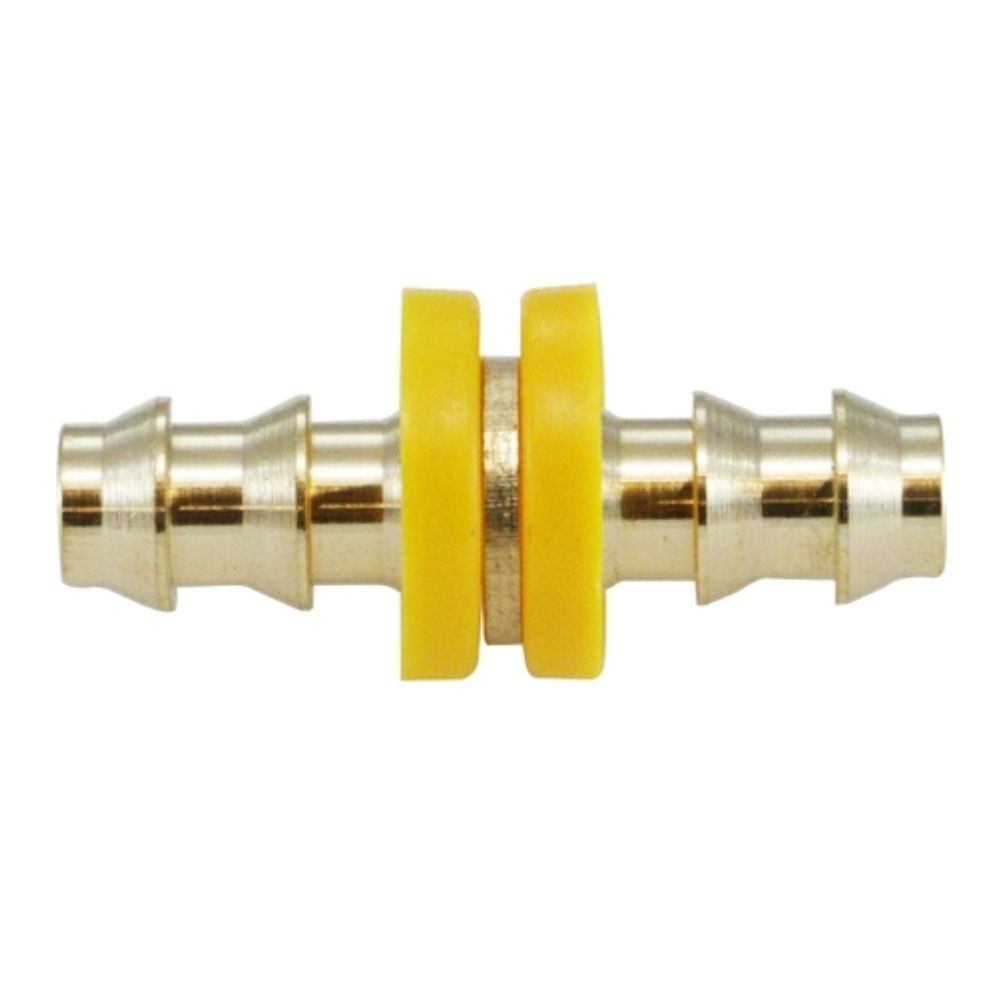
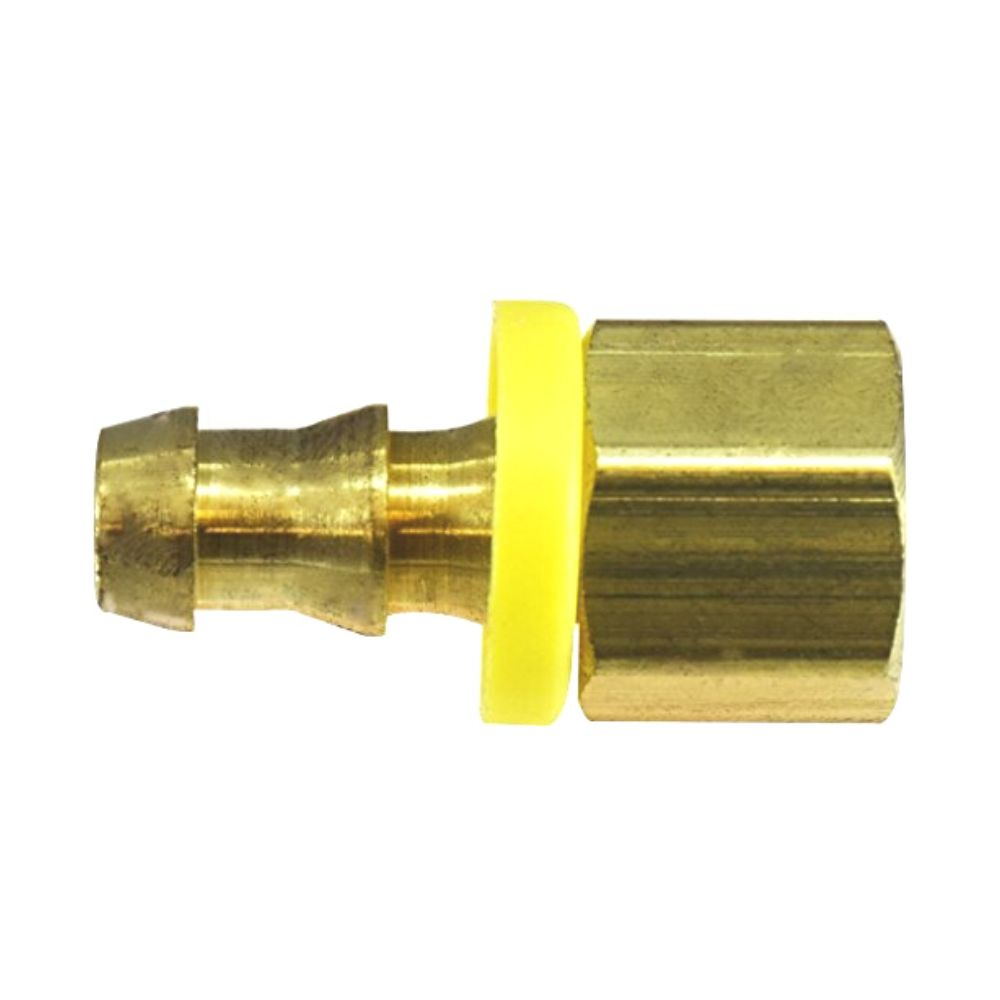
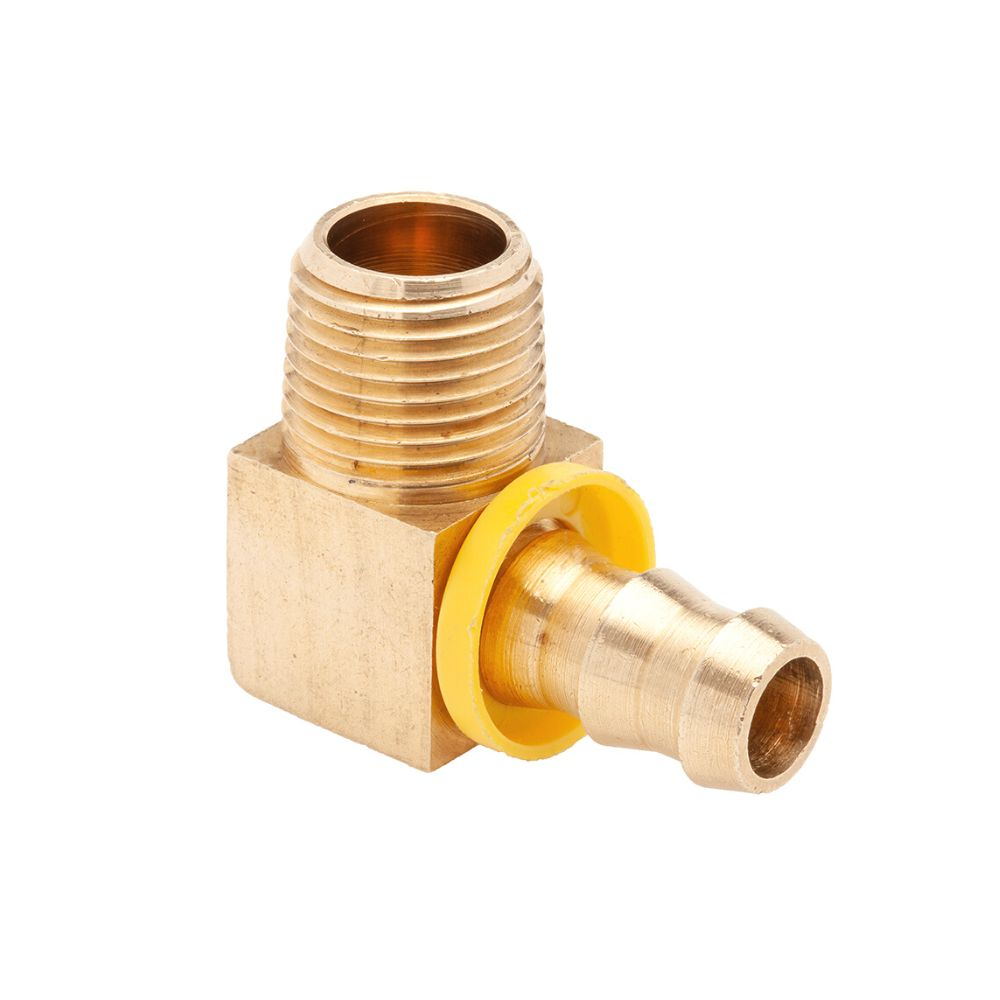
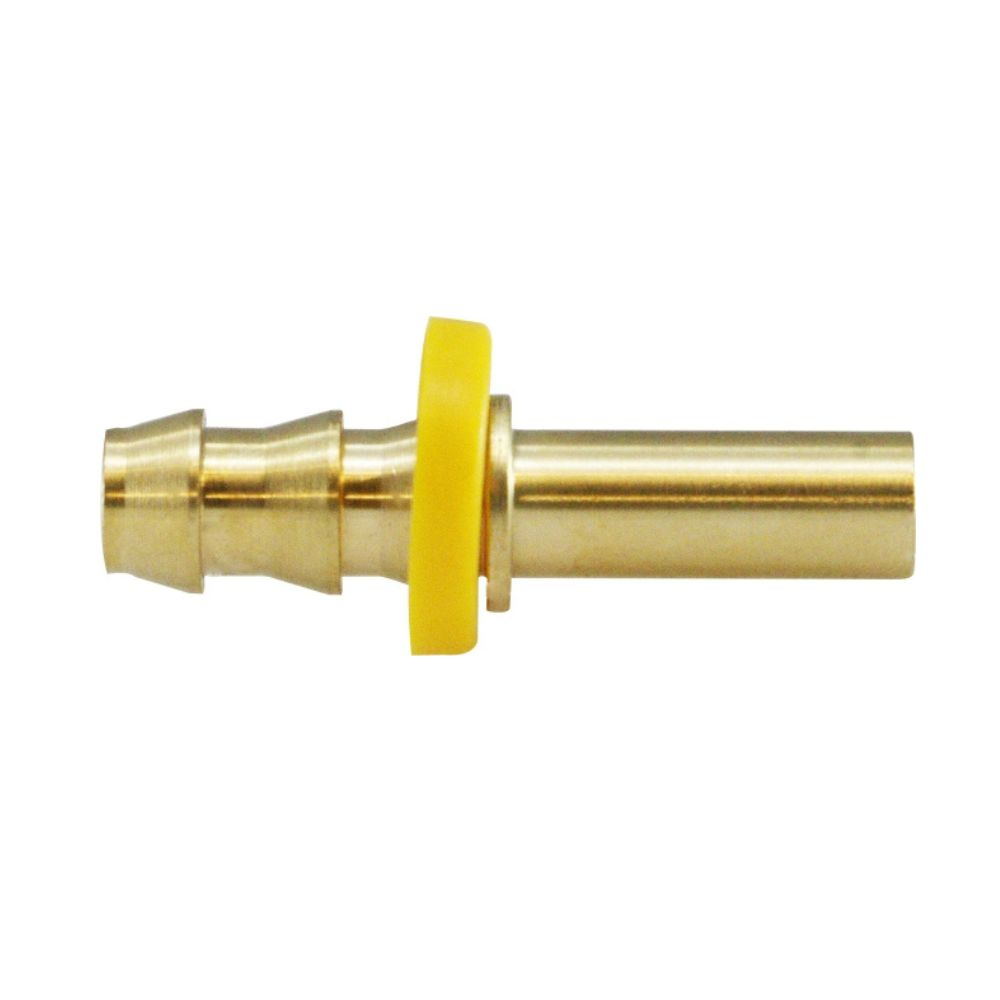
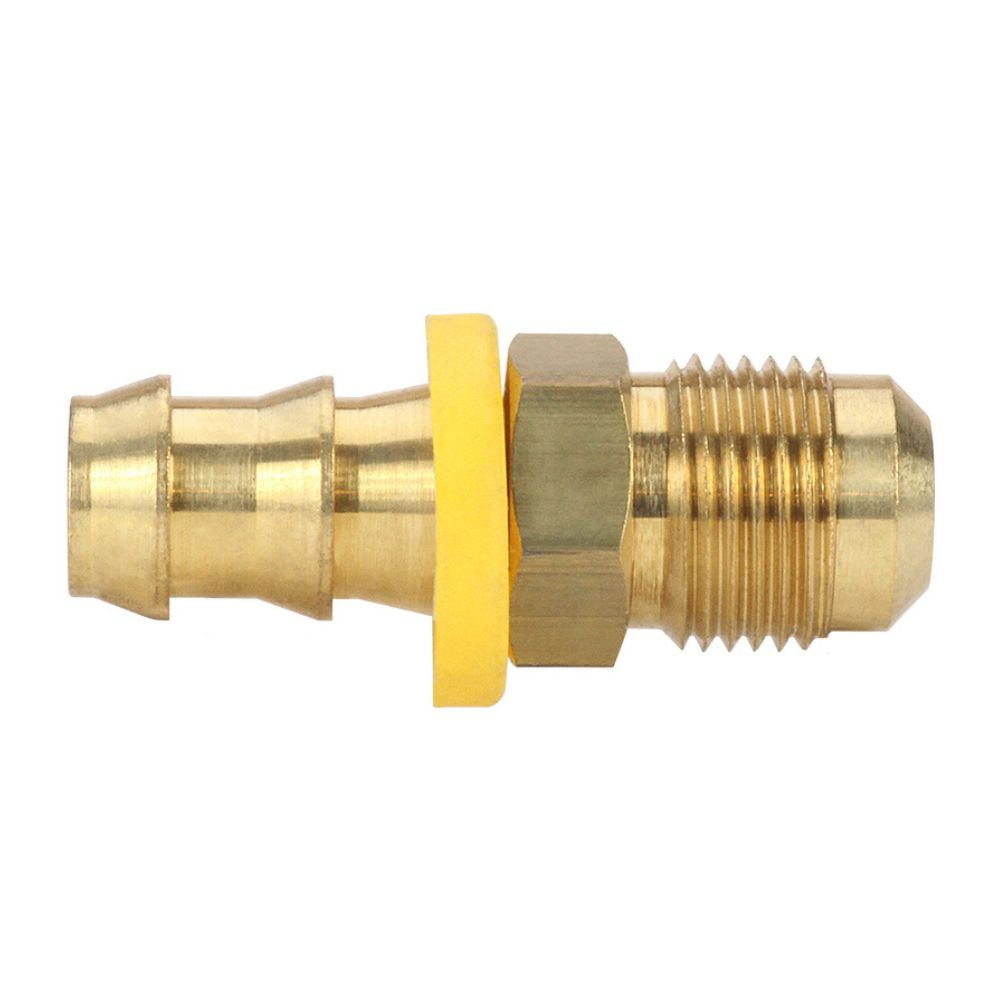
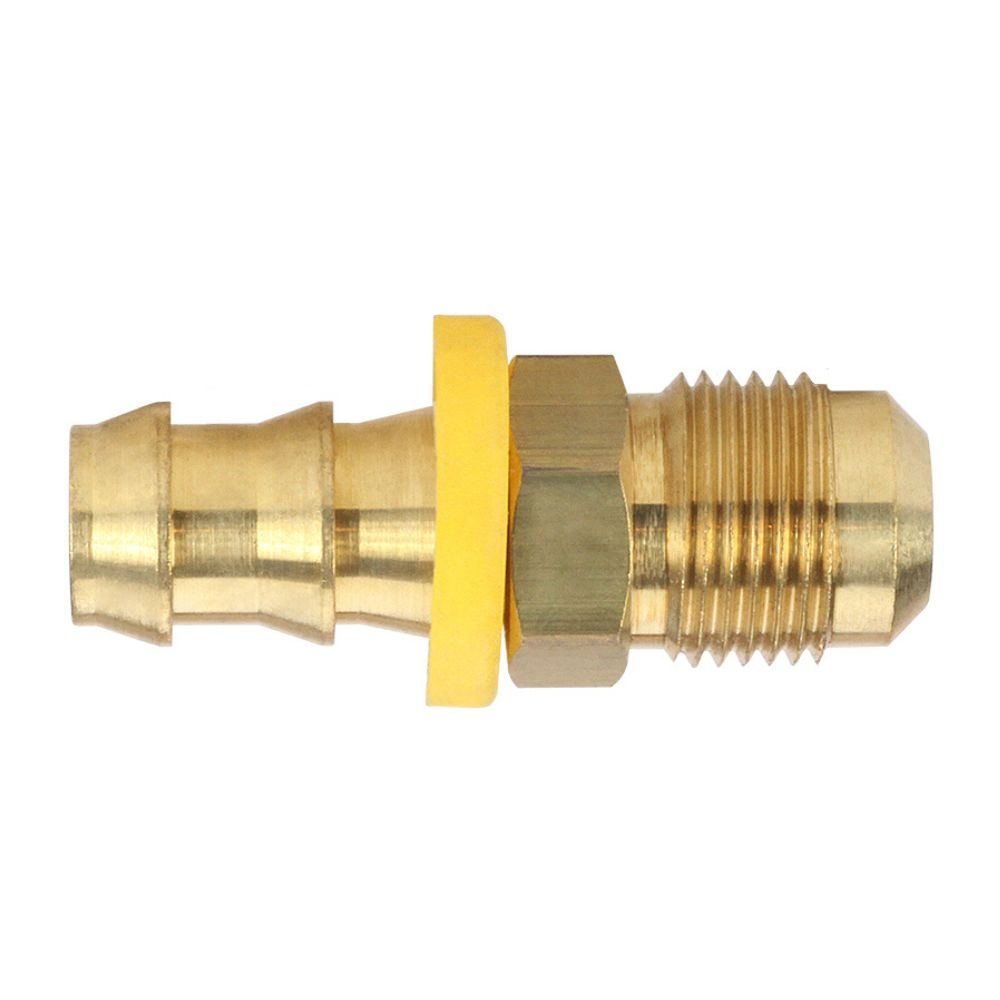
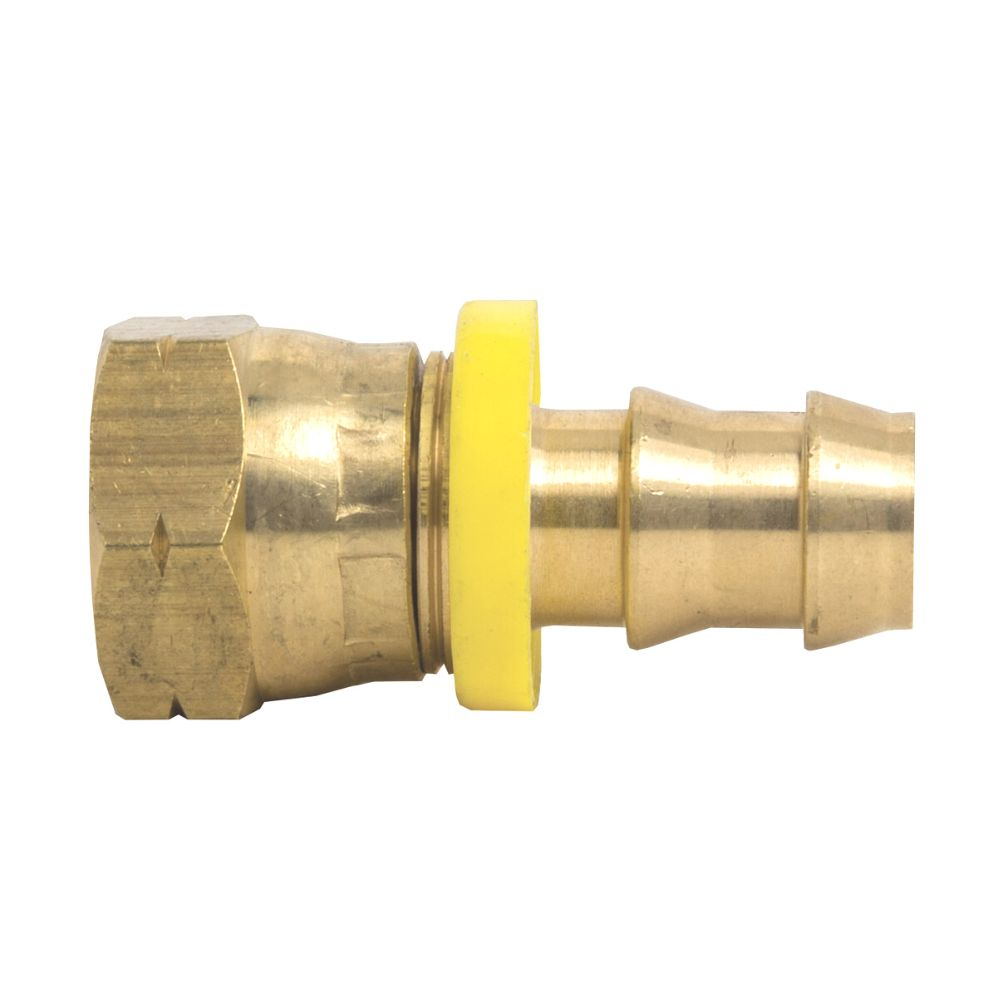
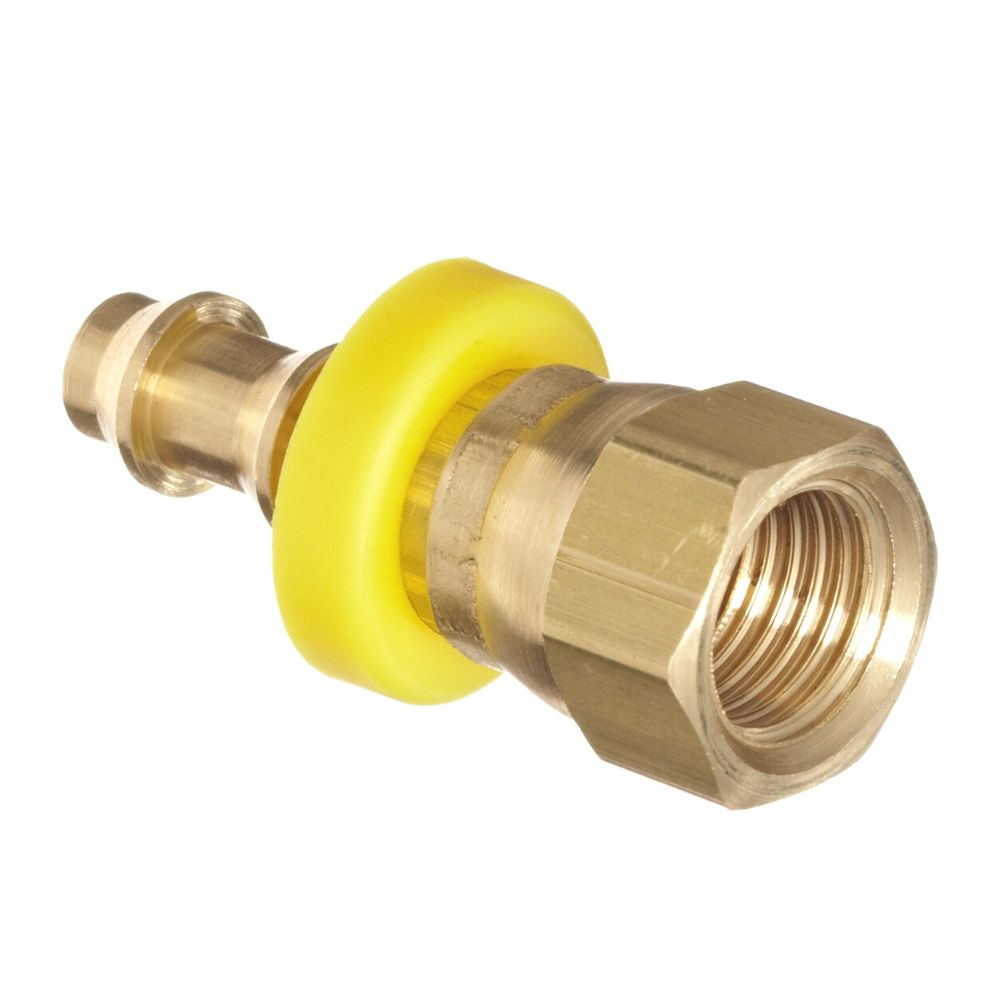
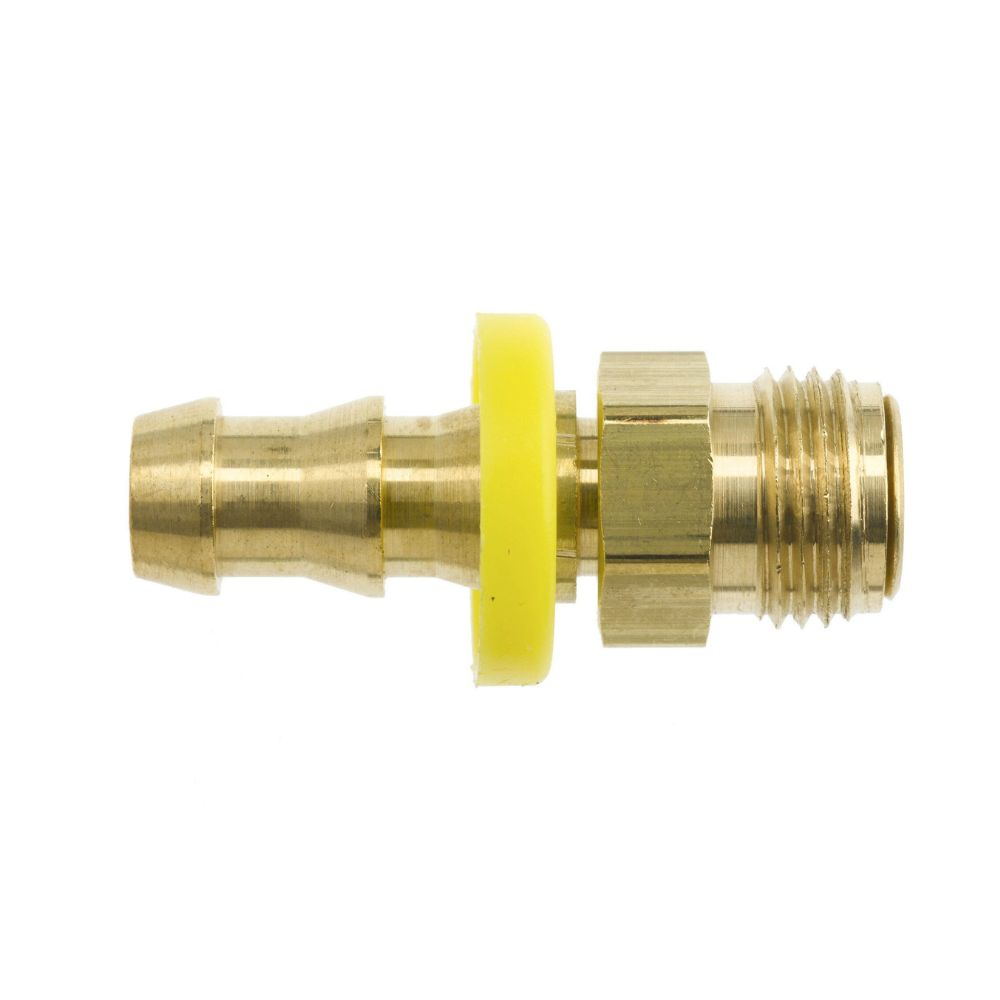
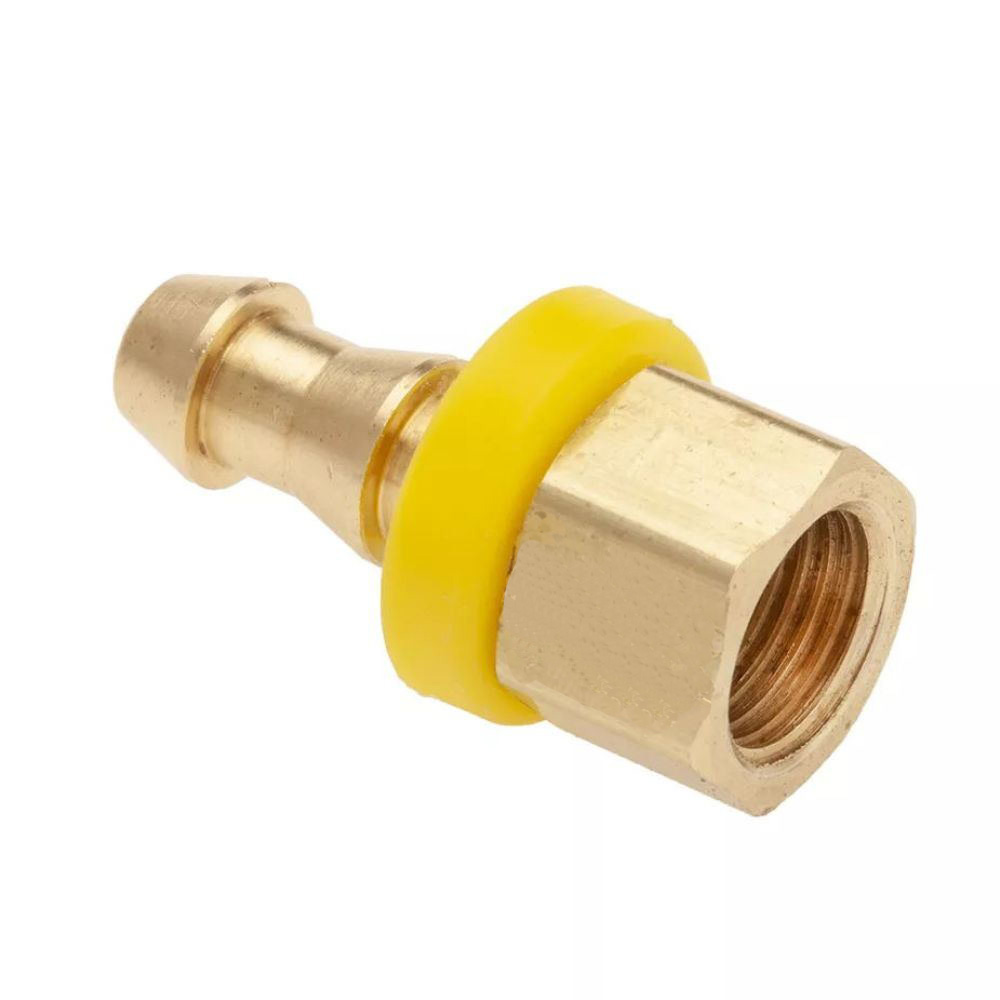
The brass push-on hose barb adapter is a type of hose barb fitting that is used to create a connection with pipes and tubes. Brass push-on hose barb fitting can be supplied in many industrial applications, plumbing, and automotive system.
We have a large selection of high-quality brass push-on fittings; please contact us if you have any brass push-on adapter needs.
This video features various Topa brass push-on hose barb adapter types.
Brass push-on hose barb adapters are often used in plumbing and automotive systems, as well as in industrial applications where a watertight seal is required.
If you have any questions about brass push-on hose barb adapter fittings or other products, please contact us.
Brass Fitting Catalog
Topa offers various types of brass fittings, and this catalog includes all of them.
Please contact us if you need more information on brass fittings or would like some free samples.