
This article provides a comprehensive overview of how to replace hydraulic hose fittings on heavy equipment. It emphasizes the importance of safety precautions, such as identifying leaks and relieving pressure in the hydraulic system before beginning any maintenance work. The article also outlines the tools and steps required to replace hose fittings.
In hydraulics, safety is critical. Whether you are a seasoned professional or a novice, understanding the safety considerations for hydraulic hose fittings maintenance is essential. The following is a detailed guide focusing on two key safety steps: recognizing leaks and relieving pressure.
Identifying Leaks
First, you need to find the leak. This isn’t just about fixing the problem; it’s about preventing a potential hazard. Leaking hydraulic fluid tends to slip, which can lead to accidents. In addition, leaks are often a symptom of a larger problem and require immediate attention.
Cardboard and Paper
These are simple and effective tools for identifying leaks. Place a piece of cardboard or paper under the suspect area and look for wet spots. The benefit is that you can easily see the color of the hydraulic fluid, helping you to more accurately identify the source of the leak.
Hydraulic Leak Detection Fluid
For a more high-tech approach, you can use a specialized hydraulic leak detection fluid. This fluid is designed to be highly visible even in low-light conditions, making it easier to detect leaks. It is a must-have in any professional’s toolkit.


Before you do anything, you need to make sure your hydraulic system is depressurized. Working on a pressurized system is not only risky, it’s dangerous.
Check for live loads: Before you start, make sure there are no live or heavy loads on the hydraulic components. Live loads can move suddenly and cause unintended movement in the hydraulic system.
Use a pressure gauge: Don’t just rely on the system indicator; use a pressure gauge to double-check that the system is fully depressurized. This is your failsafe and should never be omitted.
Manual relief valves: Some systems have manual relief valves to safely relieve pressure. Learn where these valves are located and how to use them.
Before diving into the nitty-gritty of hydraulic fitting maintenance, preparation is key. The pre-disassembly steps are critical to completing the maintenance process smoothly and efficiently.
Labeling each component to be disassembled will help you keep track of the part and its corresponding location. This will make reinstallation a breeze and reduce the risk of errors.
How to do it: Use durable, waterproof labels and a permanent marker to clearly mark each part. If possible, take a photo for reference.
Pro tip: Create a numbering system or chart to help you remember the order of parts, especially when working with complex assemblies.
Having all the necessary tools on hand minimizes downtime and ensures that you are prepared for any unexpected problems. Often, the specific tools depend on the job.
This is your go-to tool for loosening and tightening fittings. They come in a variety of sizes to fit different types of hydraulic components.
Goggles protect your eyes from splashing hydraulic fluid, while gloves protect your hands from possible cuts and chemical exposure.
Hydraulic fluid is required to replenish the system after maintenance. Always use the manufacturer’s recommended grade. Keep extra hydraulic fluid on hand for emergencies.
A drain pan collects spilled hydraulic fluid during maintenance, keeping your work area clean and safe. You can choose a drain pan with a spout for easy disposal of collected fluid.
Wipes are essential for cleaning up spills and wiping down parts before reassembly. You can use industrial-grade wipes that can handle hydraulic fluid and other chemicals.
If you are using older fittings with thread sealant, the remover will make the disassembly process smoother. Be sure to read the instructions before use to ensure the remover is compatible with your system materials.
Checklist: Create a quick checklist to review before you begin. This will ensure that you haven’t overlooked any critical steps or tools.
In the world of hydraulics, replacing old or damaged hose fittings is a common and critical task. A faulty fitting can jeopardize an entire hydraulic system, leading to inefficiencies and potential safety hazards. We’ll guide you through the process of removing old hydraulic hose fittings safely and efficiently.
Before touching the wrench, make sure you have taken all necessary safety precautions. Wear safety goggles and gloves to protect yourself from splashing hydraulic fluid and sharp edges. In addition, make sure that the hydraulic system is completely depressurized to avoid any high-pressure hazards.
Place a wrench or socket on the fitting and turn counterclockwise. Apply steady pressure; erratic movements may damage the threads or the fitting itself. If the fitting does not move, do not force it to turn. Forcing a stuck fitting can cause damage to the threads and make removal more difficult.
For stubborn fittings, you can use penetrating oil. Apply a small amount around the joint and let it sit for a few minutes. This will help loosen any corrosion or scale buildup.
Once the penetrating oil has done its job, try loosening the joint again. You should find it easier to turn. Continue to turn it counterclockwise until it is loose enough to remove by hand. At this point, you can safely remove the fitting while making sure the area remains clean and ready for the new fitting to be installed.
Start by placing absorbent pads or towels around the work area to catch any accidental spills. This extra layer of protection goes a long way in keeping the work area clean. Then place a drain pan directly below the hose and fitting area. Make sure it is large enough to catch all the fluid to be drained. The drain pan will catch the hydraulic fluid and prevent it from contaminating the work area.
At first you’ll want to start by slowly loosening the fitting using an adjustable wrench. Turn it counterclockwise until you see the fluid start to drain into the sump. Wait until all fluid has drained before completely removing the fitting. Rushing this step can result in spills and potential hazards.
Collect the hydraulic fluid draining from the sump and pour it into a sealable container. Dispose of it according to your local environmental regulations to ensure compliance.

You need to inspect the hose and surrounding components for signs of wear, corrosion or damage. These signs indicate the need for further replacement or repair. Use a flashlight to improve visibility, especially in tight or dark spaces. Take the time to thoroughly inspect each component and, if possible, take photographs for future reference.
Clean mounting areas and threads ensure secure, leak-free connections, which are critical to system efficiency and safety.
You can use a wire brush or thread sealant remover to clean the threads of the hose and its connecting parts. This will remove any old sealant, dirt, or corrosion that may affect the new fitting.
Keep in mind to always turn the brush or apply the remover in the direction of the threads. This ensures that you don’t damage the threads, which can make installation difficult and unsafe.
Installing new hydraulic hose fittings is a task that requires precision, attention to detail, and proper technique. This guide will walk you through the critical steps of installing a new fitting to ensure efficient and safe operation of your hydraulic system.
Preparing clean fittings ensures a safe, leak-free connection and sets the stage for optimum system performance.
You will need to put on clean gloves and wipe the new fitting with a lint-free cloth to remove any manufacturing residue or contaminants. If the fitting has been stored for some time, a quick rinse with a suitable solvent is recommended.
Thread sealant enhances the seal between threaded parts, preventing leakage and ensuring a secure connection. Thread sealant should be used if recommended by the manufacturer or if you are using a high pressure system to prevent leakage from the hydraulic system. Avoid applying too much as excess sealant can enter the hydraulic system and cause problems.
Proper tightening ensures that fittings are secure and minimizes the risk of leaks or dislodging under pressure. Use an adjustable wrench to turn the fitting clockwise until tight, then a final quarter turn to ensure a secure fit. Never over-tighten fittings. Excessive force can damage the threads and compromise the integrity of the connection.
Post-installation inspections are critical to ensure that your new fitting is secure and your hydraulic system is fully functional. The following describes how to perform the inspection.
You will need to re-pressurize the hydraulic system and monitor the pressure gauge. The pressure should stabilize at the system’s normal operating level. If not, there may be a leak or other problem that needs to be addressed. The pressure test verifies that the new fitting can withstand the operating pressure of the hydraulic system without failure.
It is a good idea for the operator to stand away from the fitting at all times during the pressure test to avoid injury in the event of a failure.
After the pressure test, visually inspect the fitting and surrounding area for traces of hydraulic fluid. You can also check for leaks using leak detection fluid or even cardboard.
Perform a leak check immediately after installation and after the system has been in operation for some time. Some leaks only become visible when the system is in constant use.
New fittings are only one part of a complex hydraulic system. Ensuring that the entire system is functioning properly is critical to overall performance and safety. The hydraulic fluid level should be checked and topped up if necessary. In addition, check other system components such as hoses, valves and pumps to ensure they are in good condition.

Proper maintenance of hose fittings is critical to the life and efficiency of your hydraulic system. Regular inspections and timely intervention can prevent costly breakdowns and extend the life of your equipment. Moreover, you should ideally take care to clean the hydraulic system to ensure that it operates properly.
The article concludes by stressing the importance of post-installation checks, including pressure testing, leak checks, and a final review of the entire hydraulic system. It also mentions that some hydraulic circuits may require bleeding to remove air before the system can be used again. Overall, the article serves as a valuable resource for anyone involved in the maintenance of hydraulic systems.
Choosing Topa for your hydraulic hose fittings and components is an excellent decision. With our focus on quality, affordability, and customer service, we aim to provide a one-stop solution for all your hydraulic needs. Our products are designed to meet the rigorous demands of various industries, ensuring durability and performance.
Feel free to reach out to us for any inquiries or assistance you may require. We’re here to help you keep your hydraulic systems running smoothly and efficiently. Thank you for choosing Topa!
Before replacing a hydraulic hose, it’s crucial to identify any leaks using safe methods like cardboard, paper, or specialized hydraulic leak detection fluid. Additionally, make sure to relieve all pressure from the hydraulic system to avoid any high-pressure hazards.
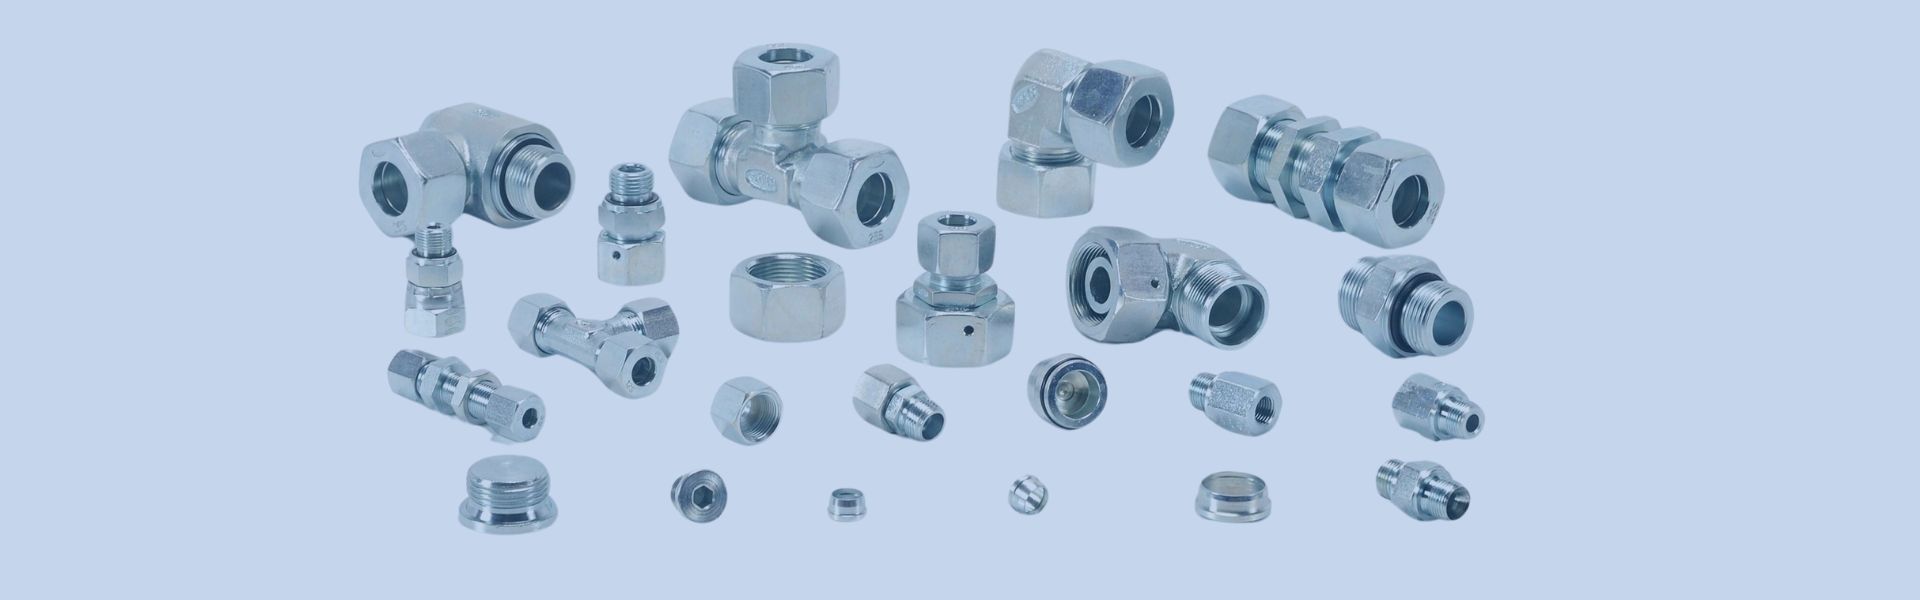
The essential tools for hydraulic hose replacement include adjustable wrenches or sockets, safety goggles and gloves, hydraulic oil, a drain pan, and wipes. Optionally, you may also need thread sealant remover.
You can identify a leak by placing a piece of cardboard, paper, or using hydraulic leak detection fluid under the suspected area. Look for wet spots or changes in the color of the hydraulic fluid to pinpoint the source of the leak.
To relieve pressure, ensure that there are no live loads or weights on the hydraulic components. Use a pressure gauge to double-check that the system is fully depressurized. Some systems also have manual relief valves for this purpose.
After removing the old hose and fitting, it’s important to plug the fittings left on the machine to prevent debris from entering the system. Clean up any excess oil and prepare the area for the installation of the new hose.
Clean and prepare the new fitting, apply thread sealant if needed, and then use proper techniques to secure the new fitting in place. Make sure to tighten the connections snugly but avoid over-tightening.
After installation, conduct a pressure test to ensure the new fitting is secure. Perform leak checks to confirm that the fitting is properly sealed and not leaking. Finally, review the entire hydraulic system to ensure it’s operational.
The frequency of maintenance depends on the usage and the manufacturer’s guidelines. However, regular inspections are crucial to identify wear and tear, leaks, and other potential issues.
Dispose of old hoses and drained hydraulic fluid in accordance with local environmental regulations to ensure compliance.
Topa Hydraulic offers high-quality, competitively priced hydraulic components made in China. With a focus on safety, quality, and affordability, Topa provides one-stop services for all your hydraulic product and component needs.

Automated page speed optimizations for fast site performance


