Hydraulic hoses are the lifeblood of many mechanical systems and are critical to the transfer of fluids at high pressures. Knowing when and how to replace them is critical. In this guide, you will find valuable tips and step-by-step instructions for replacing hydraulic hoses effectively and safely.
Regular checks for visible wear, leaks, and system performance are essential. If you notice any of these warning signs, it’s time to replace the hose.
First, look for cracks, abrasions or any visible wear on the hose. These signs are early indications of hose deterioration. Ignore these signs at your own peril. A deteriorating hose can rupture, causing unnecessary downtime or, worse, a dangerous work environment.
Next, look out for leaks and spills. If you notice hydraulic fluid seeping out of a hose or its connections, this is a red flag. Leaks can affect the performance of your hydraulic system and lead to costly repairs. In addition, hydraulic fluid is often flammable and can pose a serious safety hazard. Therefore, hose leaks are not just a performance issue, but a safety issue that requires immediate action.

Finally, monitor machine performance. If you’re experiencing slower cycle times or reduced efficiency, a damaged hose may be the culprit. Reduced performance often leads to increased operating costs and decreased productivity. So, if you notice that your machine isn’t running as well as it used to, check the hoses.
In conclusion, replacing hoses as part of routine maintenance can save time and money and ensure the longevity of your hydraulic system. So, always be alert to these signs and take prompt action.
In the hydraulic maintenance industry, safety is more than just a word; it is the most important cornerstone of any operation. As a seasoned professional, I cannot emphasize enough the importance of observing safety precautions before performing any maintenance or repair work. Let’s focus on three basic safety measures that should never be overlooked.
First, have the right protective equipment. Safety goggles can protect your eyes from flying debris, and gloves can protect your hands from sharp edges or hot surfaces. This equipment is your first line of defense against accidents, which can happen even to seasoned professionals.
Next, make sure the machine is completely shut down and depressurized. Think of it this way: a charged hydraulic system is like a loaded gun. It is unpredictable and dangerous. Always turn off the machine and relieve any built-up pressure before touching a hose or fitting. This simple step could be the difference between a routine repair and an emergency room visit.
Lastly, and most critically, never perform maintenance on a pressurized system. I’ve seen people try to take shortcuts, thinking they can quickly replace hoses or tighten fittings while the system is pressurized. You should never do this. If disconnected, a pressurized hose can swing violently, posing a serious danger to you and those around you.

In conclusion, when servicing hydraulic systems, always wear protective gear, make sure the system is shut down and depressurized, and never attempt to work on an energized system. These are not only best practices, but also essential to ensure the safety of you and those around you. So the next time you perform hydraulic repair work, remember these three pillars of safety. They could save your life.
When it comes to replacing hydraulic hoses, the right tools and knowledge about the type of hose are your best friends. Let’s go over the essential tools so you can confidently and safely solve any hose-related problems.
● Adjustable wrench
You will need an adjustable wrench. This is a versatile tool that is indispensable when loosening and tightening fittings. You want to ensure a good grip, so choose a high-quality, ergonomically designed wrench. An ill-fitting wrench may break the edges of the fitting, making the job more difficult.
● Hose cutter
A hose cutter is also a must-have. You cannot use ordinary scissors or utility knives here. Hose cutters are designed to make clean cuts without abrading the hose material. Worn edges can affect the connection and lead to leaks or bursts. Always make sure your cutter is sharp and well-maintained for optimal performance.
● Hose crimper machine
The third essential tool is a crimper. It is used to securely fasten the fitting to the hose. It is a specialized tool that applies precise force to crimp the fitting onto the hose to create a leak-proof seal. A poorly crimped hose can lead to leaks or even worse, complete failure under pressure.

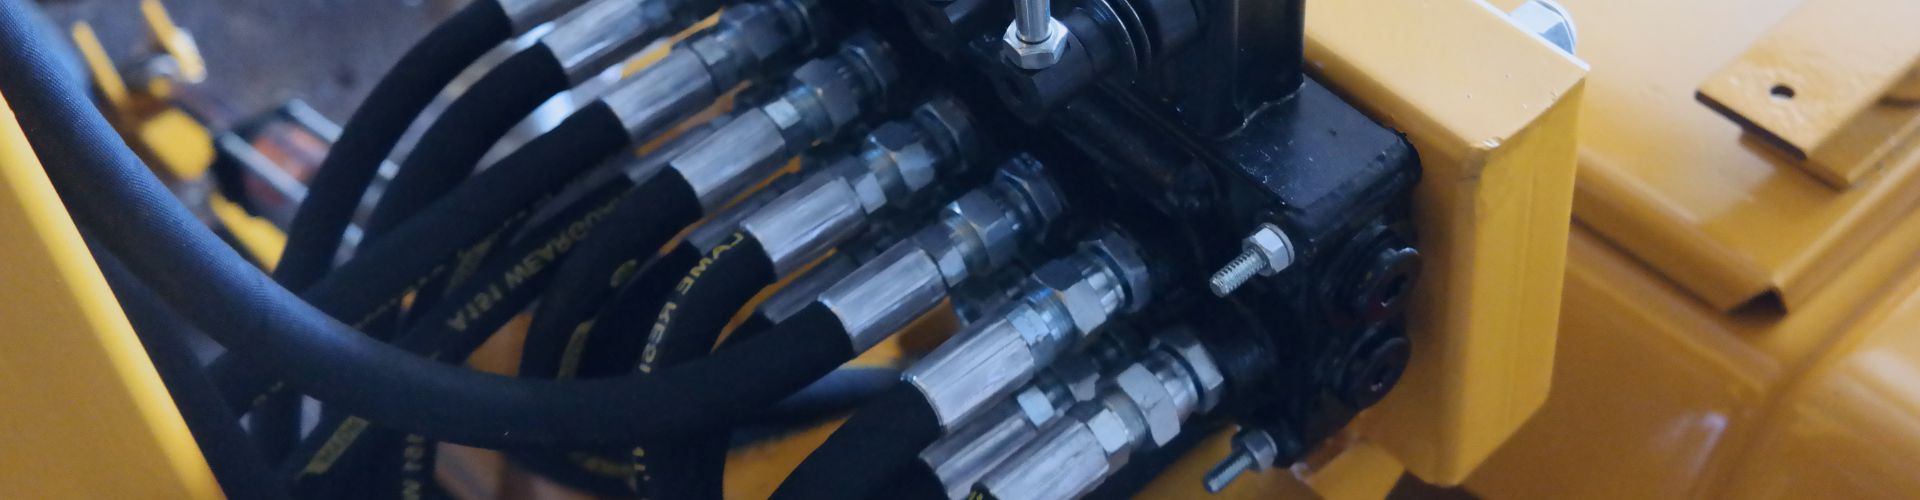
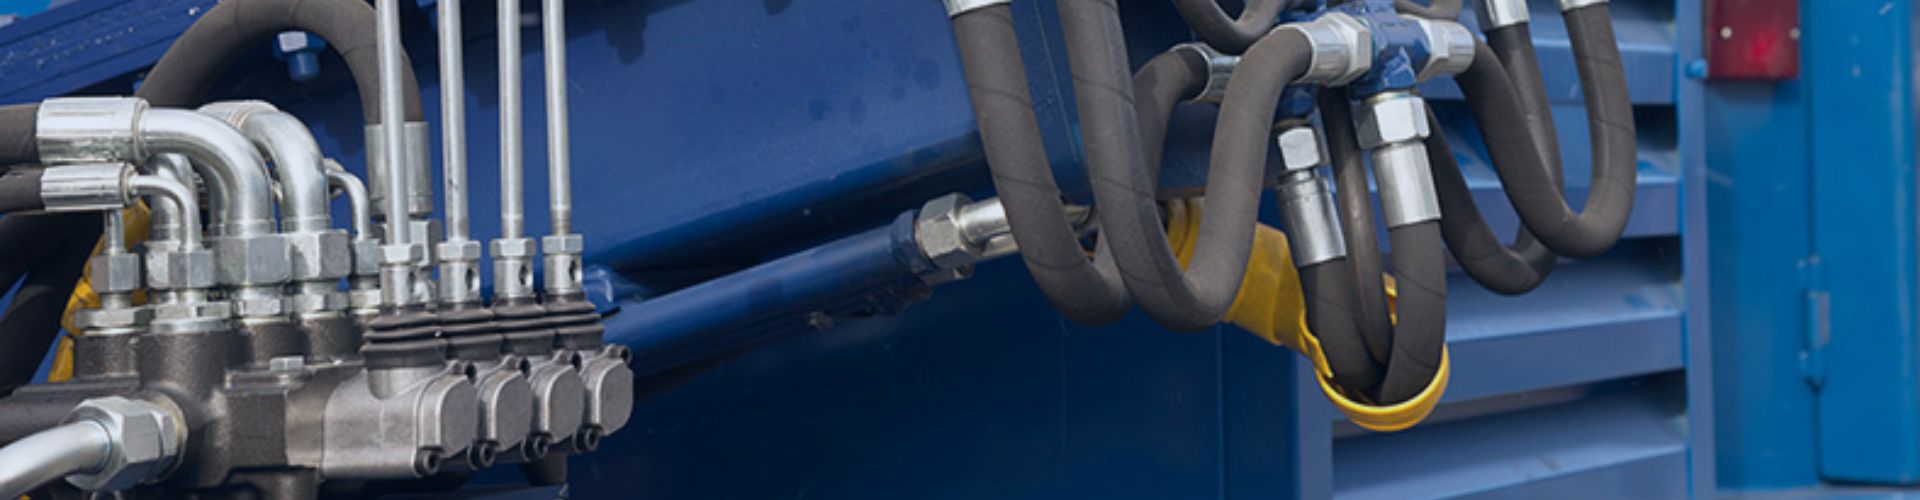
As professionals in hydraulic repair, let’s take an in-depth look at the characteristics and ideal applications of three common hydraulic hoses: steel wire braided hose, spiral wound hose, and thermoplastic hose.
● Braided hoses
Starting with wire braided hoses, these hoses are the workhorses of the hydraulics world. Made from one or more layers of braided steel wire, these hoses offer a good balance of strength and flexibility. This makes them suitable for a wide range of applications from mobile machinery to industrial hydraulics. Their sturdy construction ensures that they can withstand moderate pressure, making them an excellent choice for most standard operations.
● Spiral hoses
Next, let’s talk about spiral-wound hoses. This hose is reinforced with a spiral layer of steel wire and is capable of withstanding extremely high pressures. If you’re operating heavy machinery like excavators, loaders, or hydraulic presses, spiral-wound hoses are the way to go. Their ability to handle ultra-high pressures makes them indispensable in these applications, ensuring that these large machines operate safely and efficiently.
● Thermoplastic hoses
Finally, thermoplastic hoses are another option. They are lighter in weight and highly flexible. This flexibility makes them ideal for applications that require tight wiring. However, they are best suited for less demanding tasks. Think of them as the flexible and agile players in the hydraulic hose lineup. While they can withstand pressure to a certain extent, they are not suitable for heavy-duty, high-pressure environments.
A clear understanding of the task at hand is the key to successfully and safely completing the job. Proper preparation is your best aid in any hose replacement job. As an experienced hydraulic parts repairer, allow me to introduce you to the critical preliminary steps that should never be omitted.
The first step is to identify the problem hose. Take the time to thoroughly inspect each hose. Look for obvious signs such as cracks, fraying, or any other wear and tear. These imperfections can evolve into bigger problems such as leaks or complete failure. If a hose doesn’t pass a visual inspection, it should be replaced.
Once you’ve identified the problematic hose, it’s time to focus on safety measures. Before you consider disassembling anything, consult the machine’s owner’s manual. This is your roadmap to understanding the device’s specific safety protocols. Trust me, the last thing you want to do is skip this step and end up facing an avoidable safety hazard.
Finally, it’s time for the important step of shutting down and depressurizing the machine. Shutting down the machine releases all the pressure built up in the hydraulic system. If not properly depressurized, a pressurized hydraulic system can become a ticking time bomb, posing a risk of injury or death.
Replacing hydraulic hoses may seem like a daunting task, but with the right tools and a systematic approach, it can be done efficiently and safely. The following is a step-by-step guide based on years of professional experience in hydraulic repair.
You need to determine the type and size of hose that needs to be replaced. You can usually find this information in your system’s technical documentation or find a manufacturer’s technician to ask to make sure you purchase the correct type and size. The wrong choice can lead to inadequate pressure distribution and possible leaks, which can lead to system inefficiency or failure.
Once we have found the right hose, we can start draining the hydraulic fluid. Place a drain pan underneath the hose you are replacing and put on goggles as well as gloves to prevent the hydraulic fluid from hurting you. The drain pan catches any hydraulic fluid that may spill when you disconnect the hose. Draining the fluid minimizes mess and is environmentally friendly.

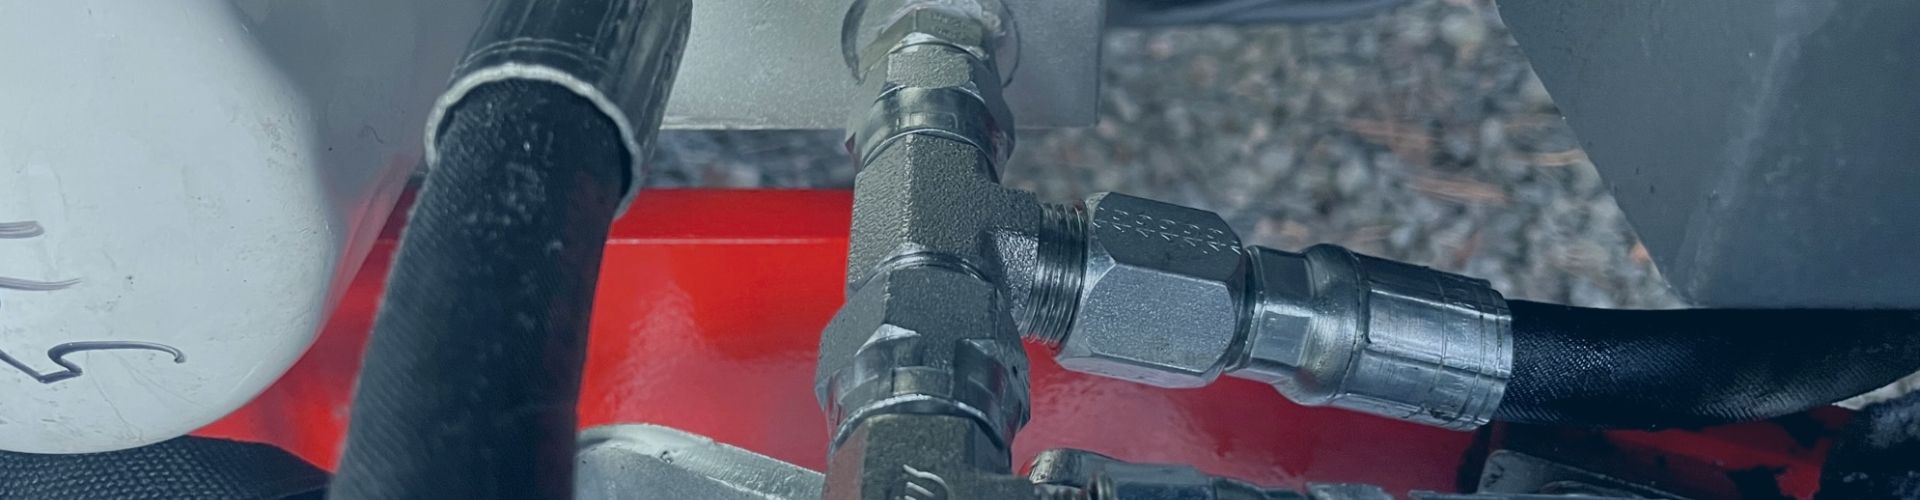
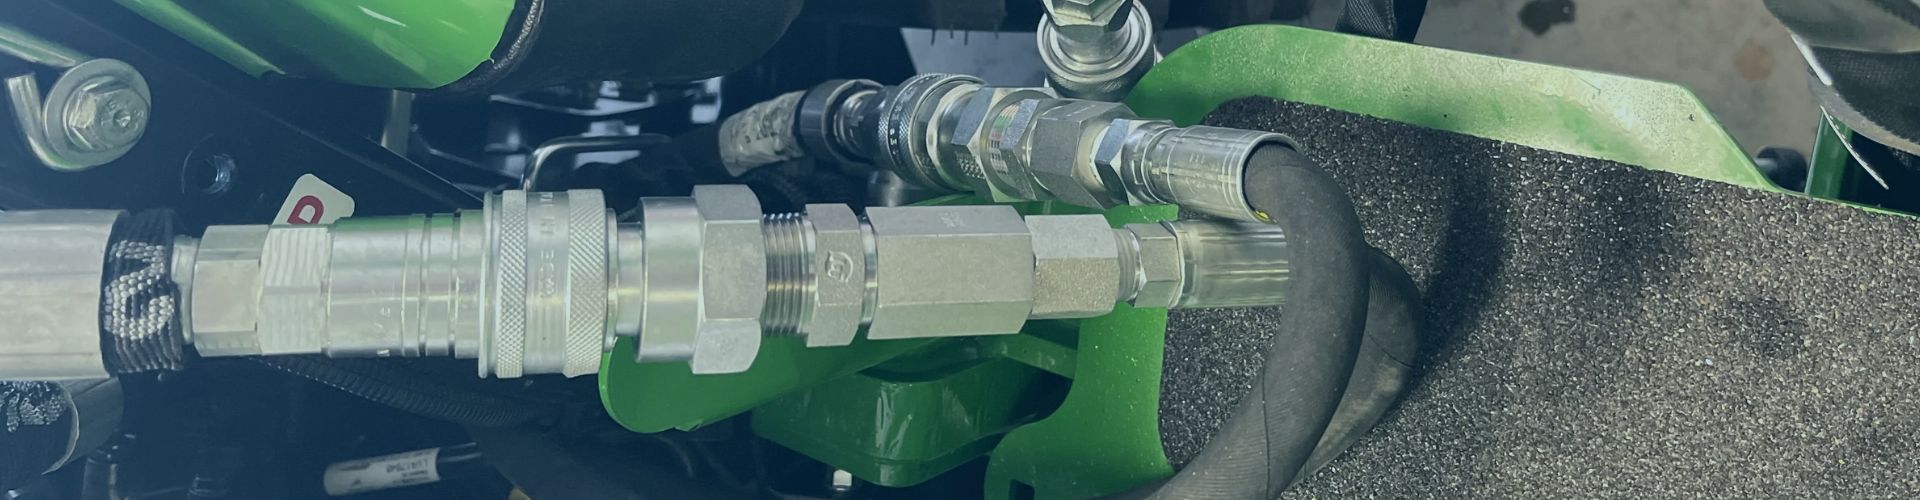
Now you are ready to disconnect the old hose. Use an adjustable wrench to loosen the fitting. Use even pressure so that the fitting doesn’t come off. Once loosened, you can remove the hose. Now, this may sound simple, but it is critical. Stripped or damaged fittings can lead to leaks, so proceed with caution.
Once the hose is removed, it’s time to inspect it. Check the hose and fittings for visible signs of wear or damage. Look out for cracks, corrosion, or any other signs that these parts have reached the end of their useful life. Keeping track of the parts that need to be replaced will help avoid unexpected repairs down the road.
The next step is to install the new hose. Before installing, carefully measure the hose and cut it to your system’s specifications. Incorrect measurements can lead to stress and premature failure, so measure correctly. Once cut, it’s time to install the fittings. Use a crimper to secure these fittings, making sure to ensure that the fittings are stable; poorly secured fittings can pose a safety hazard.
Great, you’ve successfully installed a new hydraulic hose. However, before you call it a day and start your machine, there are some critical post-replacement steps that should not be skipped. As a hydraulic repair professional, I can tell you that these steps are just as important as the installation itself.

The first step is to repressurize the system. Do not rush this. Refer to the manufacturer’s guidelines and re-pressurize slowly and carefully. Sudden pressurization can damage the new hose or even cause the entire system to fail.
Next, we move on to the testing phase. Now is the time to scrutinize the hoses and fittings. Turn the system on and look closely for any leaks or abnormalities. If you find even a small drip, shut down the system and double-check the fittings. Never ignore that a small leak today could lead to a big problem tomorrow. While checking, evaluate the efficiency of the system. Listen for strange noises and note the performance of the machine.
Finally, perform a thorough safety check. In addition to the hose you just replaced, make sure that all safety measures are in place for the entire system. Ensuring that everything is working properly is not only good practice, but also vital to the safe operation of the machine.
Replacing a hose is more than just unscrewing one part and screwing on another. It’s a multi-step process that requires focus, precision, and most importantly, respect for the complexity of the hydraulic system.
First, let’s talk about choosing the right hose. One word: quality. Sure, you may find a cheaper hose, but will it last? More importantly, will it jeopardize your system or even your safety? You want a hose that is cost-effective. This means that it may not be the cheapest, but it excels in terms of durability and reliability.
Next is safety precautions. I’ve seen too many people ignore basic safety protocols, and this never ends well. Always wear safety goggles and gloves. Make sure the machine is turned off and depressurized before starting any work. This is not just a suggestion, but a must-do.
Now, let’s say you’ve replaced the hose and you still find a leak. First, don’t panic. Shut down the system and recheck the connections to make sure all of them are a tight fit. If the leak persists, it’s time to call a professional. There’s no shame in asking for help, especially with a critical piece of equipment like a hydraulic system.
Replacing hydraulic hoses isn’t just about swapping parts; it’s about understanding the intricacies of your hydraulic system to ensure it functions safely and efficiently. By paying close attention to signs of wear, using quality hoses, adhering to safety protocols, and employing a systematic replacement process, you can prolong the life of your hydraulic system while ensuring a safer work environment. If you have any questions, please contact Topa!
The first step is to turn off the hydraulic system and relieve the pressure to ensure safety.
Loosen the fittings and carefully remove the old hose, checking for any damage to the system components.
Measure the length, diameter, and pressure rating of the new hose to ensure it matches the system requirements.
Select the appropriate fittings based on the hose size, type, and pressure specifications, ensuring compatibility with the system.
Attach the new hose to the system, making sure the fittings are securely tightened without over-torquing.
After installation, start the hydraulic system and check all connections for leaks, ensuring the hose is properly seated and secure.
Find out more about Topa Blog and learn more about specialized hydraulic fittings.