Maintaining reliable fluid systems is crucial for ensuring operational efficiency, safety, and cost-effectiveness in industrial settings. Fluid leaks can lead to significant downtime, safety hazards, and increased operational costs. This article provides a comprehensive overview of fluid leaks in industrial systems, detailing their causes and impacts. The purpose is to equip you with the essential steps and knowledge needed to identify, troubleshoot, and resolve fluid leaks, thereby ensuring the reliability and longevity of your fluid systems.
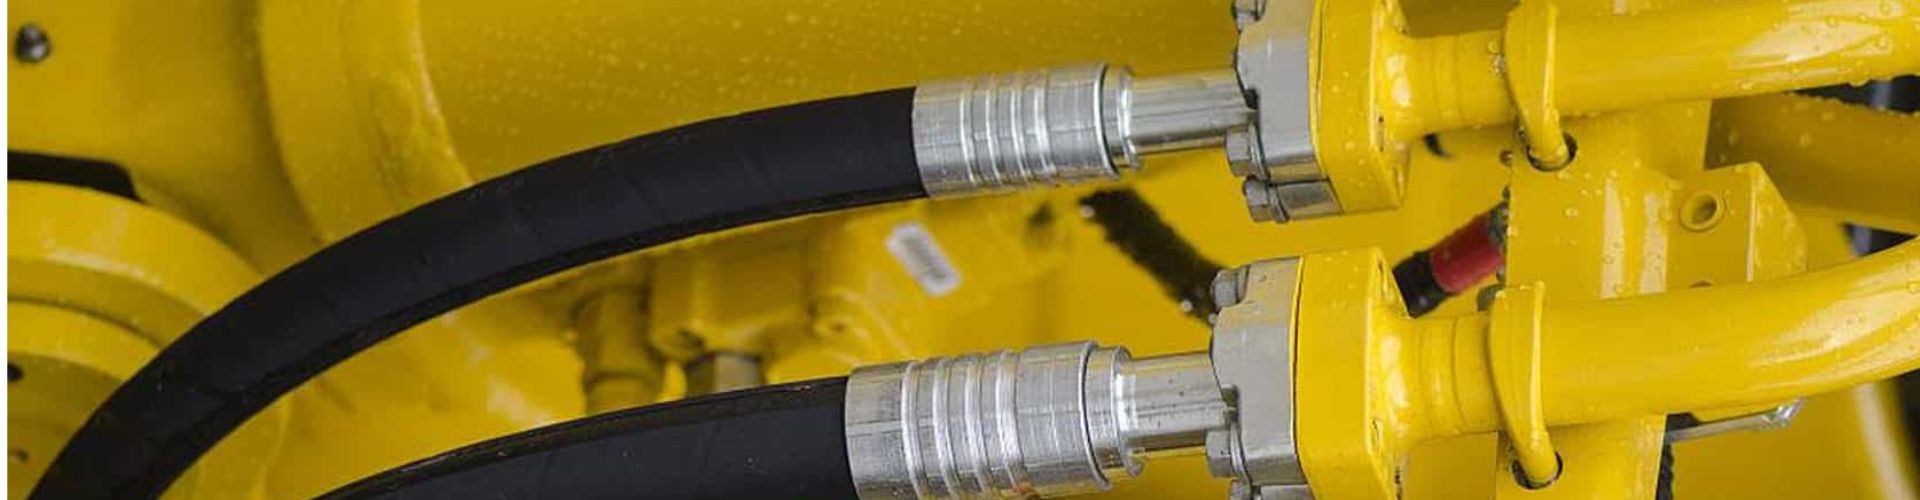
Fluid leaks refer to the unintended escape of liquids or gases from their intended containment systems. These leaks can occur in various systems such as hydraulic, pneumatic, fuel, and cooling systems, each with unique characteristics and challenges. Hydraulic systems, for instance, operate under high pressure and are prone to leaks in hoses, seals, and hydraulic fittings due to the intense pressure. Pneumatic systems, using compressed air, can experience leaks at connections and joints, leading to energy loss and inefficiency.

Wear and Tear:
Over time, the components of any fluid system are subject to natural degradation. Seals, gaskets, hoses, and fittings can wear out due to constant use, exposure to harsh environmental conditions, and the pressure of fluid passing through them. As these parts wear down, they become less effective at containing fluids, leading to leaks. Regular inspection and maintenance are essential to detect and replace worn components before they cause significant issues.
Improper Installation:
Incorrect assembly or installation of system components can result in immediate or eventual leaks. This can include improperly tightened fittings, misaligned seals, or using incompatible materials. For instance, over-tightening can damage threads and seals, while under-tightening can leave gaps for fluid to escape. Ensuring that installation is performed by trained professionals and according to manufacturer specifications is crucial to prevent leaks from the start.
Material Defects:
Even with proper installation and maintenance, material defects can lead to leaks. Defects in manufacturing, such as cracks, porosity, or weak spots in the material, can compromise the integrity of the system. These defects may not be immediately apparent but can become critical under operational stress. Quality control during manufacturing and thorough inspection before installation can help identify and mitigate the risk of material defects.
System Performance:
Fluid leaks can significantly reduce the efficiency and performance of a system. In hydraulic systems, leaks lead to a loss of hydraulic fluid, which reduces the system’s ability to generate the necessary force. This can result in slower operation, diminished power, and potential failure to perform critical tasks. In pneumatic systems, air leaks cause a pressure drop, leading to inefficient operation and increased energy consumption.
Safety:
Leaks pose a considerable safety risk in industrial environments. Hydraulic fluids can be flammable, posing a fire hazard if they come into contact with hot surfaces or sparks. Additionally, leaked fluids can create slippery surfaces, increasing the risk of slips and falls. In pneumatic systems, leaks can lead to sudden bursts of compressed air, which can be dangerous to nearby personnel. Ensuring that leaks are promptly addressed is essential for maintaining a safe working environment.
Costs:
The financial impact of fluid leaks can be substantial. Direct costs include the expense of repairing or replacing damaged components and the cost of lost fluids. Indirect costs can be even more significant, including downtime due to system failures, increased energy consumption, and potential damage to other system parts.
Visual inspection is often the first step in identifying fluid leaks. This technique involves a thorough examination of the system for any visible signs of leakage. Here are some detailed methods used in visual inspection:
Checking for Puddles, Stains, and Wet Spots:
Puddles: Look for puddles of fluid underneath equipment, pipes, or connections. These can indicate a significant leak that needs immediate attention.
Stains: Examine surfaces around the system for stains, which can indicate a slow or intermittent leak. Dried fluid can leave behind discoloration or residue.
Wet Spots: Feel for wet spots on components such as hoses, fittings, and seals. Even small wet areas can signify a leak, especially in high-pressure systems.
Additional Techniques:
Using Flashlights: Utilize a strong flashlight to enhance visibility in dark or hard-to-reach areas.
Inspection Mirrors: Employ mirrors to inspect the backside of components or areas that are not easily visible.
Clean Surfaces: Regularly clean surfaces to make new leaks easier to detect.
Pressure testing is a reliable method to detect leaks by observing pressure drops in sealed systems. This technique involves the following steps:
Preparation:
Seal the System: Ensure the system is properly sealed and all outlets are closed.
Introduce Pressure: Apply a controlled pressure to the system using a pump or compressor.
Monitoring:
Pressure Gauges: Use pressure gauges to monitor the system. A drop in pressure over time indicates a leak.
Time-Based Observation: Allow the system to remain under pressure for a specified period and observe any changes in pressure readings.
Advanced Techniques:
Hydrostatic Testing: Use water as the test medium, especially for systems that handle non-compressible fluids. This method minimizes the risk of explosive failure.
Pneumatic Testing: Use air or gas for systems that operate under high pressure or handle gases. Extra caution is necessary due to the compressible nature of gases.
Ultrasonic detection involves using specialized equipment to detect sound waves produced by fluid escaping through small leaks. Here’s how it works:
Equipment:
Ultrasonic Detectors: Devices equipped with sensitive microphones and amplifiers to pick up high-frequency sounds.
Headsets: Operators wear headsets to hear the amplified ultrasonic signals.
Procedure:
Scan the System: Move the ultrasonic detector along the system components, focusing on joints, fittings, and seals.
Listen for Signals: Identify the characteristic hissing or whooshing sounds that indicate a leak.
Pinpointing Leaks: Use the detector to narrow down the exact location of the leak by following the sound intensity.
Advantages:
Non-Intrusive: No need to disassemble components, allowing for quick and efficient inspections.
Sensitivity: Capable of detecting very small leaks that may not be visible or detectable by other means.

Dye Testing:
Introduction of Tracer Dye: Add a fluorescent or colored dye to the system fluid.
Visual Inspection: Use ultraviolet light (for fluorescent dyes) or look for visible color changes to spot the dye escaping from leaks.
Advantages: Provides a clear visual indication of leak locations, even in complex systems.
Sniffer Dogs:
Training: Dogs are specially trained to detect specific fluids by scent.
Application: Useful in large or complex installations where traditional methods are impractical.
Efficiency: Dogs can quickly cover large areas and pinpoint leaks with high accuracy.
Electronic Leak Detectors:
Sensors: Equipped with sensors that detect specific gases or fluids.
Procedure: Move the detector along the system components. The device will alert the operator (usually with a visual or audible signal) when it detects a leak.
Advantages: Highly sensitive and can detect leaks that are difficult to identify visually or by other means.
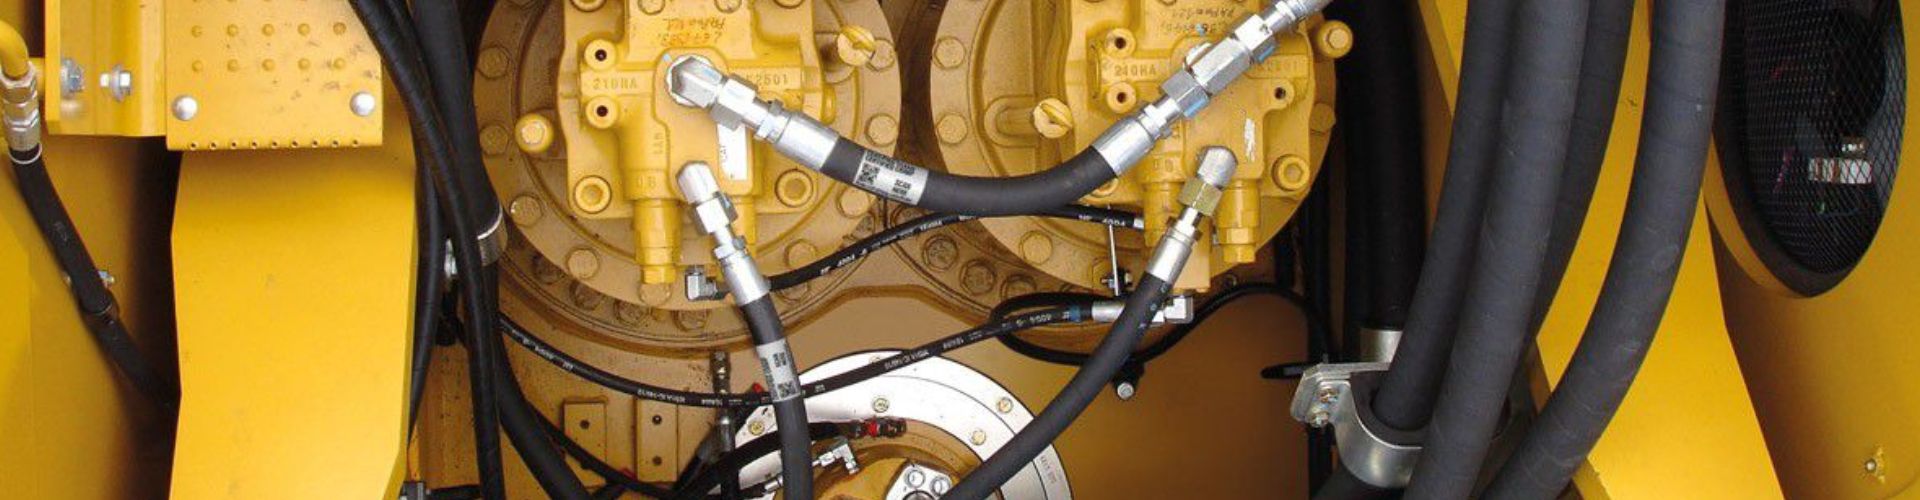
Connections and fittings are critical points in any fluid system, and they are often susceptible to leaks due to various factors.
Worn Seals:
Description: Seals are designed to prevent fluid from escaping at connection points. Over time, these seals can wear out due to constant pressure, temperature fluctuations, and chemical exposure.
Causes: High operational temperatures, frequent pressure changes, and exposure to aggressive chemicals can accelerate the wear of seals, leading to cracks, hardening, or loss of elasticity.
Prevention: Regular inspection and timely replacement of seals, using seals made from materials compatible with the operating environment.
Damaged O-Rings:
Description: O-rings are commonly used to seal connections and prevent leaks. Damage to O-rings can cause significant leakage.
Causes: Improper installation, such as twisting or pinching during assembly, and exposure to incompatible fluids or excessive temperatures can damage O-rings.
Prevention: Ensuring proper installation techniques, selecting the right material for O-rings based on the fluid and temperature conditions, and replacing O-rings regularly as part of maintenance.
Thread Issues:
Description: Threads on fittings and connectors ensure a tight, leak-proof connection. Issues with threads can lead to leaks.
Causes: Cross-threading, over-tightening, or wear and tear can damage threads, preventing proper sealing.
Prevention: Training personnel on proper threading techniques, using thread sealants or tapes where appropriate, and replacing worn or damaged threaded components.
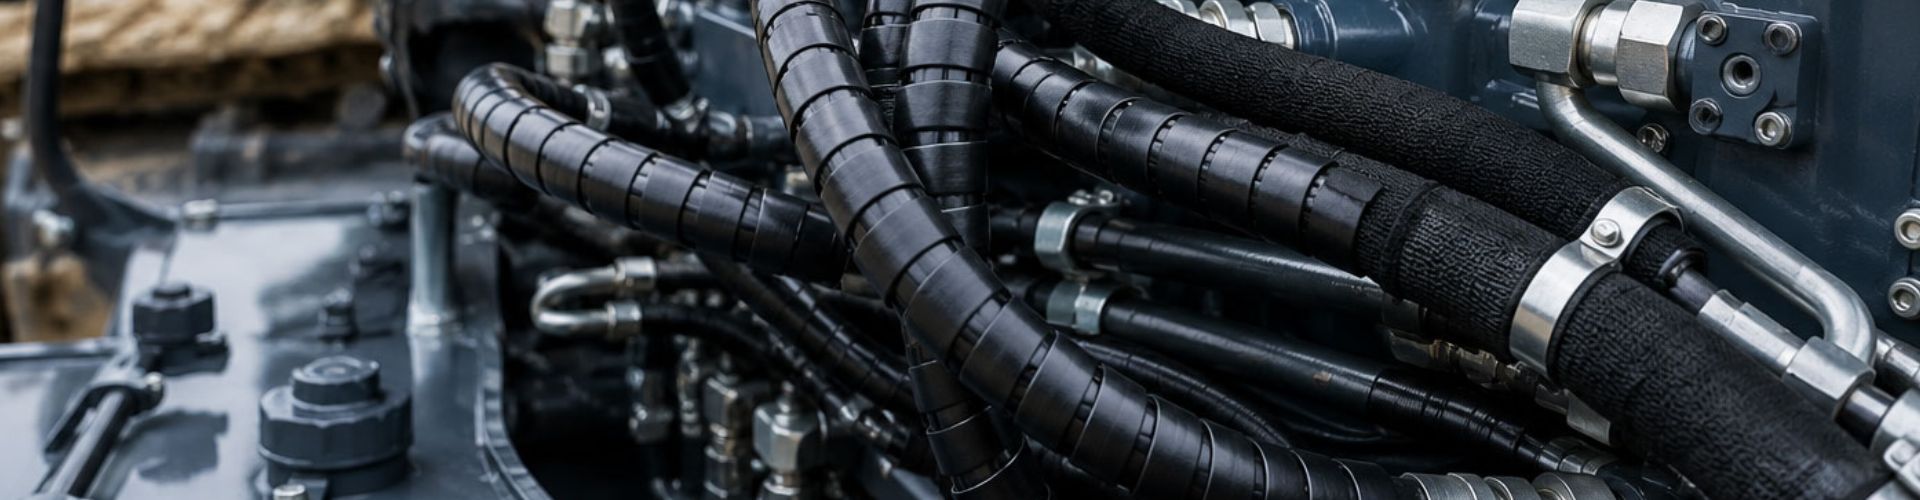
Hoses and tubing are essential for transporting fluids within a system, but they are vulnerable to various issues that can lead to leaks.
Abrasion:
Description: Hoses and tubing can suffer from abrasion when they rub against other surfaces or components.
Causes: Improper routing, lack of protective coverings, or constant movement can cause abrasion, leading to wear and eventual leaks.
Prevention: Properly routing hoses to avoid contact with abrasive surfaces, using protective sleeves or guards, and regularly inspecting hoses for signs of wear.
Wear:
Description: Over time, hoses and tubing naturally degrade and wear out.
Causes: Continuous flexing, exposure to harsh environmental conditions, and high-pressure operation can contribute to wear.
Prevention: Implementing a maintenance schedule that includes regular inspection and replacement of worn hoses and tubing, and using high-quality materials designed for specific operational conditions.
Improper Routing:
Description: Incorrectly routed hoses and tubing can be subjected to unnecessary stress and strain.
Causes: Bending hoses too sharply, stretching them too tightly, or routing them near sharp edges can create stress points that lead to leaks.
Prevention: Following manufacturer guidelines for routing, avoiding tight bends and excessive stretching, and using proper supports and clamps to secure hoses in place.

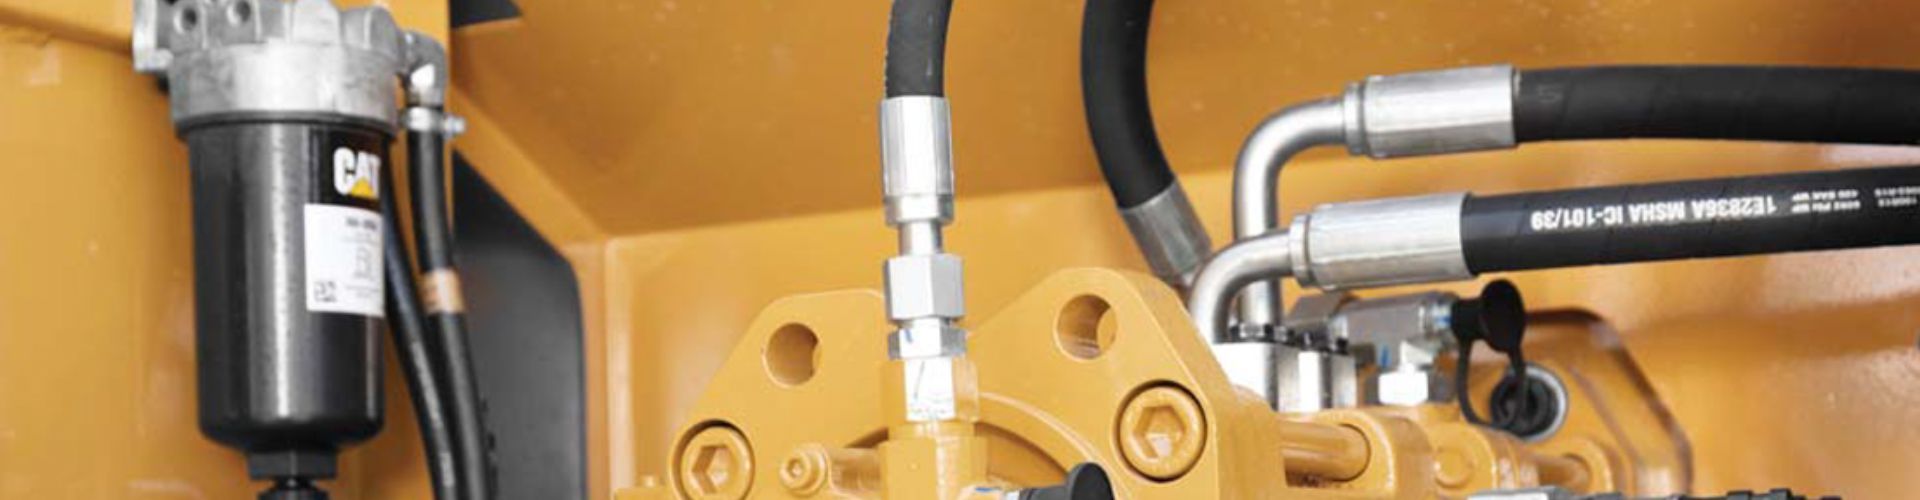
Valves and pumps are integral components of fluid systems, and they can be common points of failure leading to leaks.
Internal Failures:
Description: Internal components of valves and pumps, such as seals, gaskets, and moving parts, can wear out or fail.
Causes: Prolonged use, exposure to abrasive or corrosive fluids, and inadequate lubrication can cause internal components to deteriorate.
Prevention: Regular maintenance, including lubrication, inspection, and replacement of worn parts, using materials compatible with the operating environment, and ensuring proper installation and operation.
Worn-Out Seals:
Description: Seals within valves and pumps prevent fluid from leaking out of the internal components.
Causes: Continuous operation under high pressure and temperature conditions, and exposure to aggressive fluids can wear out seals.
Prevention: Periodic inspection and replacement of seals, using seals designed for specific operational conditions, and maintaining proper operational parameters.
Damaged Components:
Description: Components such as valve seats, pump impellers, and diaphragms can get damaged, leading to leaks.
Causes: Abrasive particles in the fluid, cavitation, and mechanical damage during maintenance can harm these components.
Prevention: Installing filters to remove particulates, monitoring for signs of cavitation, and handling components carefully during maintenance.
Flanges and joints are points where sections of piping or equipment are joined together, and they are prone to leaks if not properly maintained.
Poor Sealing Surfaces:
Description: The surfaces of flanges and joints must be smooth and properly aligned to ensure a tight seal.
Causes: Corrosion, erosion, or damage during installation can compromise the sealing surface.
Prevention: Regular inspection and maintenance of sealing surfaces, using appropriate gaskets and sealants, and ensuring proper alignment during installation.
Improper Torque:
Description: The bolts securing flanges and joints must be tightened to the correct torque to ensure a leak-proof seal.
Causes: Under-tightening can leave gaps while over-tightening can crush gaskets and deform sealing surfaces.
Prevention: Using a calibrated torque wrench to ensure bolts are tightened to the manufacturer’s specifications, and following proper tightening sequences.
Gasket Failures:
Description: Gaskets are used to seal flanges and joints, and their failure can lead to leaks.
Causes: Improper installation, using incorrect gasket materials, and exposure to extreme temperatures and pressures can cause gasket failure.
Prevention: Selecting the right gasket material for the application, ensuring proper installation procedures, and replacing gaskets regularly as part of preventive maintenance.
Effective troubleshooting of fluid leaks involves a systematic approach to identify, verify, and rectify the issue. The following step-by-step guide outlines the essential procedures:
Isolate the Affected Area:
Identify the Section: Carefully analyze the system to locate the general area where the leak is occurring. This can involve following the fluid path and checking for areas with visible signs of leakage such as puddles, stains, or moisture.
Shut Down the System: If safe to do so, shut down the affected section of the system to prevent further leakage and to allow for a safer inspection environment.
Verify the Leak Source:
Pinpoint the Exact Origin: Use diagnostic tools such as pressure testing, ultrasonic detectors, or dye testing to confirm the exact source of the leak. It’s essential to distinguish between the actual leak point and areas where fluid may have accumulated due to gravity or system pressure.
Double-Check for Multiple Leaks: Sometimes, there may be more than one leak in a system. Ensure a thorough check to identify all potential leak points.
Inspect for Damage or Wear:
Examine Components: Carefully inspect the components around the identified leak point for signs of damage or wear. This includes checking seals, O-rings, fittings, hoses, and connections for cracks, abrasions, or other forms of degradation.
Assess Condition: Evaluate the overall condition of the affected components. Even if the damage is minor, consider whether it’s part of a broader issue that could lead to future leaks.
Test and Retest After Repairs:
Conduct Initial Tests: After performing repairs, such as replacing seals or tightening connections, conduct an initial test to ensure the leak has been addressed. This could involve re-pressurizing the system or using detection tools to confirm the absence of leaks.
Monitor Over Time: Even after initial tests, continue to monitor the repaired area over time to ensure the fix is durable and that no new leaks emerge.
Addressing the root causes of leaks often involves specific repair techniques. Here are some of the most common fixes for typical leak sources:
Tightening Connections:
Ensuring Proper Security: Loose fittings and connections are a common cause of leaks. Use appropriate tools to tighten connections, ensuring they are secure but not over-tightened, which can damage threads and seals.
Using Torque Specifications: Follow the manufacturer’s torque specifications to ensure connections are tightened to the correct degree. This prevents under-tightening (which can cause leaks) and over-tightening (which can damage components).
Replacing Seals:
Installing New O-rings or Seals: Damaged or worn seals are frequent culprits of leaks. Replace old seals with new ones that are compatible with the system’s fluid and operating conditions.
Proper Installation: Ensure seals are installed correctly, avoiding pinching, twisting, or improper seating, which can lead to immediate or future leaks.
Re-Routing Hoses:
Adjusting Hose Paths: Incorrect hose routing can cause excessive stress and wear. Re-route hoses to eliminate sharp bends, kinks, or contact with abrasive surfaces.
Using Supports and Clamps: Properly secure hoses with supports and clamps to maintain optimal routing and minimize movement and vibration.
Using Advanced Diagnostic Tools:
Thermal Imaging: Employ thermal imaging cameras to detect temperature anomalies that may indicate fluid leaks.
Acoustic Emission Testing: Utilize acoustic emission sensors to detect high-frequency sounds produced by fluid escaping under pressure.
Implementing a Preventative Maintenance Plan:
Scheduled Inspections: Conduct regular system inspections and maintenance to identify and address potential issues before they become significant problems.
Component Replacement: Replace high-risk components based on a predefined schedule, even if they have not yet failed, to prevent unexpected leaks.
Documenting Repairs and Maintenance:
Maintaining Records: Keep detailed records of all inspections, repairs, and maintenance activities. This helps in tracking the history of leaks and understanding patterns or recurring issues.
Understanding fluid leaks, identifying common leak points, employing effective troubleshooting techniques, and adopting preventative measures are critical steps in maintaining reliable fluid systems. Innovations in leak detection and prevention technologies will continue to evolve, enhancing system reliability. A proactive approach, encompassing regular maintenance and adherence to best practices, is essential for preventing leaks and ensuring the longevity and efficiency of fluid systems.
The most common causes include wear and tear of seals and O-rings, improper installation of components, material defects, and damage to hoses or fittings due to abrasion or improper routing.
Perform a visual inspection to look for puddles, stains, or wet spots around components. Use pressure testing, ultrasonic detectors, or dye testing for more precise identification of leaks.
First, isolate the affected area to prevent further leakage. Verify the exact source of the leak, inspect for damage or wear, and perform necessary repairs such as tightening connections or replacing seals. Test and retest the system to ensure the leak is fixed.
Regular inspections should be part of your preventative maintenance plan. Depending on the system’s usage and operating conditions, inspections can range from daily checks to monthly thorough inspections.
Useful tools include pressure gauges for pressure testing, ultrasonic detectors for identifying high-frequency sound waves, dye testing kits, and electronic leak detectors. Visual inspection aids like flashlights and inspection mirrors are also essential.
Implement a regular maintenance schedule, use high-quality components, ensure proper installation practices, and train personnel on leak prevention techniques. Regularly inspect and replace worn components to avoid unexpected failures.

