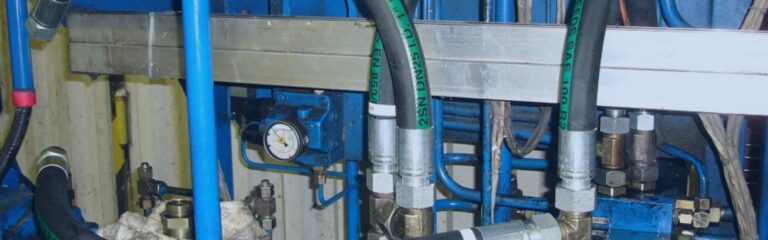
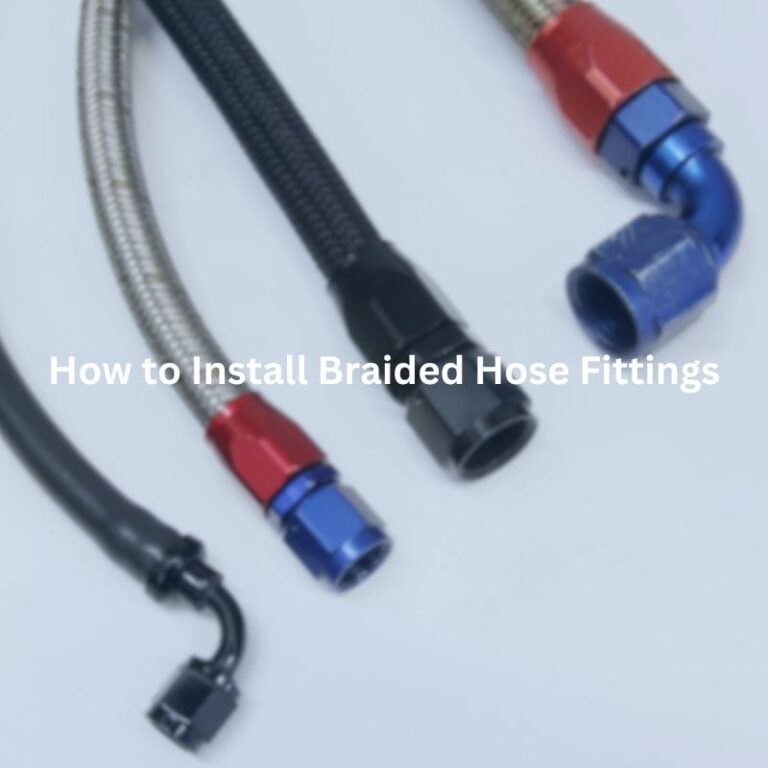
Hydraulic hose fittings are crucial components in various industrial applications, ensuring the proper flow of hydraulic fluid within the system. Proper maintenance and handling of these fittings are essential to avoid operational issues and extend the lifespan of the equipment. This guide aims to provide a comprehensive method for safely loosening hydraulic hose fittings, targeted towards maintenance providers, technicians, and industry professionals.
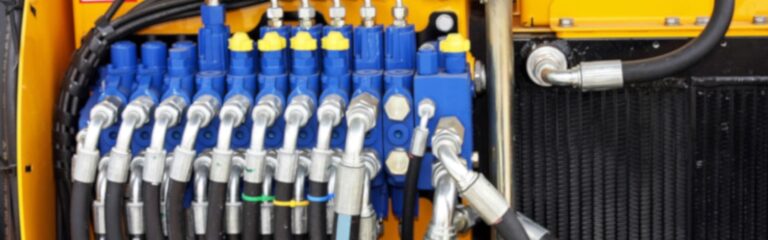
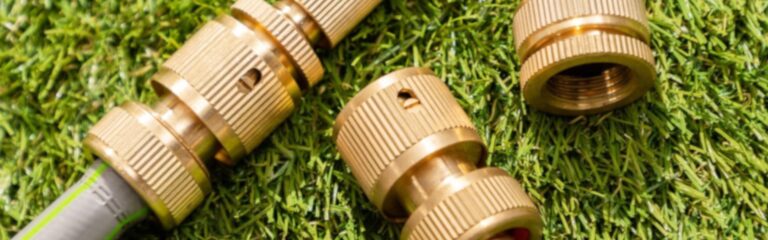
Hydraulic hose fittings are essential components in hydraulic systems, ensuring secure connections and the efficient transfer of fluids. Each type of fitting is designed for specific applications and operating conditions, and understanding these types can help you choose the right fitting for your needs.
JIC Fittings:
JIC fittings are characterized by their 37-degree flare seating surface, which provides a strong and reliable connection. These fittings are widely used in fuel delivery systems, fluid power applications, and other high-pressure environments where durability and reliability are crucial. Their flared design ensures a tight seal, reducing the risk of leaks and enhancing system safety.
ORFS Fittings:
ORFS fittings feature an O-ring within a groove on the face of the fitting, creating a seal when connected. This design ensures a leak-proof connection, even under high-pressure conditions. Ideal for high-pressure hydraulic systems, ORFS fittings are commonly used in construction equipment, agricultural machinery, and other industrial applications requiring reliable sealing. The primary benefit of ORFS fittings is their ability to provide a leak-proof seal, significantly reducing the risk of fluid leaks. This makes them suitable for applications where maintaining hydraulic fluid integrity is critical.
NPT Fittings:
NPT fittings use a tapered thread design that tightens as it is threaded together, creating a seal. NPT fittings are commonly used in lower-pressure applications such as pneumatic systems, plumbing, and general hydraulic systems where high pressure is not a primary concern.
BSP Fittings:
BSP fittings are similar to NPT fittings but have a different thread angle and pitch. BSP fittings are commonly used in Europe and Asia and come in two types: BSPP (parallel) and BSPT (tapered). These fittings are widely used in hydraulic systems, plumbing, and other fluid transfer applications in regions where BSP standards are prevalent.
When working with hydraulic systems, safety is paramount. Improper handling can lead to severe injuries or system damage. Always follow these guidelines to ensure a safe and efficient work environment:
Wear Personal Protective Equipment (PPE):
Gloves: Protect your hands from sharp edges and hot surfaces.
Safety Goggles: Shield your eyes from hydraulic fluid splashes and debris.
Protective Clothing: Wear long sleeves and pants to minimize skin exposure to hydraulic fluid and other hazards.
Ensure a Safe Working Environment:
Clear the Area: Remove any unnecessary personnel and equipment from the work area to prevent accidents.
Adequate Lighting: Ensure the work area is well-lit to avoid mistakes and to see potential hazards.
Ventilation: Work in a well-ventilated area to avoid inhaling fumes from hydraulic fluids and lubricants.
Having the right tools and equipment is essential for safely and effectively loosening hydraulic hose fittings. The proper tools not only make the job easier but also help prevent damage to the fittings and the hydraulic system. Here’s a list of essential tools and equipment:
Wrenches:
Adjustable Wrenches: Versatile and can be adjusted to fit different sizes of fittings.
Pipe Wrenches: Useful for gripping round fittings and applying significant torque.
Specific Hydraulic Wrenches: Designed specifically for hydraulic fittings, ensuring a better grip and preventing damage.
Pliers:
Slip-Joint Pliers: Adjustable pliers that can be used for gripping various sizes of fittings.
Needle-nose Pliers: Ideal for gripping small fittings and working in tight spaces.
Locking Pliers (Vise-Grips): Provide a firm grip on the fitting, making it easier to turn.
Lubricants:
Penetrating Oils: Products like WD-40 or PB Blaster can help loosen rusted or seized fittings by penetrating the threads and breaking down corrosion.
Application: Apply the penetrating oil around the fitting and allow it to sit for several minutes to maximize effectiveness.
Before attempting to loosen a hydraulic hose fitting, a thorough initial assessment is crucial. This step helps you understand the condition of the fitting and select the appropriate tools for the job.
Inspect for Damage or Corrosion:
Visual Inspection: Look for signs of wear, rust, or corrosion. These can make the fitting harder to loosen and might indicate that additional care is needed.
Physical Examination: Feel for any roughness or deformities that might suggest damage beyond visual inspection.
Determine Type and Size:
Identify the Fitting Type: Understand whether it is a JIC, ORFS, NPT, BSP, or another type of fitting. This will guide the choice of tools and techniques.
Measure the Fitting: Use a caliper or a fitting gauge to determine the exact size of the fitting, ensuring you select tools that fit properly.
Lubricants and penetrating oils can significantly ease the process of loosening hydraulic hose fittings by breaking down rust and corrosion.
Types of Lubricants:
Penetrating Oils: Products like WD-40, PB Blaster, and Liquid Wrench are designed to penetrate rust and corrosion, making it easier to loosen fittings.
Specialty Lubricants: Consider using high-performance penetrating lubricants for severely corroded or seized fittings.
Application:
Apply Generously: Spray or apply the lubricant around the fitting, ensuring it reaches the threads.
Wait Time: Allow the lubricant to penetrate for several minutes. For severely seized fittings, let it sit for up to an hour, reapplying as needed.
Using the right techniques is essential to avoid damaging the fitting or the hydraulic system.
Gentle Tapping and Vibration:
Light Tapping: Use a small hammer to gently tap the fitting. This can help break the bond of rust or corrosion.
Vibration: Apply vibration using a vibrating tool or by tapping consistently to loosen the grip of corrosion on the threads.
Using Heat:
Heat Application: Use a heat gun or propane torch to apply heat around the fitting. Heat causes the metal to expand, which can break the bond of rust and make the fitting easier to loosen.
Caution: Avoid overheating, which can damage the fitting or surrounding components. Heat should be applied evenly and for short periods.
Apply Moderate Force:
Initial Attempt: Begin by applying moderate force using the appropriate wrench or pliers. Ensure you have a firm grip on the fitting to avoid slippage.
Caution: Do not apply excessive force immediately, as this can damage the fitting or strip the threads, making it even more difficult to remove. Gentle but firm pressure is key.
Increase Gradually:
Incremental Pressure: If the fitting does not budge with moderate force, gradually increase the pressure. This approach minimizes the risk of sudden breakage or thread damage.
Lubricant Application: If the fitting remains resistant, apply additional penetrating oil or lubricant. Allow the lubricant to penetrate for several minutes before attempting to loosen the fitting again.
Tapping Technique: Use a small hammer to gently tap around the fitting. The vibration can help break up rust and corrosion, making the fitting easier to turn. Alternate between applying lubricant and tapping to maximize the effect.
Sometimes, despite careful application of force and lubrication, hydraulic hose fittings remain stubborn due to severe corrosion or being over-tightened. In these cases, more advanced techniques are necessary.
Hydraulic Pullers:
Usage: Hydraulic pullers or extractors are designed to remove seized fittings by applying uniform, controlled force. Attach the puller to the fitting and operate it according to the manufacturer’s instructions.
Effectiveness: These tools can be very effective, especially for fittings that are deeply corroded or tightly bonded to the hose.
Impact Tools:
Pneumatic Impact Tools: These tools use compressed air to deliver high torque and vibration, which can help break the bond of rust and corrosion. Attach the impact tool to the fitting and use short, controlled bursts.
Electric Impact Tools: Similar to pneumatic tools, electric impact tools provide high torque and vibration. They are useful in situations where compressed air is not available. Always follow safety guidelines when using impact tools to avoid damage or injury.
When Necessary:
Last Resort: If all other methods fail, cutting the fitting may be the only viable option. This should be considered a last resort due to the irreversible nature of cutting.
Tool Selection: Use a pipe cutter, hacksaw, or reciprocating saw. Choose the tool based on the material of the fitting and the surrounding components to avoid collateral damage.
Cutting Process:
Careful Execution: Position the cutter or saw carefully to ensure a clean cut through the fitting without damaging the hose or other adjacent components. It is crucial to maintain steady hands and a slow, controlled cutting motion.
Removing the Fitting: Once the fitting is cut through, gently remove it. Be mindful of any remaining sharp edges that could pose a safety hazard.
Replacement:
Selecting a New Fitting: Ensure the replacement fitting matches the specifications of the original, including thread type, size, and material. This is essential for maintaining system integrity and preventing leaks.
Installation: Install the new fitting according to the manufacturer’s guidelines. Use proper torque specifications to avoid over-tightening and ensure a secure, leak-free connection.
Testing: After installation, repressurize the hydraulic system and test for leaks. Conduct a thorough inspection to confirm that the new fitting is securely in place and functioning correctly.
After successfully loosening and removing a hydraulic hose fitting, several critical steps must be taken to ensure the system’s integrity and prevent future issues. This section covers inspecting the fitting and hose, cleaning and maintenance, reconnecting the system, and system testing.
Checking for Signs of Damage or Wear:
Visual Inspection: Carefully examine the removed fitting for any signs of damage, such as cracks, deformation, or excessive corrosion. These issues can indicate that the fitting needs to be replaced rather than reused.
Thread Integrity: Inspect the threads for any signs of stripping or cross-threading. Damaged threads can compromise the sealing capability and should be addressed.
Hose Condition: Check the hose for any signs of wear, such as abrasions, cuts, or bulges. These can indicate potential failure points that need attention.
Assessing the Condition of the Hose and Adjacent Fittings:
Hose Integrity: Ensure the hose is still flexible and free of cracks. Stiffness or brittleness in the hose material can indicate age-related degradation and may necessitate replacement.
Adjacent Fittings: Inspect any nearby fittings for similar issues. Corrosion or damage to adjacent fittings can impact the overall system’s performance and safety.
Cleaning the Fitting and Surrounding Area:
Debris Removal: Use a suitable solvent to clean the fitting and the surrounding area thoroughly. Remove any dirt, rust, or debris that could interfere with the connection.
Drying: Ensure the cleaned areas are completely dry before proceeding to prevent any contaminants from entering the hydraulic system.
Applying Anti-Seize Compounds:
Purpose: Applying an anti-seize compound to the threads of the fitting can prevent future seizing and make future maintenance easier.
Application: Apply a thin, even layer of anti-seize compound to the threads of the fitting. Avoid over-application, as excess compounds can contaminate the hydraulic fluid.
Proper Reinstallation Techniques:
Alignment: Ensure the fitting and hose are correctly aligned before threading the fitting. Misalignment can lead to cross-threading and damage.
Thread Engagement: Start threading the fitting by hand to ensure proper engagement and avoid cross-threading. Once hand-tight, use the appropriate wrench to secure the fitting.
Ensuring Secure and Leak-Free Connections:
Torque Specifications: Follow the manufacturer’s recommended torque specifications to ensure the fitting is tightened correctly. Over-tightening can damage the threads, while under-tightening can lead to leaks.
Sealing Elements: Ensure any O-rings, gaskets, or sealing elements are correctly positioned and in good condition. Replace any worn or damaged seals.
Repressurizing the Hydraulic System:
Gradual Pressurization: Slowly bring the hydraulic system back up to its operating pressure. This gradual approach allows for monitoring and immediate response to any issues.
Monitoring: Keep a close eye on the system during depressurization, looking for any signs of leaks or pressure drops.
Testing for Leaks and Proper Functionality:
Leak Detection: Use a leak detection fluid or soapy water to check for leaks around the reconnected fitting. Bubbles or fluid movement indicates a leak that needs to be addressed.
System Functionality: Test the hydraulic system under normal operating conditions to ensure it is functioning correctly. Pay attention to any unusual noises, vibrations, or performance issues.
Final Inspection: After the system has been tested and deemed functional, perform a final inspection of all fittings and connections to ensure everything is secure and leak-free.
To safely and effectively loosen hydraulic hose fittings, it’s crucial to follow proper procedures, including initial assessment, selecting the right tools, applying lubricants, and employing appropriate loosening techniques. Always adhere to safety measures and use the correct tools to avoid damage. Regular maintenance and inspections are vital to ensure the longevity and reliability of your hydraulic system.
For more information, refer to industry books, articles, and online resources. Contact Topa hydraulic system experts for professional advice and assistance.
Check the shape, size, and thread type of the fitting. Common types include JIC, ORFS, NPT, and BSP. Refer to manufacturer specifications or use a fitting gauge for accurate identification.
Apply penetrating oil, allow it to sit, then use appropriate tools with moderate force. If still stuck, use heat carefully or advanced tools like hydraulic pullers.
Regularly apply anti-seize compounds to the threads, maintain a clean environment, and perform routine inspections and maintenance.
Always wear PPE, such as gloves, safety goggles, and protective clothing. Ensure the work area is clear and well-lit, and depressurize the system before starting any work.
Gradually repressurize the system and use a leak detection fluid or soapy water around the fitting. Look for bubbles or fluid movement indicating a leak.
Replace the fitting if it shows signs of severe damage, corrosion, or stripped threads, or if it fails to seal properly after reinstallation.
Looking for unbeatable prices, top-tier quality, or custom solutions that fit your exact needs? Contact Topa Now!
“Still hesitating which product is right for you?” Send an inquiry and our hydraulics team will provide you with the best solution!