Install BSP Pipe Fittings: A Step-by-Step Guide
Table of Contents
Introduction
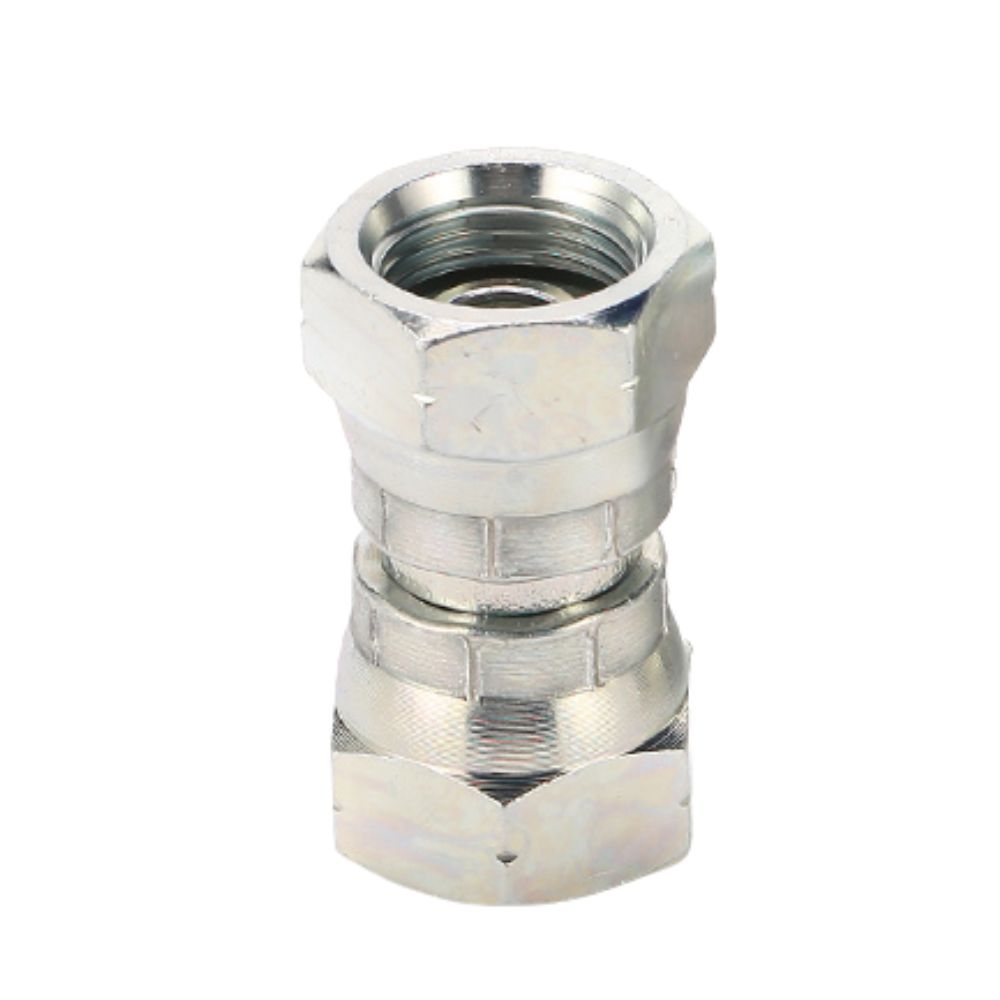
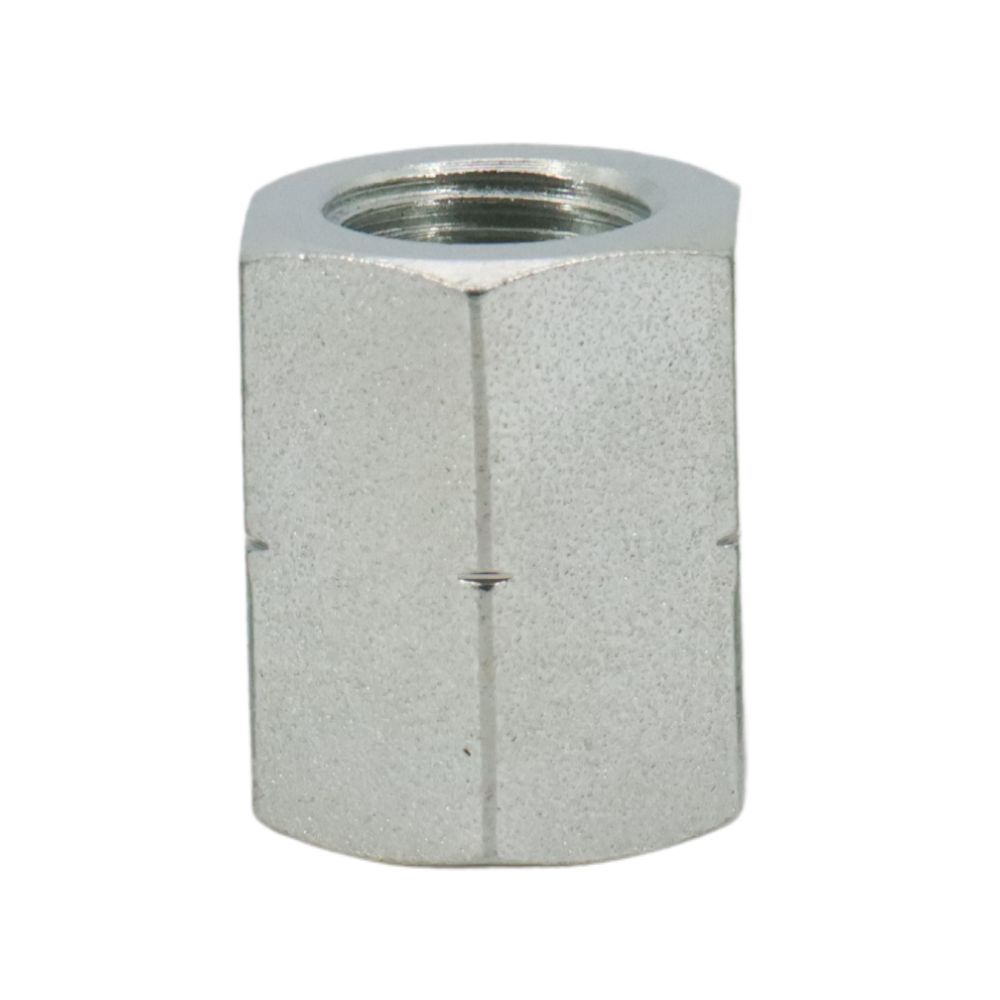
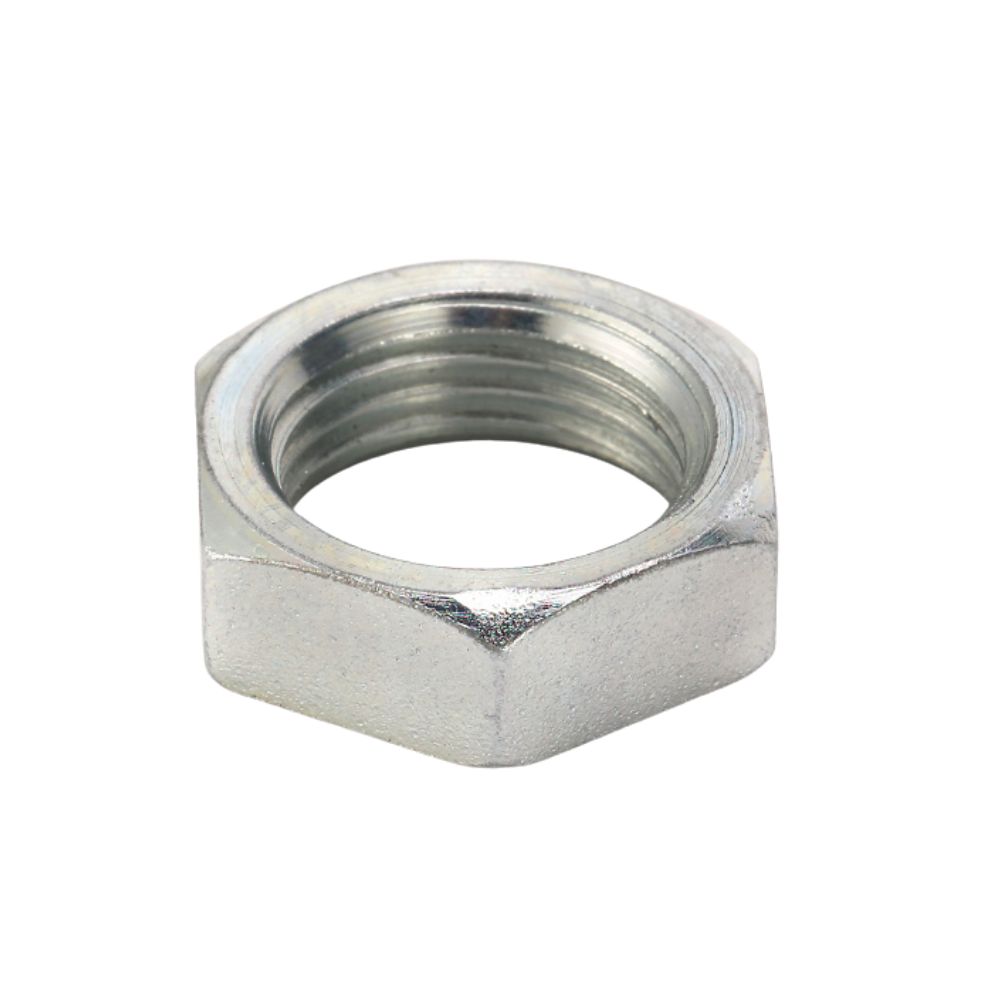
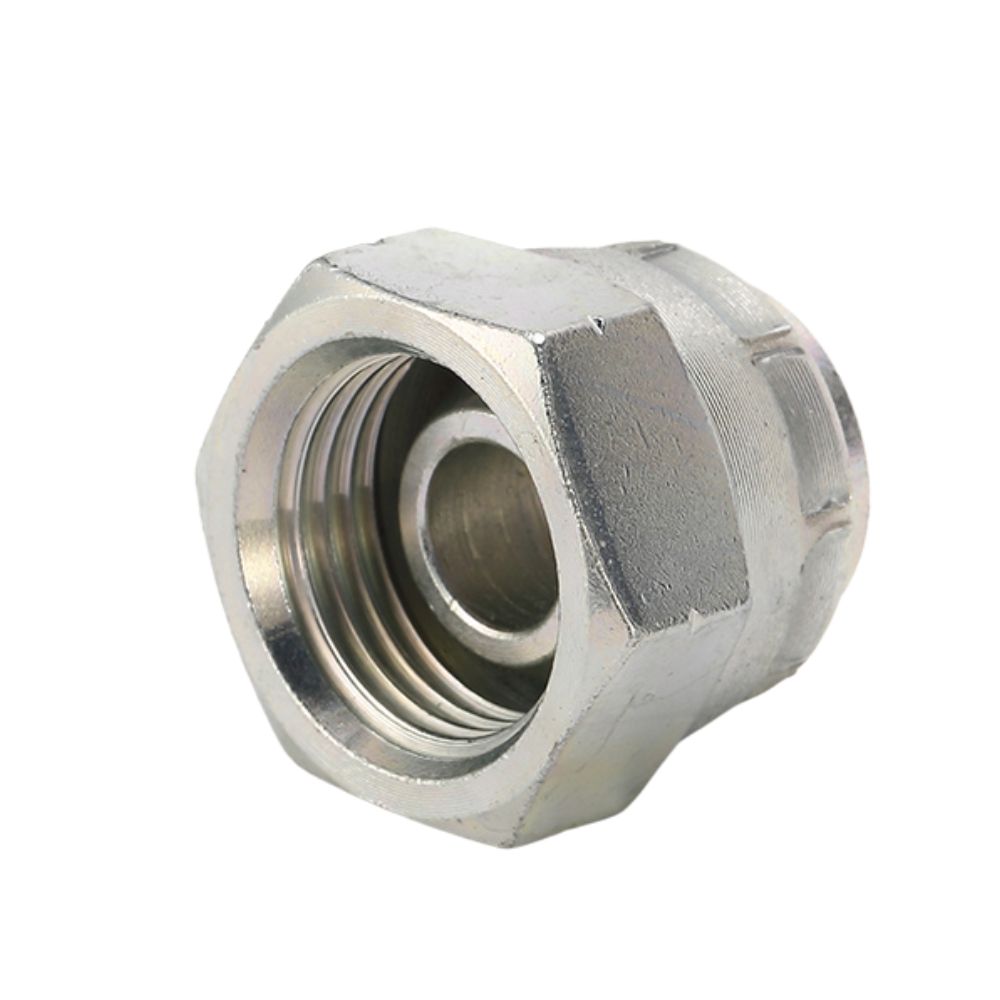
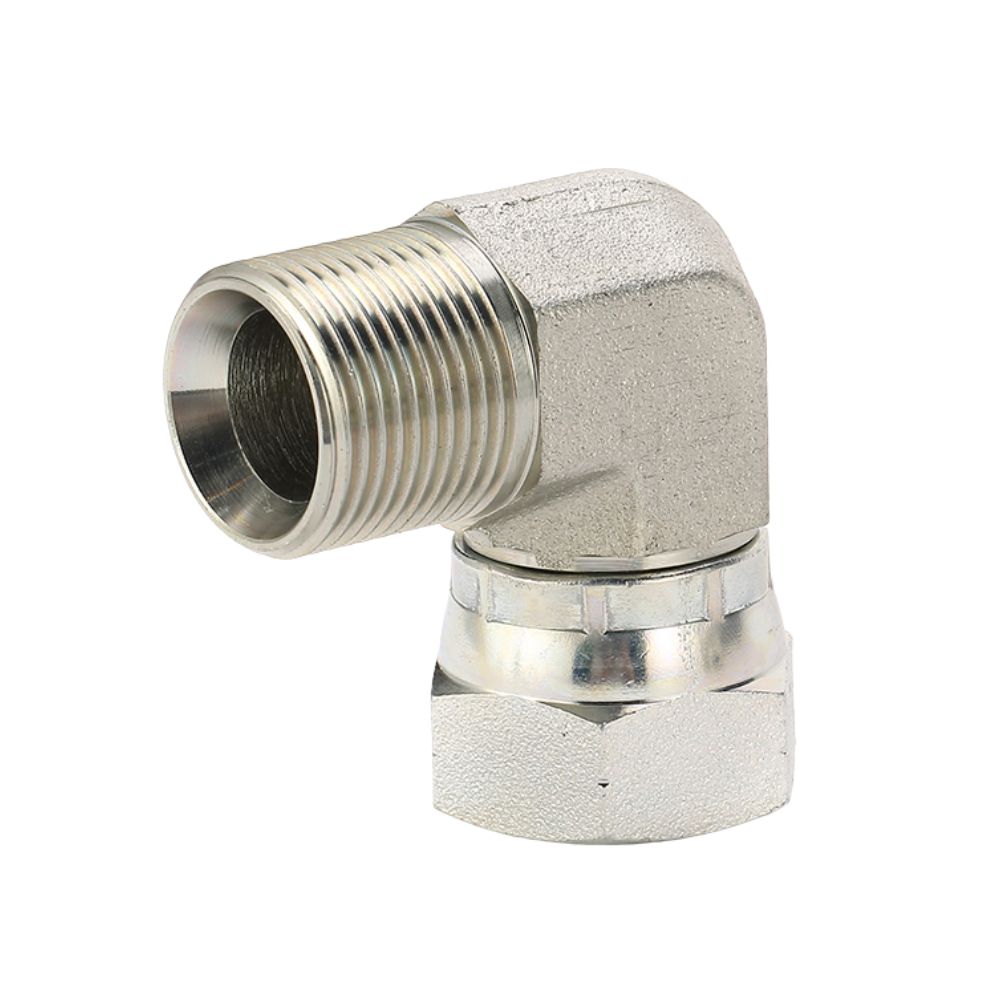
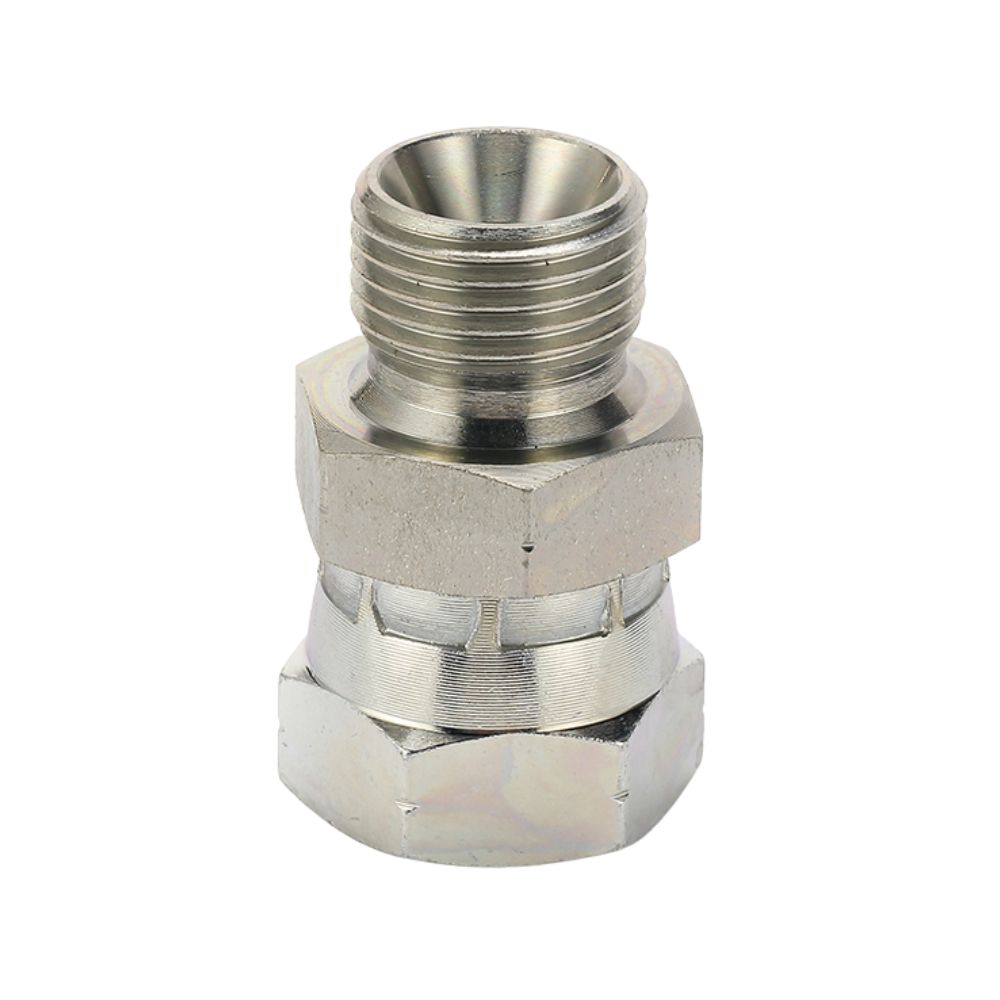
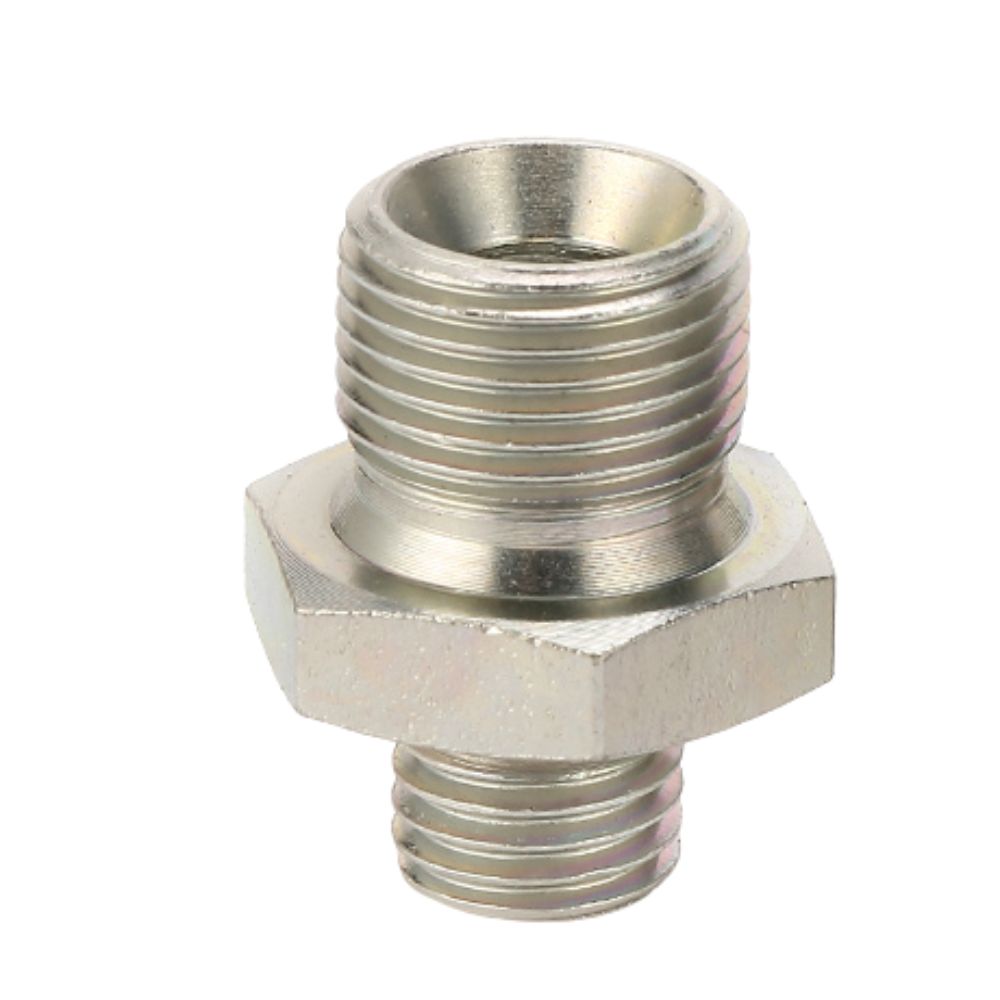
BSP pipe fittings are essential components widely used in plumbing and industrial applications for creating secure, leak-proof connections in piping systems. These fittings come in various types, including BSPP (British Standard Pipe Parallel) and BSPT (British Standard Pipe Tapered), each designed for specific uses and requirements. BSP fittings play a crucial role across numerous industries, such as manufacturing, oil and gas, and water treatment, where reliable fluid and gas transfer is vital. This guide aims to help readers thoroughly understand the installation process of BSP hydraulic fittings, offering detailed, step-by-step instructions to ensure accurate and efficient installation.
What are BSP Pipe Fittings?
Types of Brass Pipe Fittings
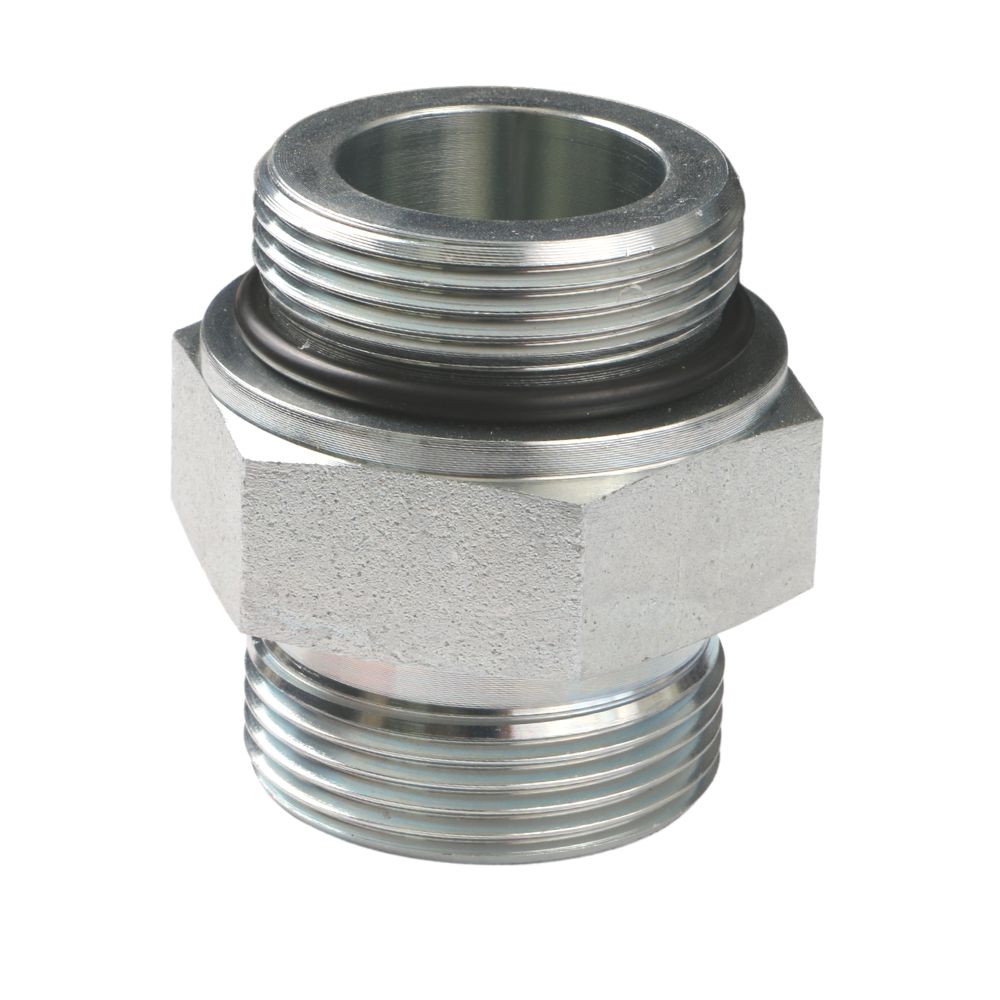
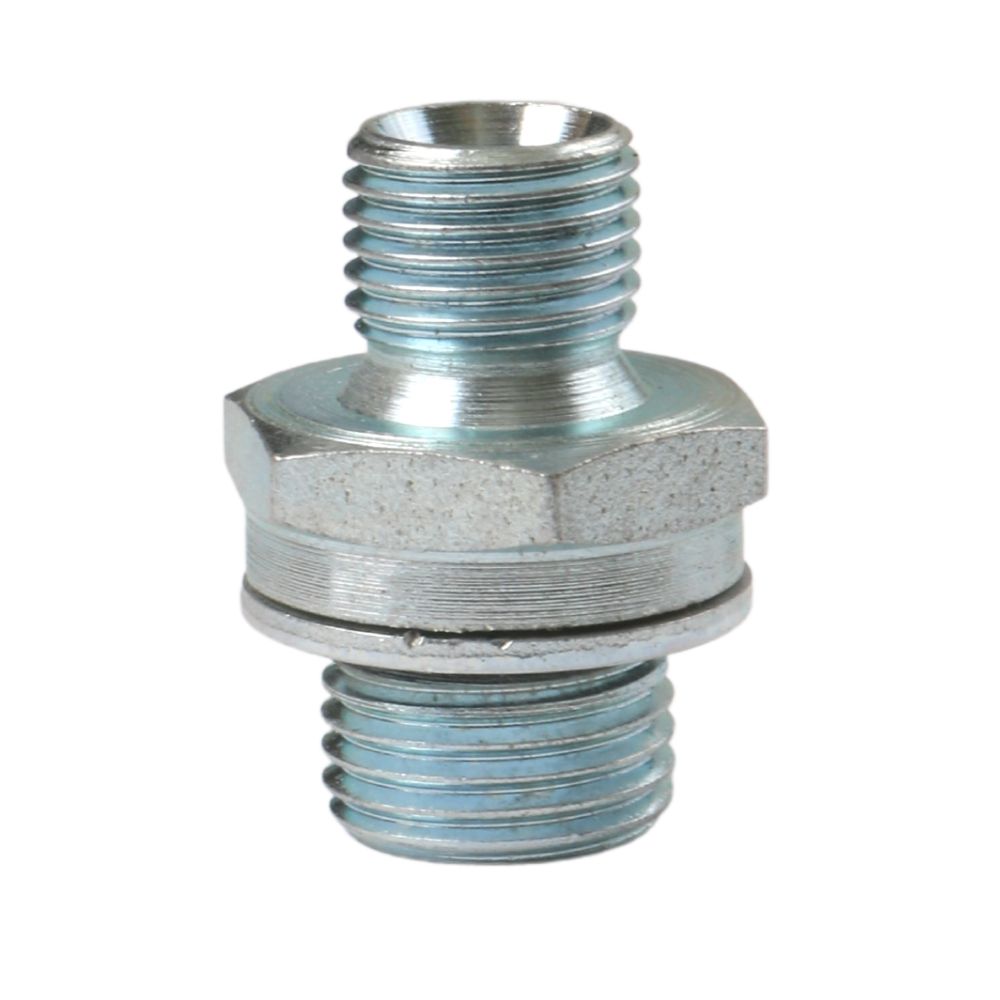
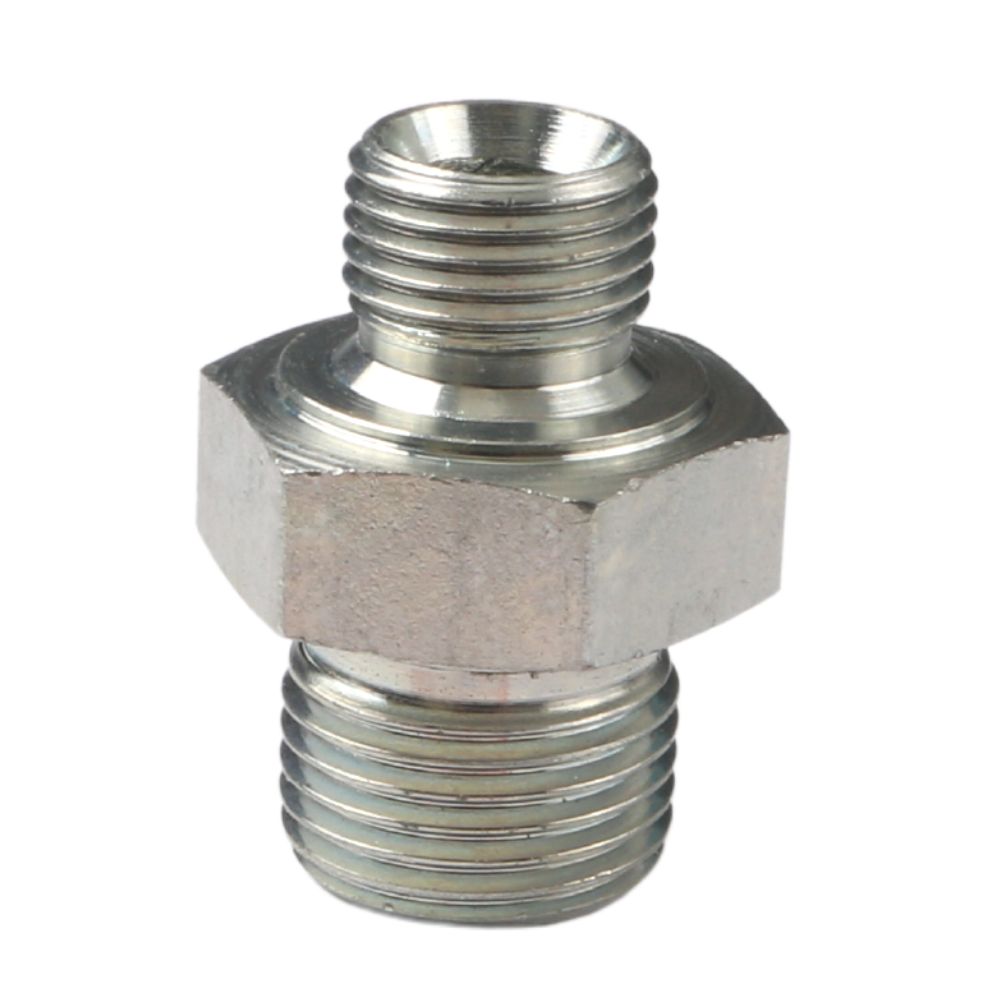
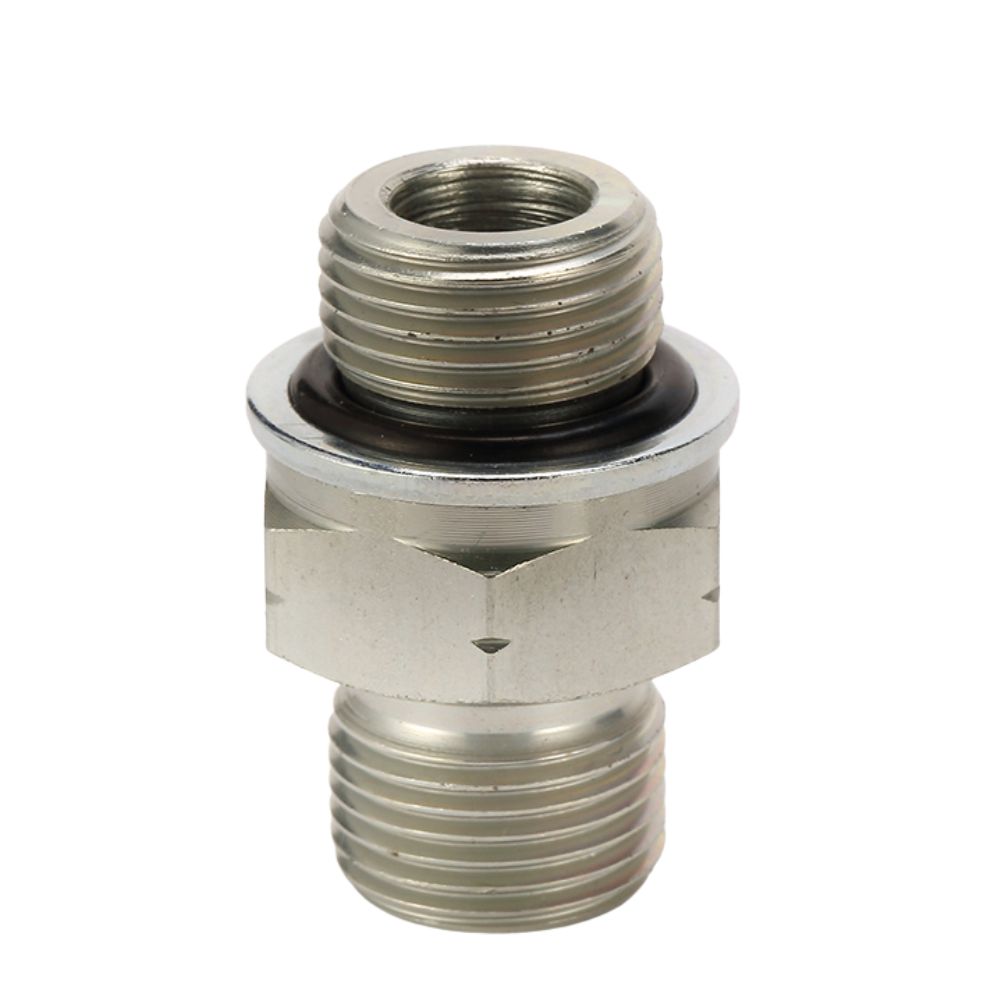
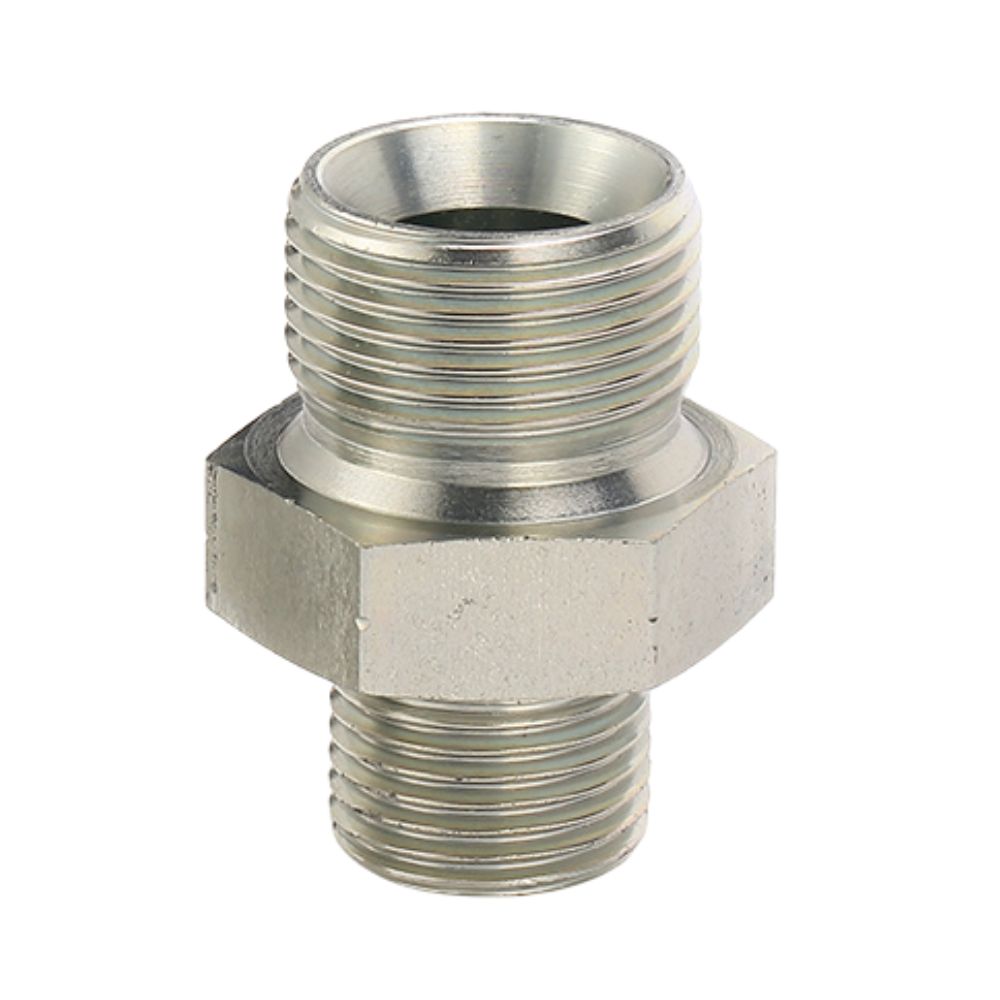
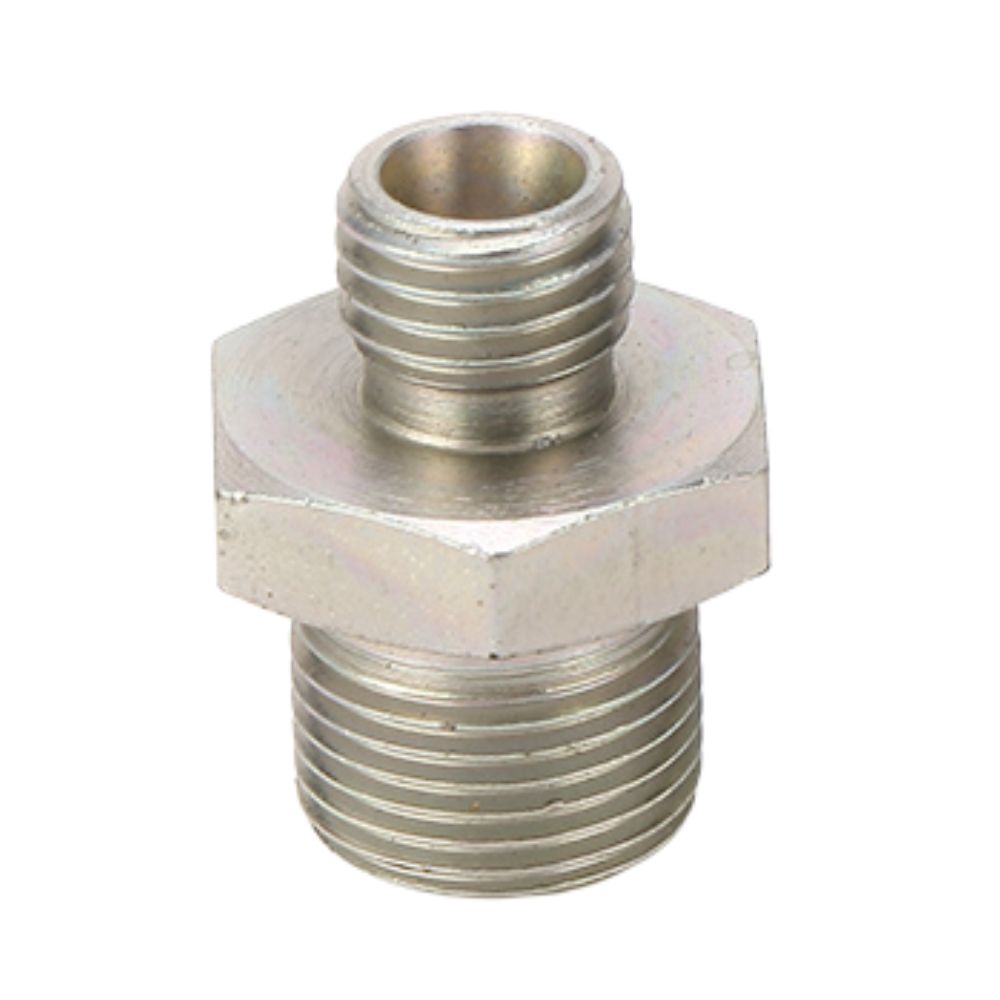
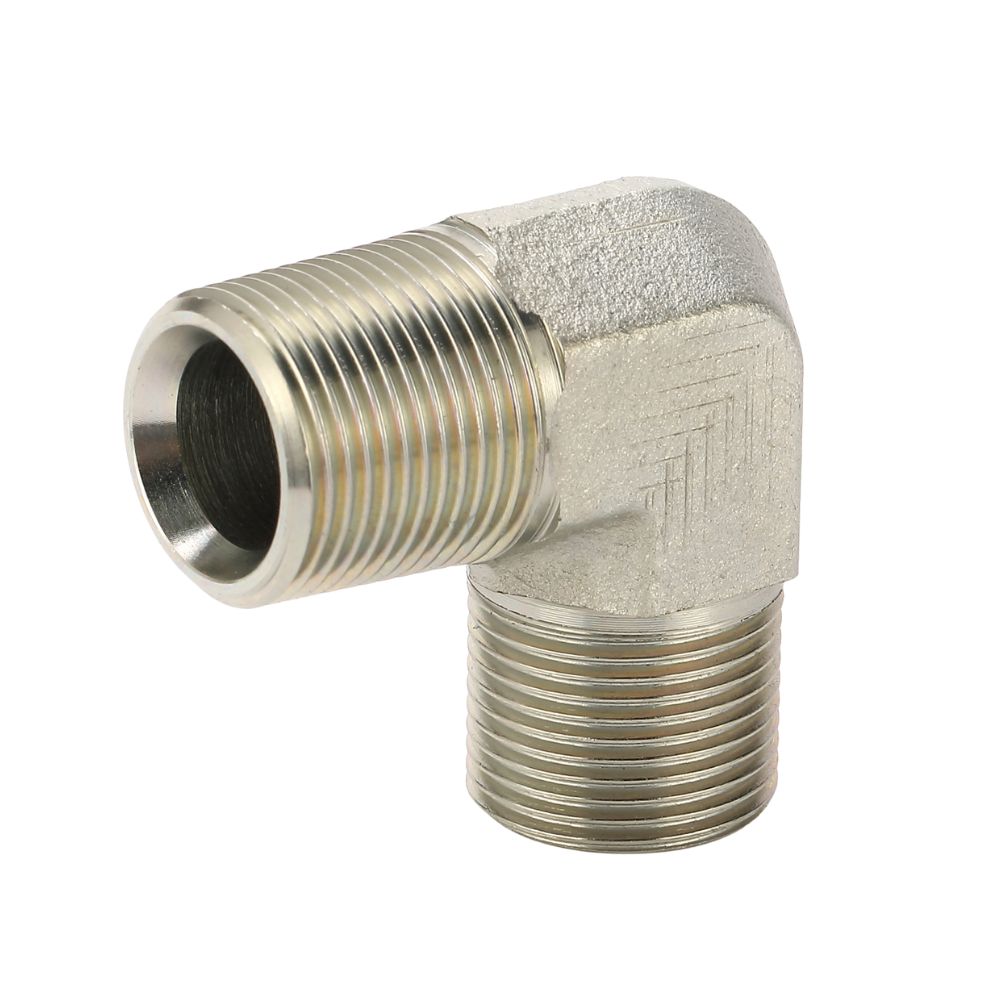
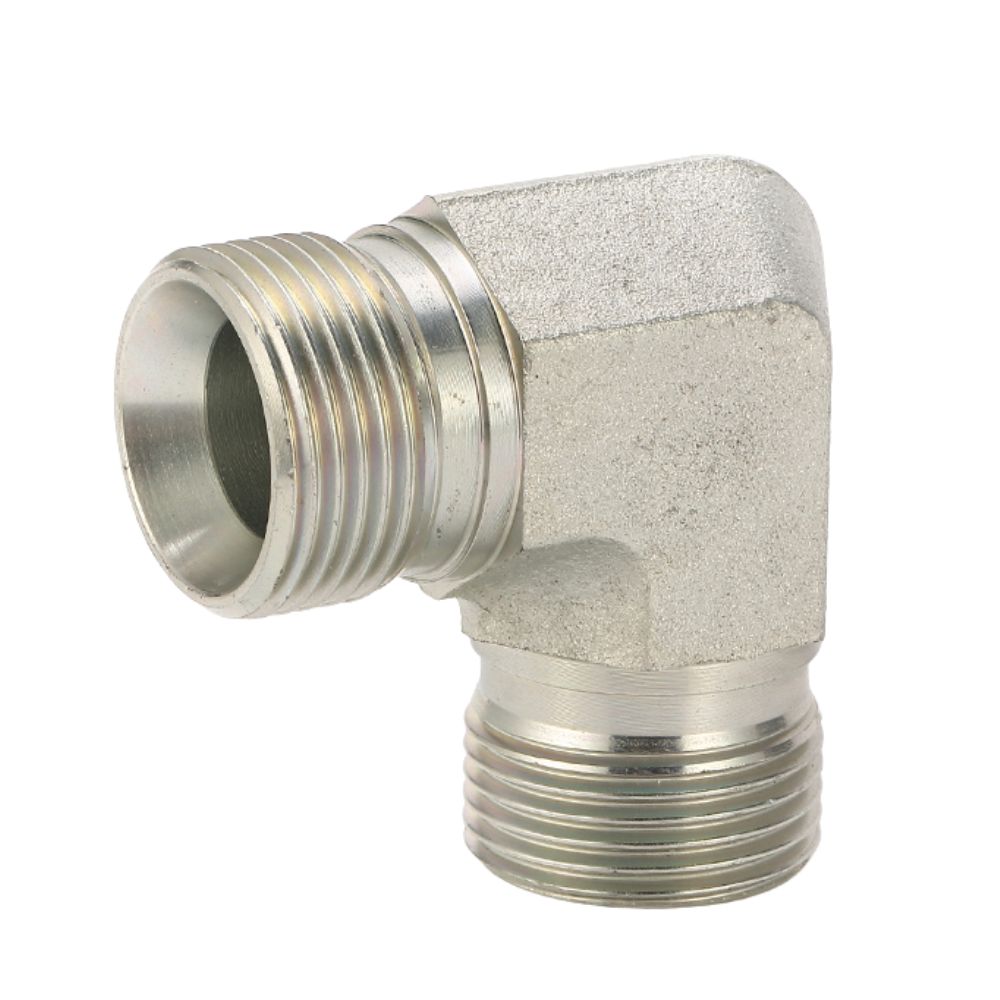
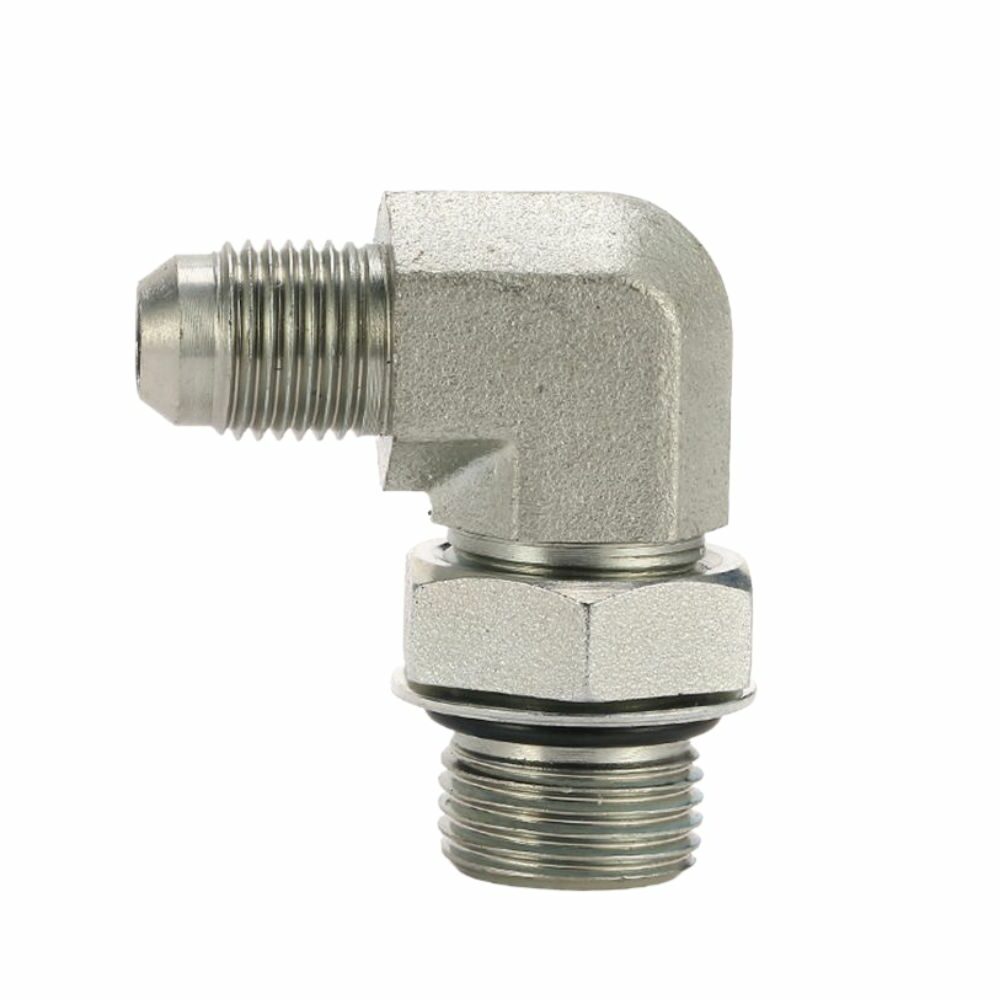
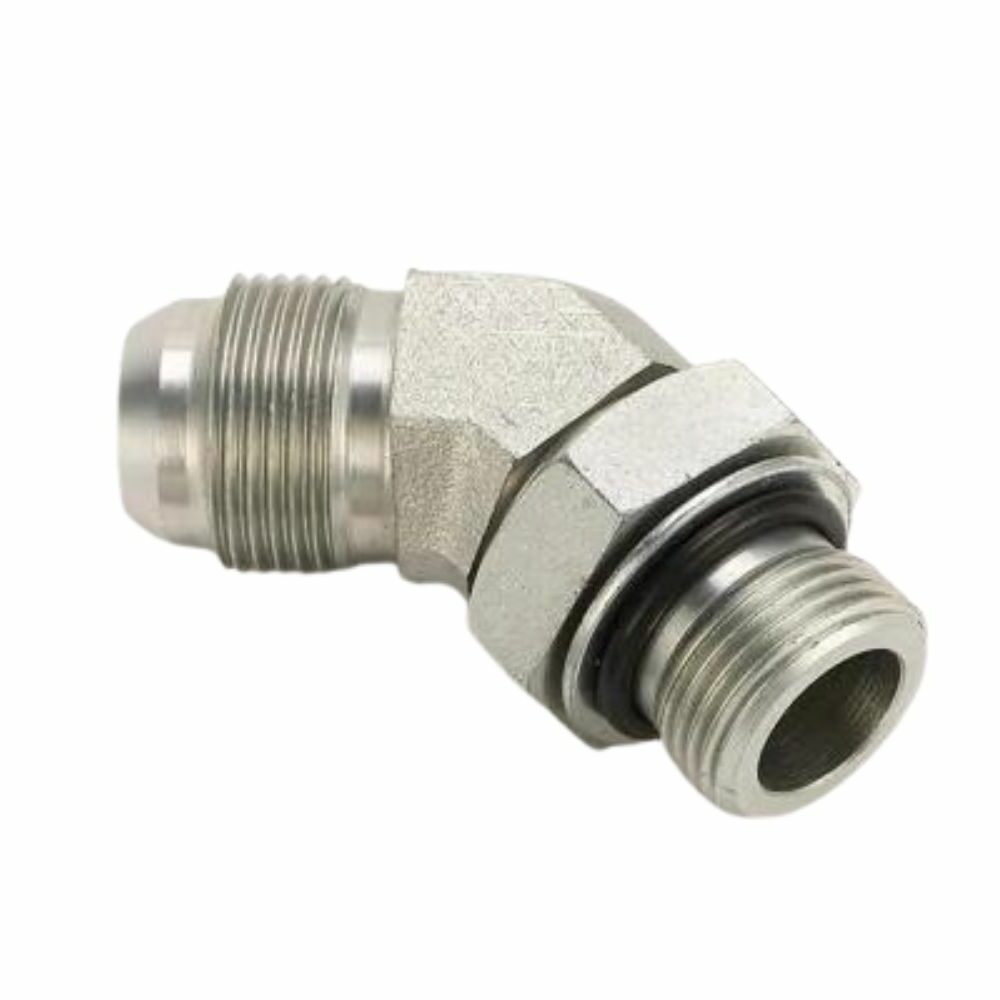
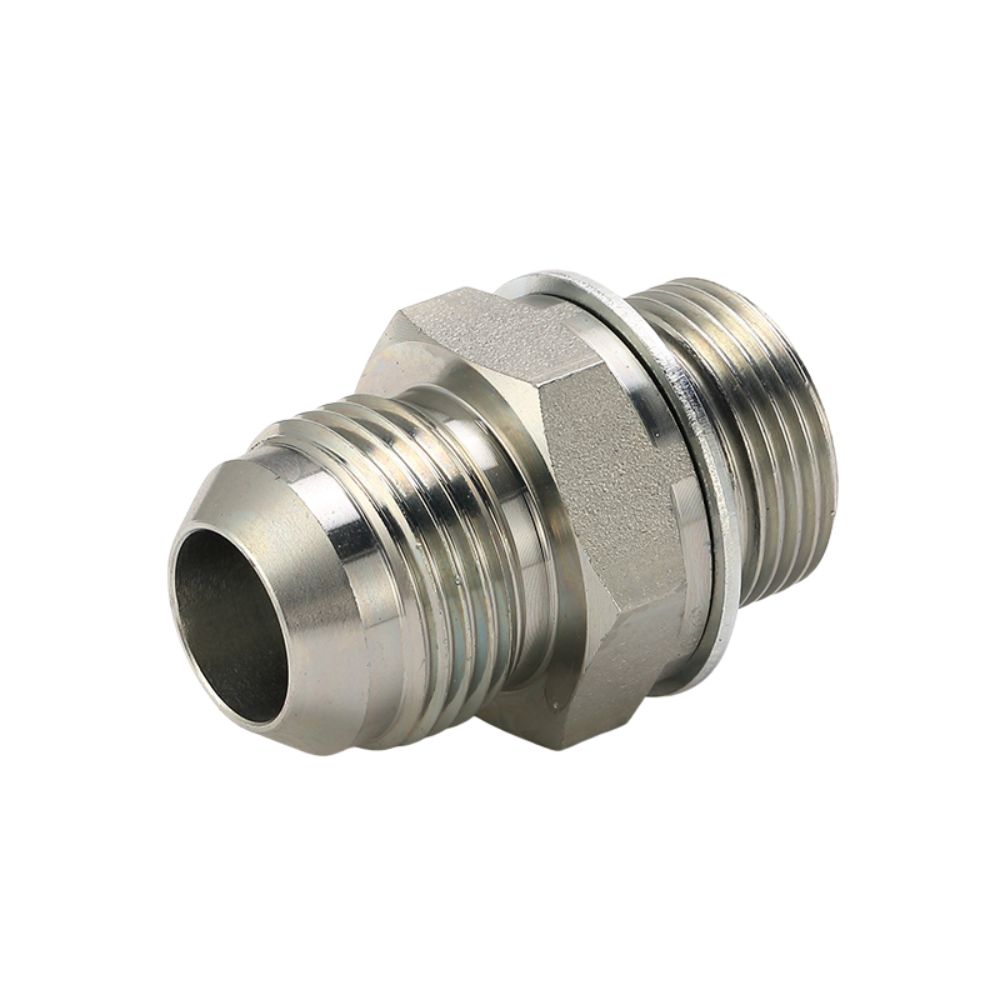
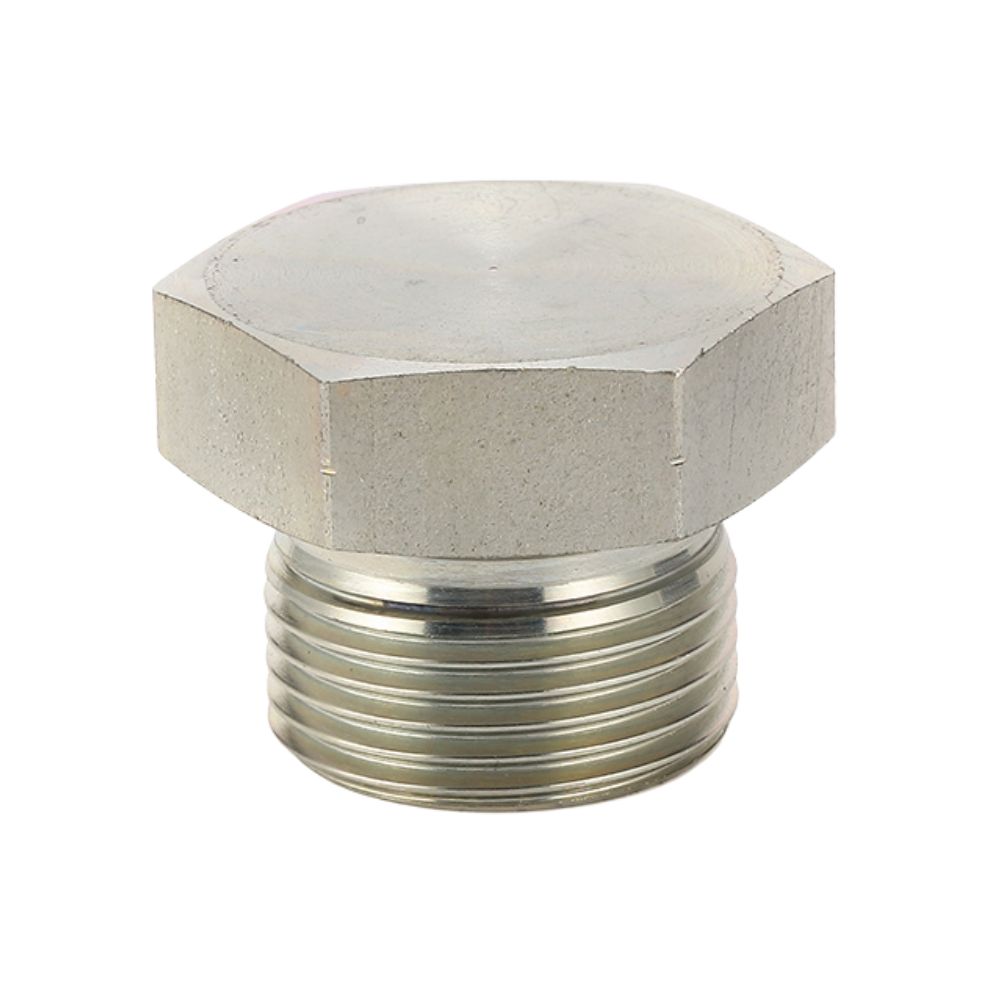
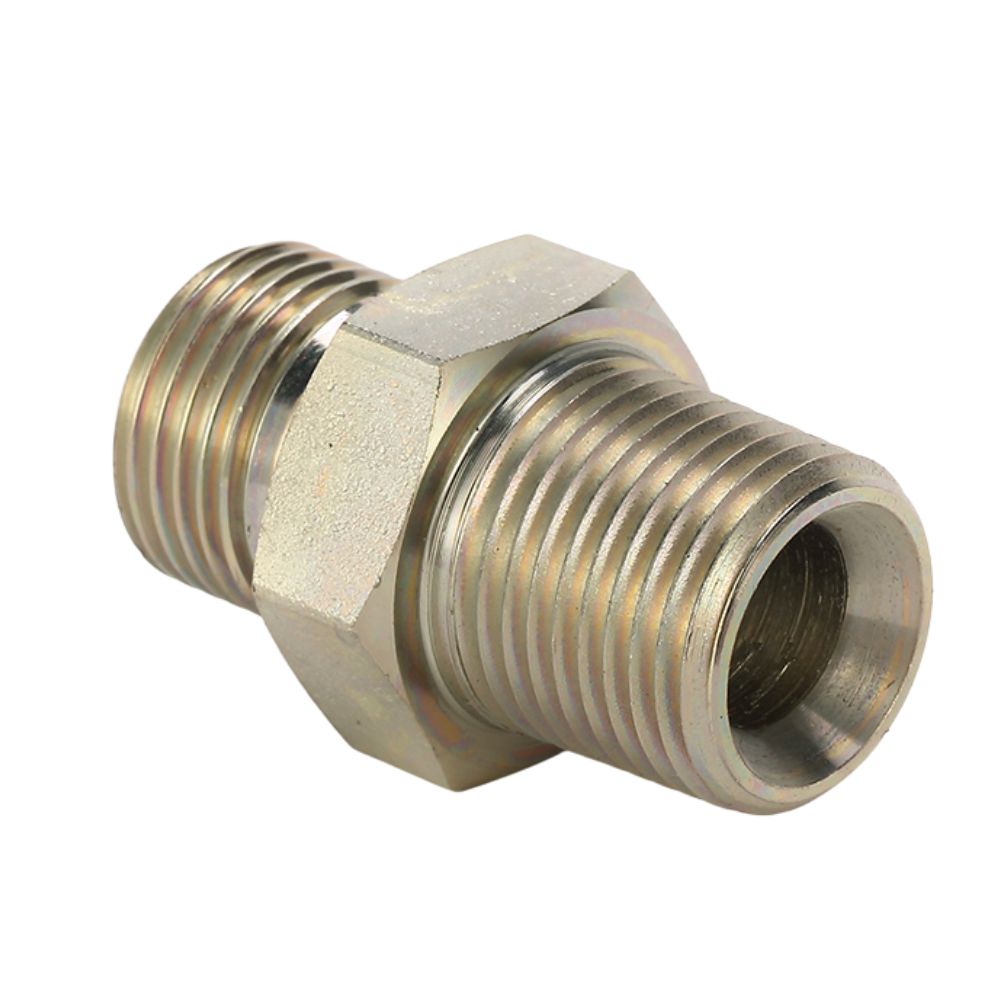
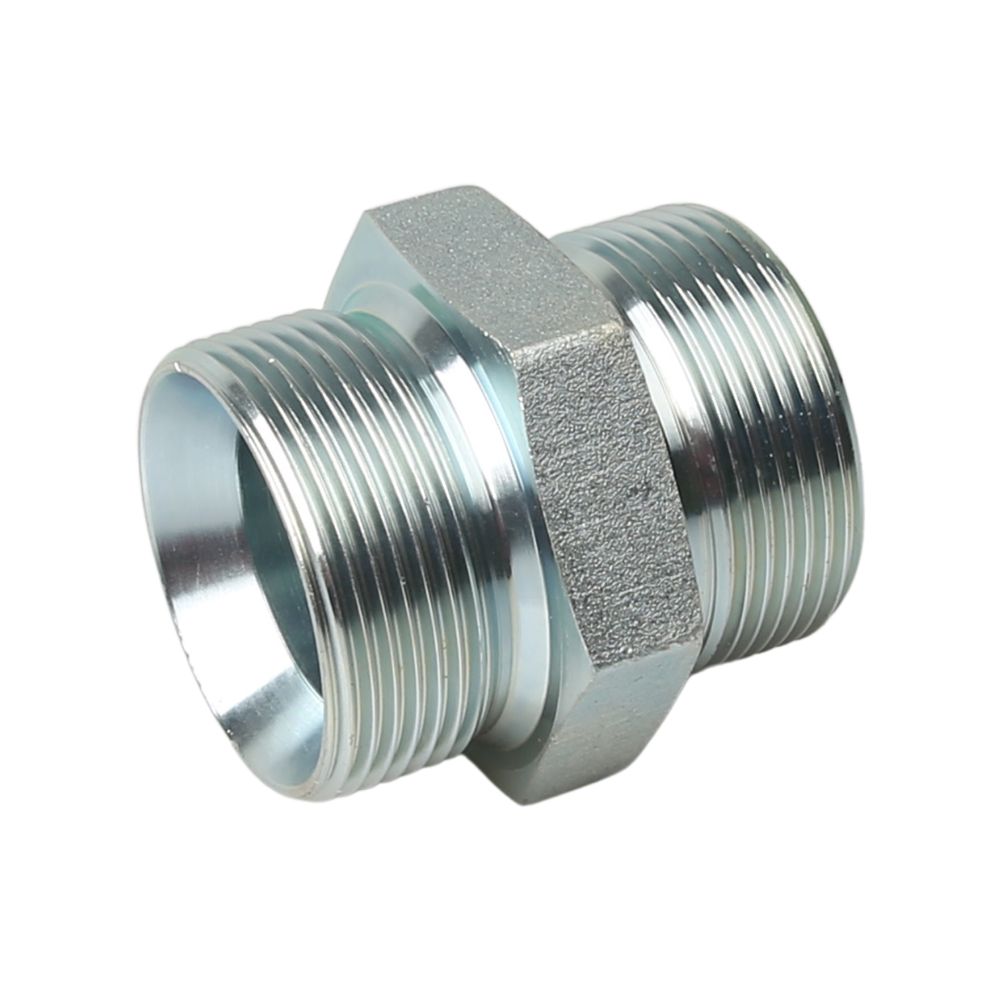
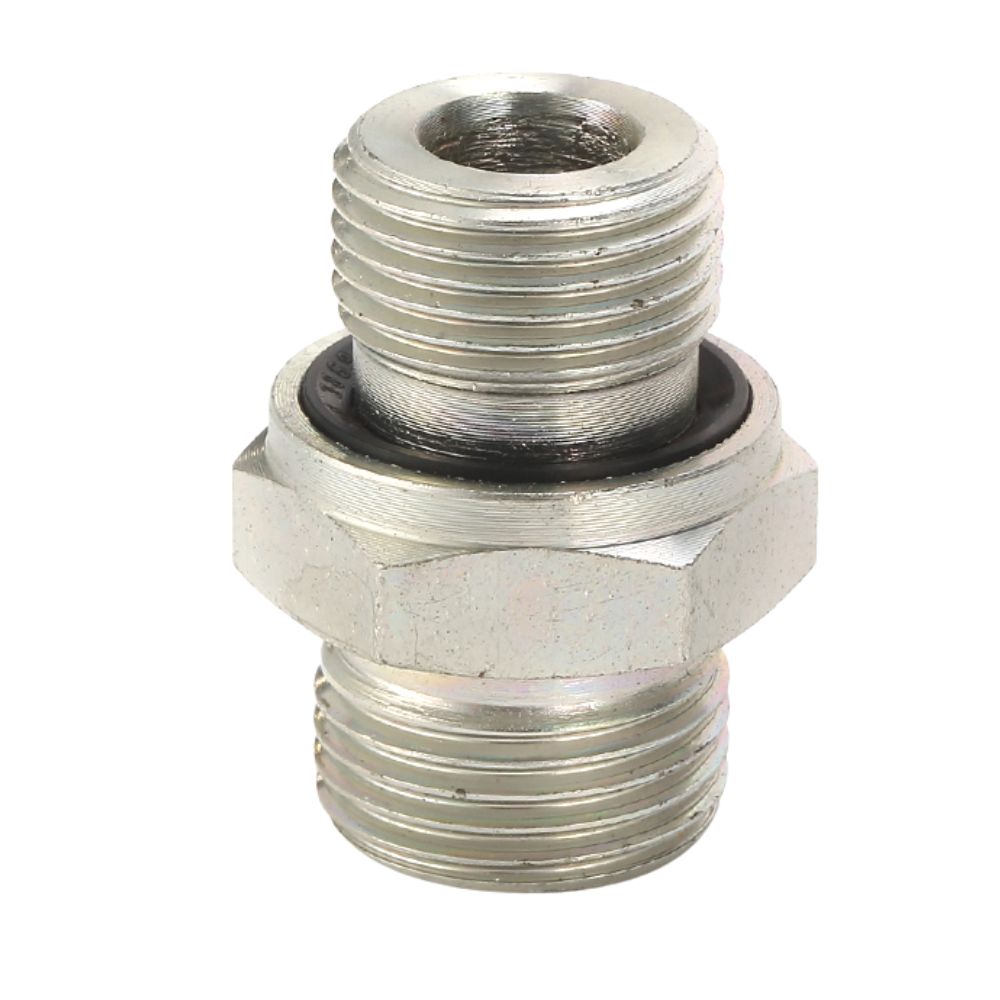
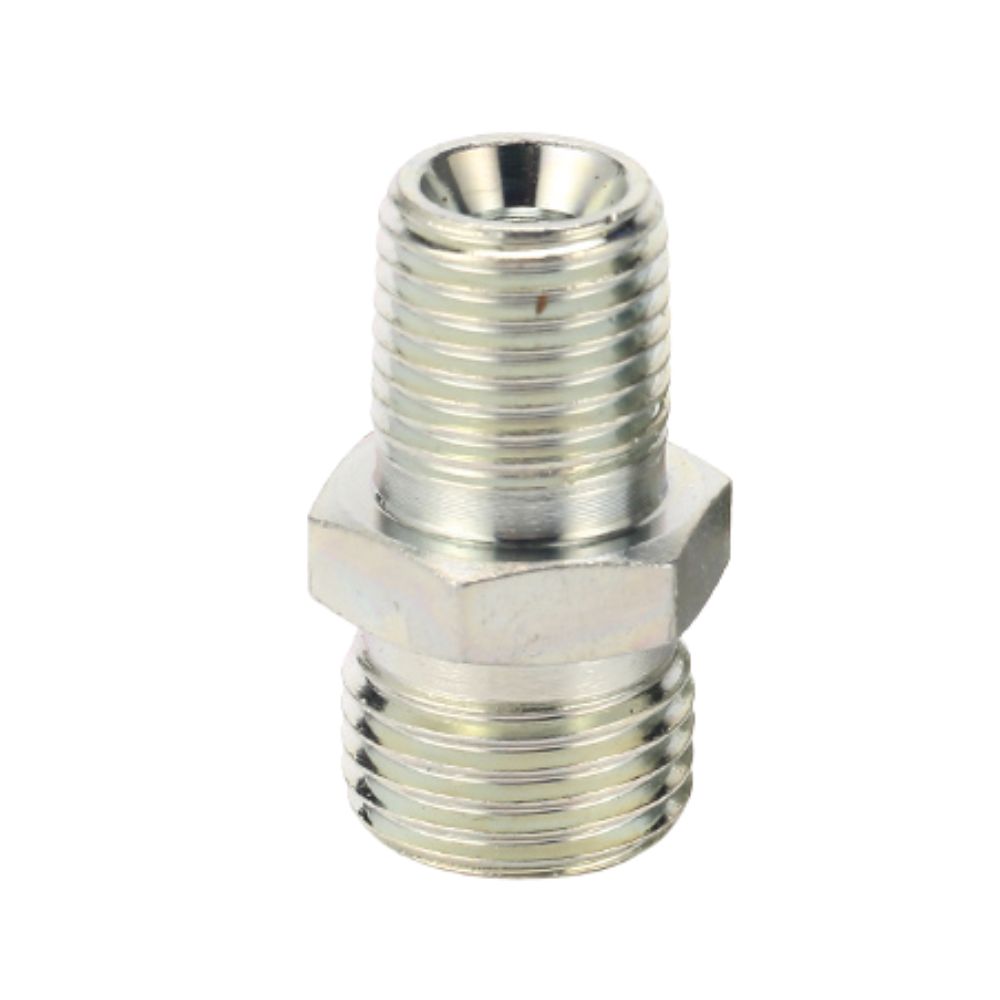
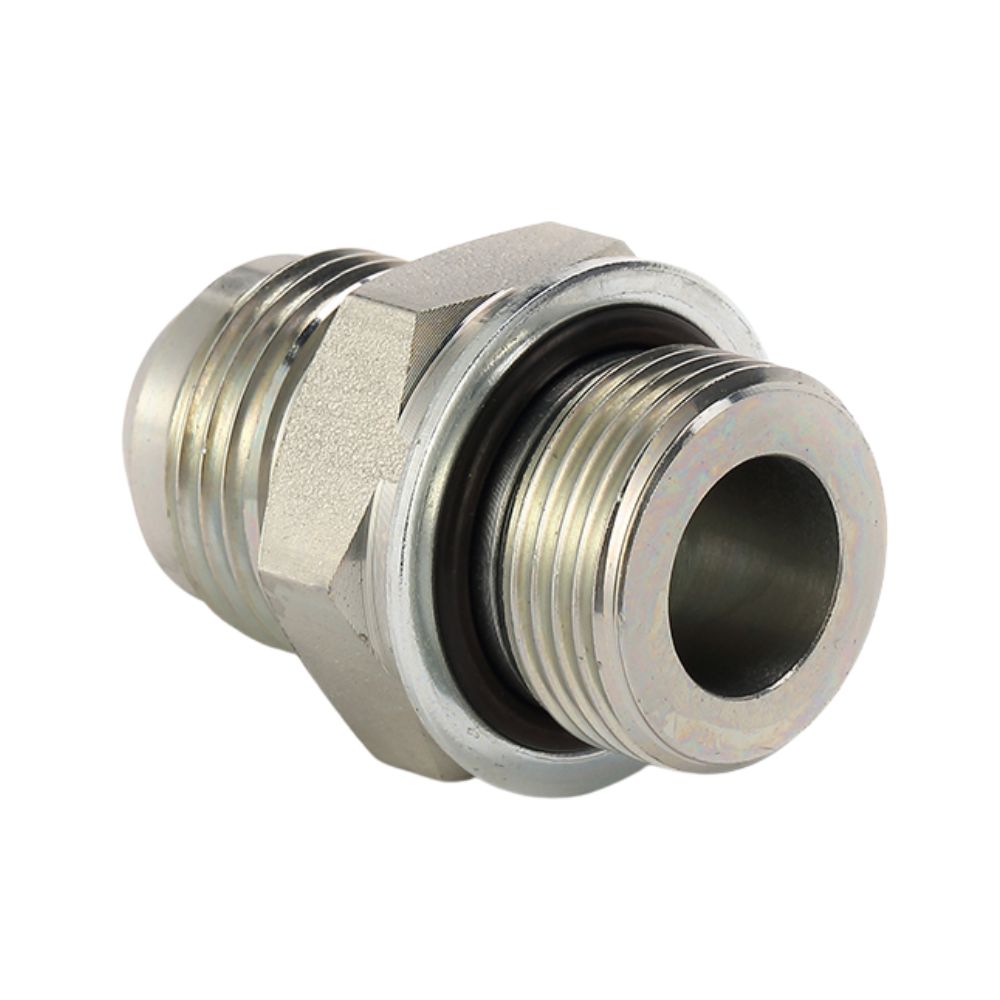
BSP fittings are standardized fittings used to connect pipes and tubes in various piping systems. They come in two main types: BSPP and BSPT. BSPP fittings have parallel threads, meaning the threads are uniform in diameter along their length, and typically use a sealing washer or an O-ring to create a leak-proof connection. On the other hand, BSPT fittings have tapered threads that decrease in diameter along the length of the fitting, creating a tighter seal as they are screwed together.
Materials and Sizes
BSP pipe adapters are manufactured from a variety of materials to suit different applications and environments. Common materials include:
Brass: Known for its durability and corrosion resistance, brass is widely used in plumbing and hydraulic systems.
Stainless Steel: Offers excellent corrosion resistance and strength, making it ideal for use in harsh environments and industries like chemical processing and oil and gas.
PVC (Polyvinyl Chloride): Lightweight and resistant to corrosion and chemicals, PVC fittings are often used in water supply and irrigation systems.
BSP fittings come in a range of sizes, typically measured in inches. The most common sizes range from 1/8 inch to 6 inches in diameter. Choosing the right size is crucial for ensuring a proper fit and reliable connection. To select the appropriate size, consider the diameter of the pipes being connected, the pressure requirements of the system, and the specific application needs. Using a fitting that is too small or too large can result in leaks or system failure.
Applications of BSP Pipe Fittings
BSP fittings are used in a variety of industries due to their reliability and versatility. Some common applications include:
Plumbing: BSP fittings are frequently used in domestic and commercial plumbing systems to connect pipes for water supply, heating, and cooling systems.
Hydraulic Systems: In hydraulic applications, BSP fittings are essential for creating secure connections between hoses and components, ensuring efficient fluid transfer and system performance.
Oil and Gas: BSP fittings are used in pipelines and equipment for the extraction, transportation, and processing of oil and gas, where reliable and leak-proof connections are critical.
Water Treatment: These fittings are employed in water treatment plants for connecting various pipes and equipment involved in water purification and distribution processes.
Tools and Materials Needed
Proper installation of BSP fittings requires the right tools and materials to ensure a secure and leak-free connection. Below is a detailed list of the essential tools and materials you’ll need for the job:
Essential Tools
Pipe Wrench
A pipe wrench is a critical tool for gripping and turning pipes and fittings. Its adjustable jaw allows it to firmly grasp pipes of various sizes, making it indispensable for tightening or loosening BSP hydraulic fittings.
Thread Seal Tape (Teflon Tape)
Thread seal tape, commonly known as Teflon tape, is used to create a tight seal between threaded connections. It helps prevent leaks by filling gaps between the threads of the pipe and the fitting, ensuring a watertight and airtight seal.
Pipe Cutter
A pipe cutter is designed to make clean, precise cuts on pipes. Using a pipe cutter ensures that the pipe ends are smooth and properly aligned, which is essential for achieving a good seal when connecting BSP fittings.
Adjustable Spanner
An adjustable spanner, or adjustable wrench, is versatile and can be adjusted to fit various sizes of nuts and bolts. It is particularly useful for tightening or loosening BSP fittings when a pipe wrench is not suitable or when space is limited.
Materials Required
BSP Pipe Fittings
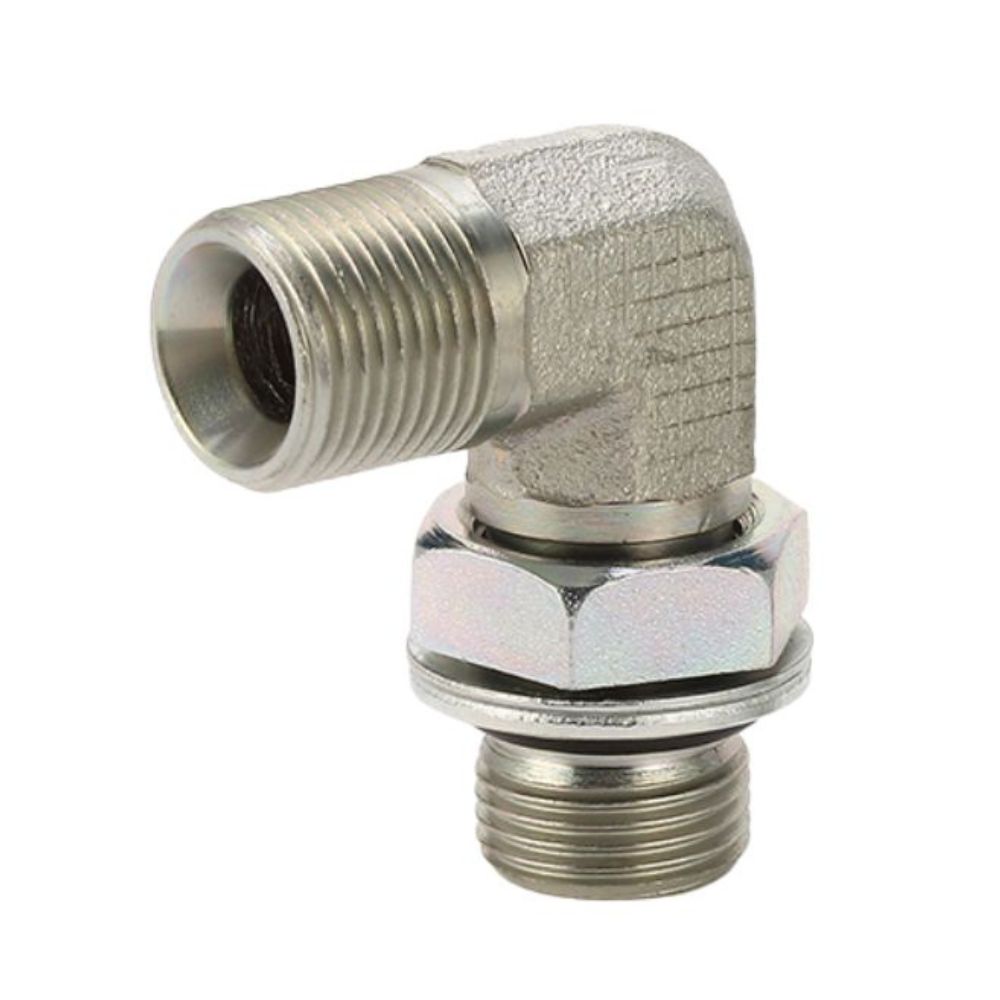
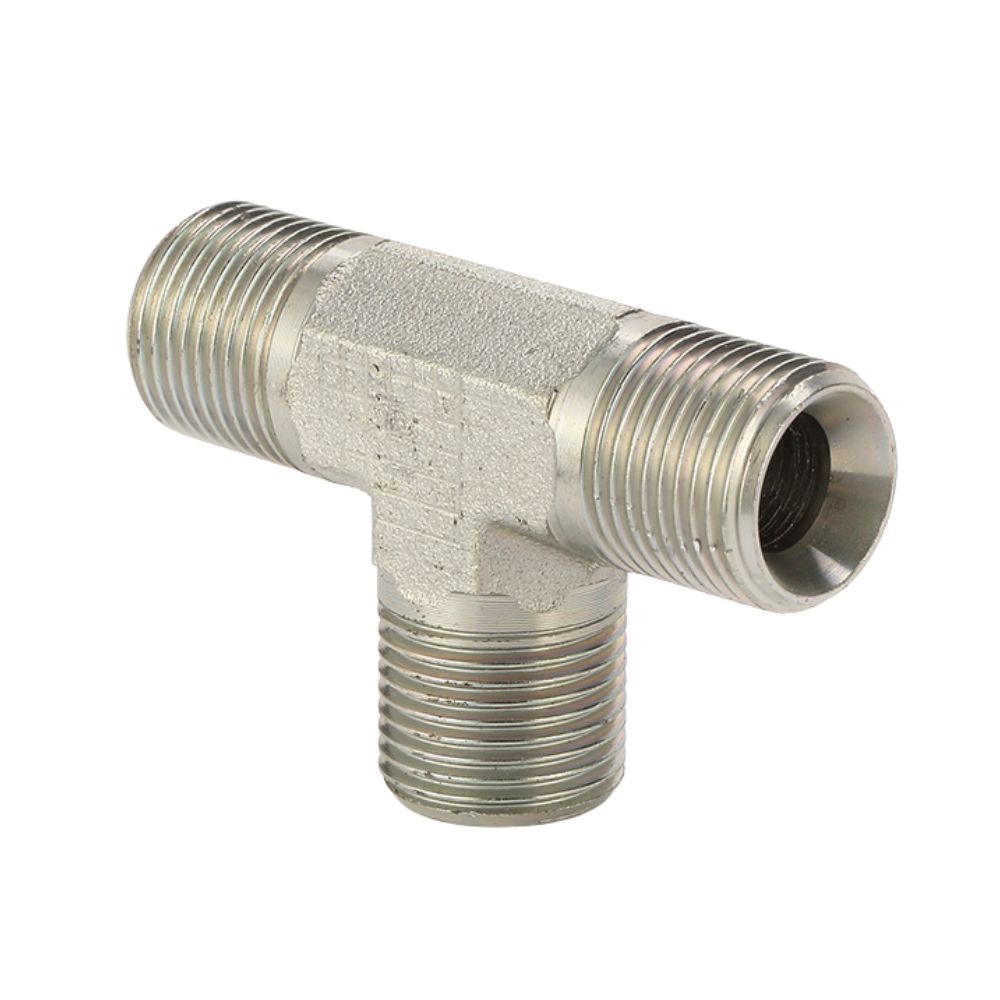
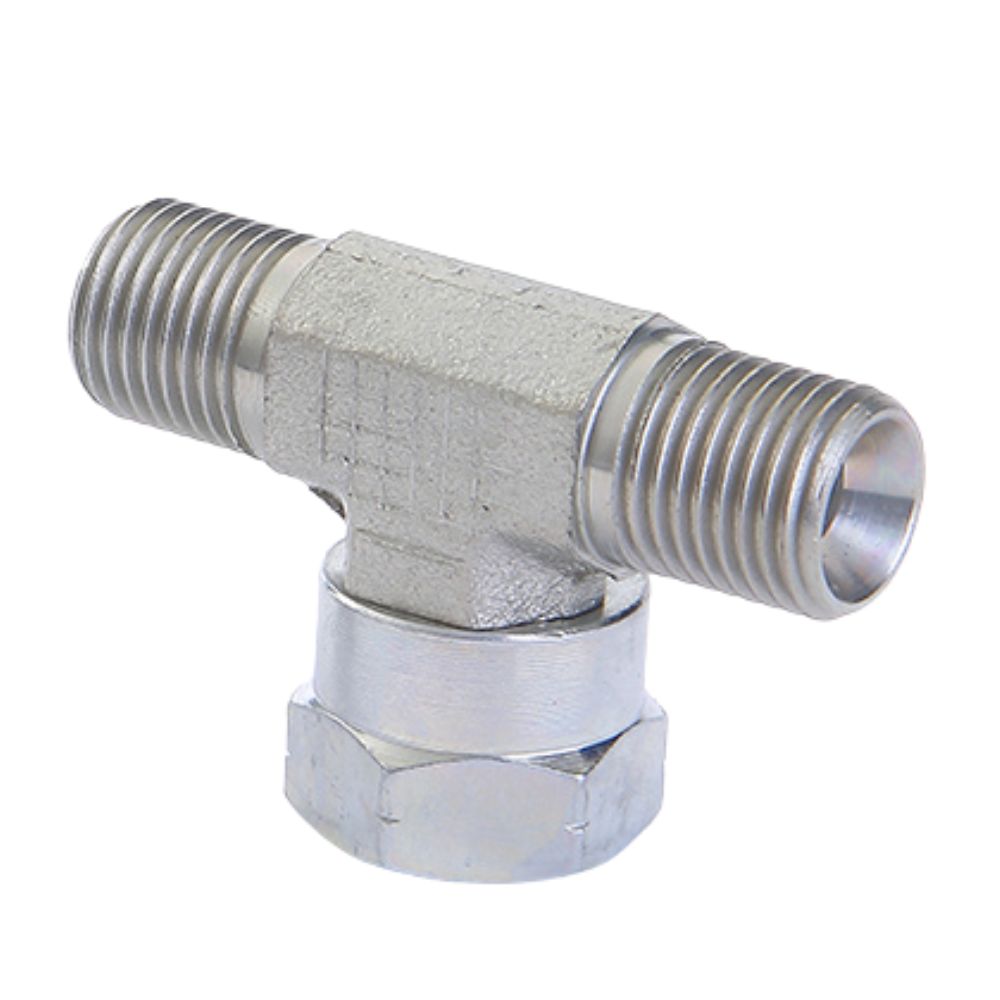
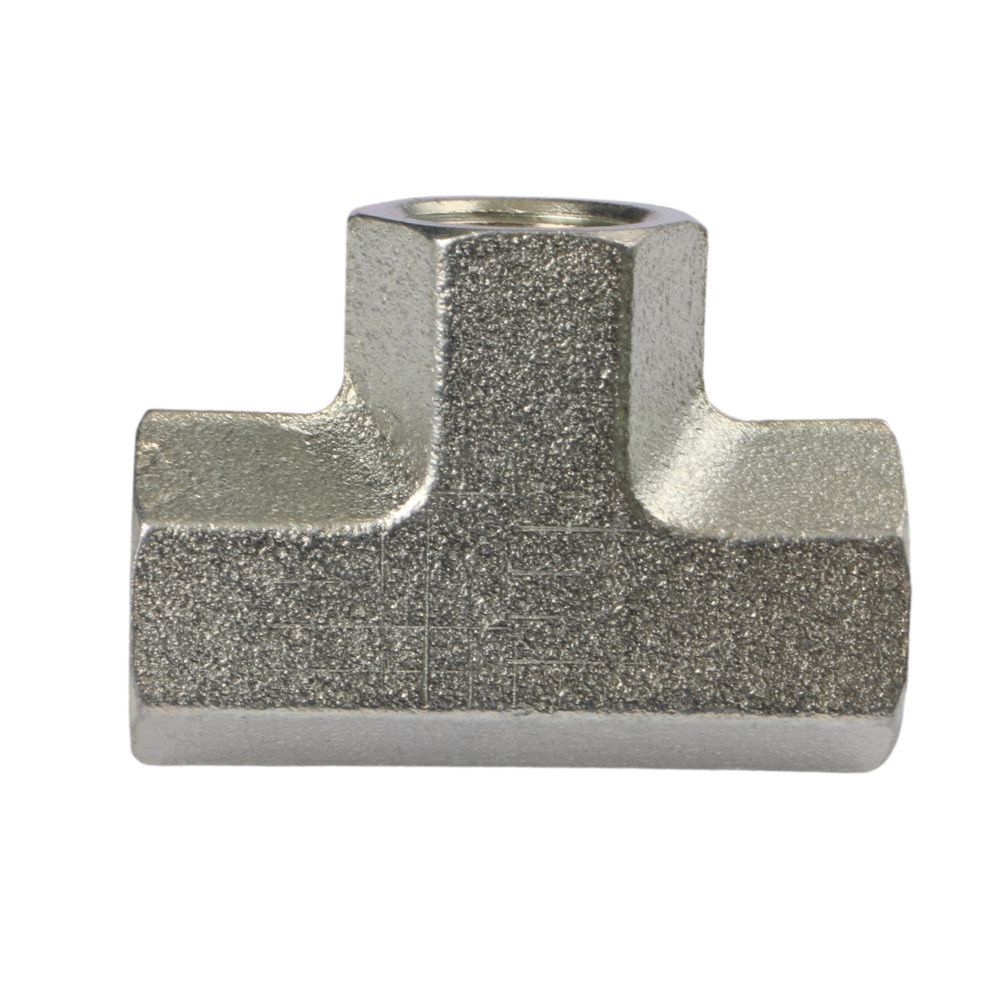
BSP hydraulic fittings are the primary components needed for the installation. Ensure that you have the correct type (BSPP or BSPT) and the appropriate sizes for your specific application. These fittings come in various shapes and configurations, such as elbows, tees, and couplings, to suit different piping layouts.
Pipes (Matching BSP Specifications)
The pipes you use must match the BSP specifications of the fittings. This ensures compatibility and a proper seal. Pipes can be made from various materials, including brass, stainless steel, and PVC, depending on the application and environmental conditions.
Lubricants (if necessary)
Lubricants can be used to facilitate the assembly of BSP hydraulic fittings, especially if the threads are tight or if you are working with larger fittings. Lubricants reduce friction and make it easier to tighten the fittings securely without damaging the threads.
Step-by-Step Installation Guide
Installing BSP hydraulic fittings involves a series of careful steps to ensure a secure and leak-free connection. Follow this detailed guide to achieve the best results.
Cutting the Pipe
Measuring and Marking the Pipe
Begin by measuring the length of pipe required for your installation. Use a tape measure to obtain accurate measurements. Once you have determined the correct length, mark the cutting point with a marker or a piece of tape to ensure precision.
Using a Pipe Cutter for a Clean Cut
Place the pipe cutter around the pipe at the marked location. Tighten the cutter and rotate it around the pipe to score the surface. Continue tightening and rotating until the pipe is cleanly cut through. This method ensures a straight, smooth cut, which is essential for creating a good seal with the fittings.
Cleaning and Preparing the Threads
Cleaning the Pipe Threads
After cutting the pipe, it is important to clean the threads thoroughly. Use a wire brush or a clean rag to remove any debris, dirt, or oil from the threads. This step ensures that the thread seal tape adheres properly and creates an effective seal.
Applying Thread Seal Tape
Wrap the thread seal tape around the male threads of the pipe. Begin at the end of the pipe and wrap the tape clockwise, overlapping each layer slightly as you go. Typically, two to three wraps of tape are sufficient. Ensure that the tape covers all the threads without extending beyond the end of the pipe.
Assembling the Fittings
Aligning the Fitting with the Pipe
Align the BSP fitting with the pipe, ensuring that the threads match correctly. For BSPP fittings, use a sealing washer or O-ring if required.
Hand-Tightening the Fitting
Begin threading the fitting onto the pipe by hand. Turn the fitting clockwise, making sure it engages properly with the pipe threads. Hand-tighten the fitting until it is snug. This initial tightening helps to align the threads correctly and prevents cross-threading.
Tightening the Fittings
Using a Pipe Wrench or Spanner
Once the fitting is hand-tightened, use a pipe wrench or an adjustable spanner to further tighten the connection. Place the wrench or spanner on the fitting and turn it clockwise. Apply steady pressure to avoid damaging the threads or the fitting.
Avoiding Over-Tightening
It is crucial not to over-tighten the fittings, as this can damage the threads and compromise the seal. Tighten the fitting until it is secure but be cautious of applying excessive force. If using a spanner, avoid using additional leverage tools to increase torque.
Inspecting the Installation
Checking for Leaks
After tightening the fittings, inspect the installation for any signs of leaks. Turn on the system and observe the connections closely. If you notice any leaks, turn off the system and re-tighten the fittings as necessary.
Ensuring All Connections Are Secure
Verify that all connections are properly tightened and secure. Ensure that there are no gaps or misalignments in the fittings. A thorough inspection helps to prevent potential issues and ensures the longevity of the installation.
Following these detailed steps will help you install BSP hydraulic pipe fittings correctly and efficiently. Proper measurement, cutting, cleaning, and tightening techniques are essential to achieving a secure and leak-free connection. By taking the time to carefully follow each step, you can ensure a professional-quality installation that will perform reliably in your piping system.
Troubleshooting Common Issues
Even with careful installation, issues can arise when working with BSP hydraulic fittings. Here are some common problems you might encounter and how to address them effectively.
Leaks at the Connection
Causes:
Improper Application of Thread Seal Tape: If the thread seal tape is not applied correctly or insufficiently, it can lead to leaks. Ensure the tape is wrapped tightly and evenly around the threads.
Damaged Threads: Worn or damaged threads on the pipe or fitting can prevent a proper seal. Always inspect threads for damage before installation.
Under-Tightening: Connections that are not tightened enough may not create a sufficient seal, leading to leaks.
Solutions:
Reapply Thread Seal Tape: Remove the fitting, clean off the old tape, and reapply the new thread seal tape. Ensure it is wrapped correctly around the threads.
Inspect and Repair Threads: If threads are damaged, consider using a thread repair tool or replacing the damaged component.
Tighten the Fitting: If the fitting is under-tightened, use a wrench or spanner to tighten it further, being careful not to over-tighten.
Difficulty in Tightening
Causes:
Thread Misalignment: Misaligned threads can cause resistance and difficulty in tightening.
Dirty or Debris-Filled Threads: Dirt or debris in the threads can create friction and prevent smooth tightening.
Inadequate Tools: Using the wrong tools or tools that are not suitable for the fitting size can make tightening difficult.
Tips for Proper Tightening:
Align Threads Correctly: Ensure that the threads are properly aligned before attempting to tighten. Start threading the fitting by hand to avoid cross-threading.
Clean Threads Thoroughly: Clean the threads with a wire brush or a clean rag to remove any dirt or debris that might impede the tightening process.
Use Appropriate Tools: Ensure you are using the correct size and type of tool for the fitting. A properly sized pipe wrench or adjustable spanner will provide better grip and leverage.
Mismatched Threads
Identifying Mismatched Threads:
Visual Inspection: Check the threads visually to ensure they match. BSPP (parallel) and BSPT (tapered) threads have different profiles and should not be mixed.
Thread Gauge: Use a thread gauge to measure the pitch and angle of the threads, ensuring compatibility.
Correcting Mismatches:
Replace with Correct Fittings: If you identify mismatched threads, replace either the pipe or fitting with one that has matching threads.
Use Adaptors: In some cases, using an adaptor can resolve mismatches between different thread types. Ensure the adaptor is compatible with both the pipe and the fitting.
Maintenance Tips
Proper maintenance of BSP hydraulic fittings is essential to ensure their longevity and reliable performance. Here are some key maintenance tips to keep your fittings and piping systems in optimal condition.
Regular Inspections
How Often to Check Fittings:
Frequency: It is recommended to inspect BSP pipe adapters at least twice a year to identify any potential issues early. In high-pressure or critical systems, more frequent inspections may be necessary.
Visual Checks: Perform a visual inspection of the fittings and connections for any signs of wear, corrosion, or leaks. Look for any discoloration, rust, or moisture around the fittings.
Operational Checks: Monitor the system during operation to detect any unusual noises, vibrations, or pressure drops that could indicate a problem with the fittings.
Cleaning and Upkeep
Keeping Fittings and Pipes Clean:
Regular Cleaning: Periodically clean the exterior of the fittings and pipes to remove dust, dirt, and debris. This can be done with a soft cloth and a mild detergent solution.
Internal Cleaning: For systems that can be disassembled, consider flushing the pipes and fittings with a suitable cleaning solution to remove any buildup or contaminants inside the system.
Preventing Corrosion: Apply a protective coating or use corrosion inhibitors if the fittings are exposed to harsh environments. This helps to extend the life of the fittings by preventing rust and corrosion.
Replacing Worn-out Fittings
Signs that Fittings Need Replacement:
Leaks: Persistent leaks that cannot be fixed by tightening or reapplying thread seal tape indicate that the fitting may be worn out or damaged.
Cracks and Damage: Inspect the fittings for any visible cracks, dents, or other physical damage. Even small cracks can compromise the integrity of the fitting.
Corrosion: Significant rust or corrosion on the fittings is a clear sign that they need to be replaced. Corroded fittings can weaken and eventually fail.
Wear and Tear: Over time, fittings can wear out due to repeated use and exposure to environmental factors. If a fitting shows excessive wear, it is best to replace it to avoid future problems.
Conclusion
Proper installation of BSP adapters is crucial for ensuring a secure, leak-free connection and the long-term reliability of your piping system. By following this comprehensive step-by-step guide, you can achieve accurate and efficient installation, avoiding common issues and maximizing performance. Remember to prioritize safety and accuracy throughout the process. We encourage you to practice these techniques and share your experiences. If you have any questions or need further advice, please feel free to reach out.
FAQ
BSPP fittings have parallel threads and typically require a sealing washer or O-ring for a leak-proof connection, while BSPT fittings have tapered threads that create a seal by wedging together as they are tightened.
Generally, two to three wraps of thread seal tape around the male threads of the pipe are sufficient to create a secure and leak-free connection.
No, BSP (British Standard Pipe) and NPT (National Pipe Thread) have different thread profiles and are not compatible. Using them together can result in leaks and connection failures.
First, check if the fitting is tightened properly. If it is, remove the fitting, clean the threads, reapply thread seal tape, and reinstall. If leaks persist, inspect the threads for damage and replace the fitting if necessary.
It is recommended to inspect BSP hydraulic fittings at least twice a year. More frequent inspections may be necessary for high-pressure or critical systems.
BSP fittings are commonly made from brass, stainless steel, and PVC. The choice of material depends on the specific application and environmental conditions.
Contact Topa
Have a question or suggestion? Fill out the form below to get in touch with one of our experts.